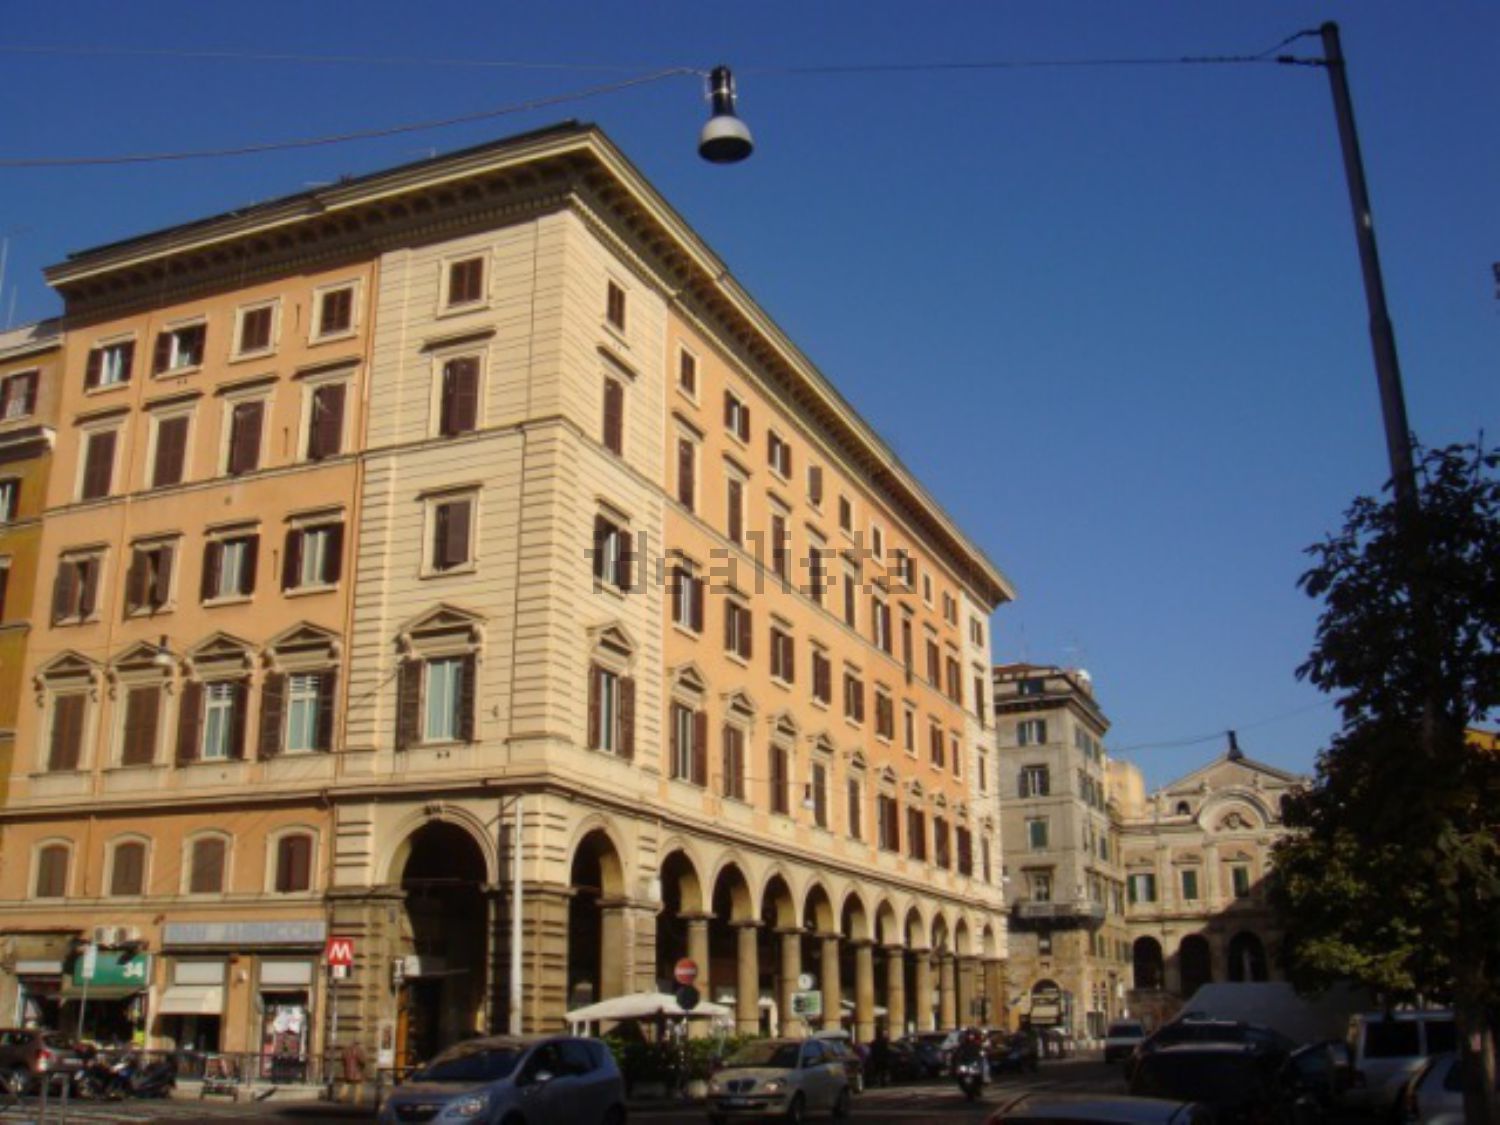
Piazza Vittorio Emanuele II, angolo Via Conte Verde
DELIVERY 1
Creation of masses and setting up shadows and the sun path.
1. Once you open vasari to create a new project from scratch select PROJECTS_NEW METRIC
2. Started a new project in th e home page you'll see, already opend the Project Browser List.
.
To change or set those lists select MANAGE and than the USER INTERFACE. It helps to increase productivity and simplify your workflow (change the interface to better support the way that you work).
3. Another essential thing that you can find in MANAGE is the PROJECT UNITS: once you click it you will see all the different units used for the length, area, volume etc. The length one is set to millimeters as default. In vasari is reccommended to work in meters.
4. Location
The first step necessary to begin work is to set the location of the project that is used by vasari to calculate the sun path and the environment proprieties.
You will need to be connected to the internet and to sign in with an Autodesk account (If you ain't got one you can easily create it) to choose your location (the default one is Boston, Ma).
Once you have set the city of your project, you can drag with the mouse the icon with the shape of an house (the other icons are the meteo stations used by vasari to calculate the sun path) to the exact point of your project location.
Then you will be able to import the site image on vasari ( be sure you have selected USE DAYLIGHT SAVINGS TIME).
5. Now you have all the needed settings to create volums and the sun path.
In the default page of vasari you have got 6 levels, but you can manage them creating new ones by clicking MODEL_LEVEL. Levels can be used as workplanes that identifies the level on which the software will place the drawing mass you are working on. To select a workplane click MODEL_SET. By clicking show it will show the plan you are currently working.
to create a new volume just click CREATE MASS.
Once you click it you will have a new look of the page. You entered in a modify asset where you can create forms. Once you complete your changes click finish to come back to the original page.
Selecting MODEL_Model vasari creates a line that exists in 3d space from which by clicking CREATE FORM will give the base line for the construction of a solid.
To modify the length of a line you've just got to click it and enter the correct measures. It's reccomanded to change or modify the project just in the IN PLACE EDITOR (creation of new masses) even if you can modify it at every time.
There are two input options for new masses: you can place them on a new chosen plan rather than on the default one.
You can select and modify just one mass at time
Click Edit in-place to enter modifies.
6. Shadows and sun path
YOu can access the sun path and shadows settings in the lower panel of vasari. By clicking SUN PATH ON you will activate a sun model based on your geolocation. you can switch the day of the year and the time of the day. By clicking SHADOWS you will see how the model is shaded.
SOLTIZIO D'INVERNO 21 dicembre
10:00
12:00
14:00
SOLSTIZIO D'ESTATE 21 giugno
8:00
12:00
17:00


