Es01_Steps for Solar Analysis
1. SET YOUR WORKING PLANE
Open Autodesk Vasari and select New Metric on the left upper side of the home page.
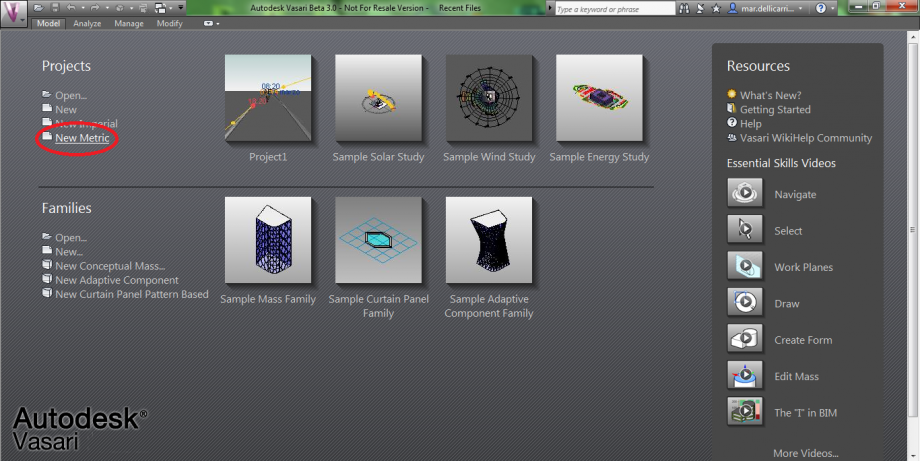
This way you will open the following screen, with an empty plane.
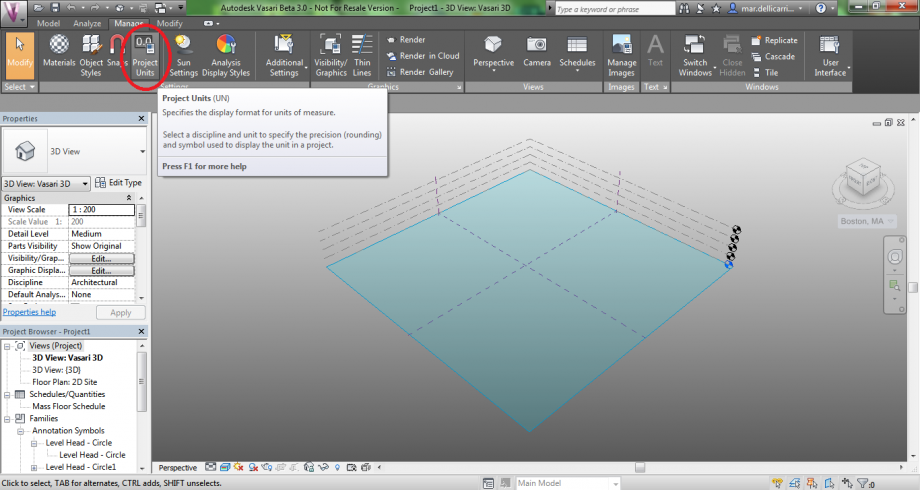
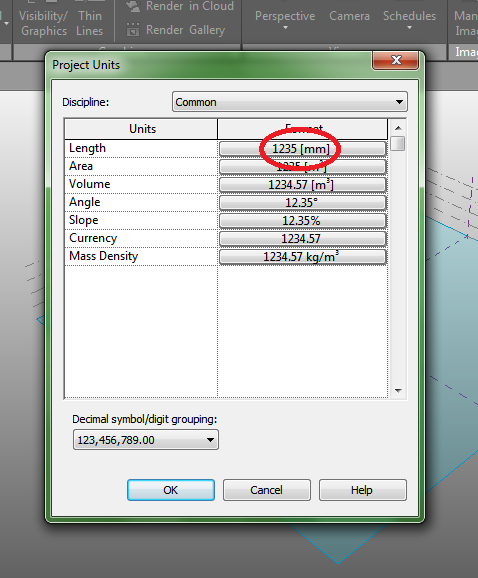
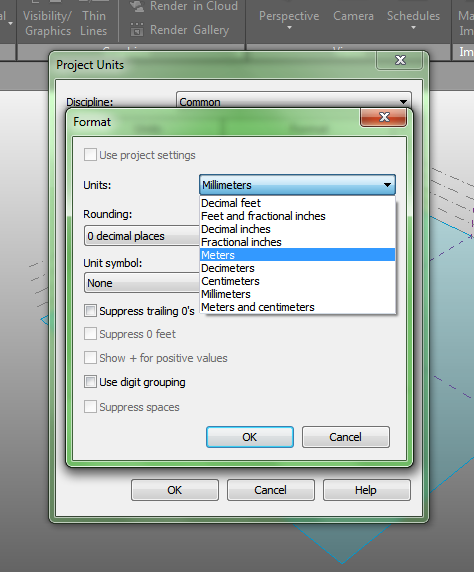
2. SET PROJECT UNITS
Select Manage>Project Units in the upper bar and set ‘meters’ as length unit.
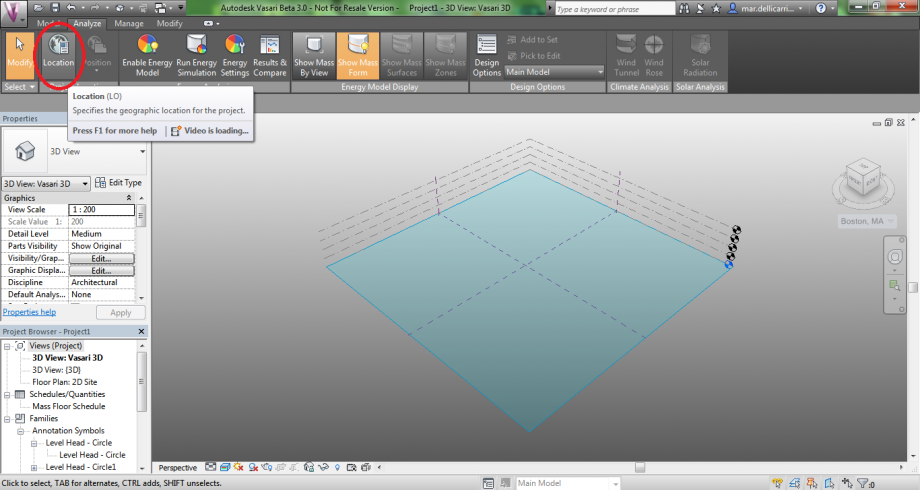
3. SET LOCATION
To set your location, select Analyze>Location from the upper bar.
! In order to choose a location, you are required to sign in with an Autodesk account. If you do not have one, sign up!
Search for your Project Address and then select a Weather Station, among the ones shown on the map. Check Use Daylight Savings Time (which I haven’t done), then click Import Site Image>Import.
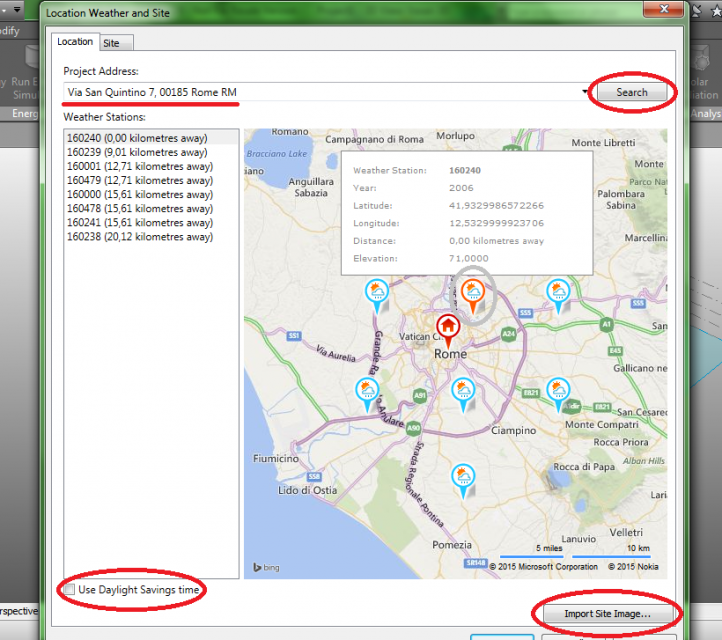
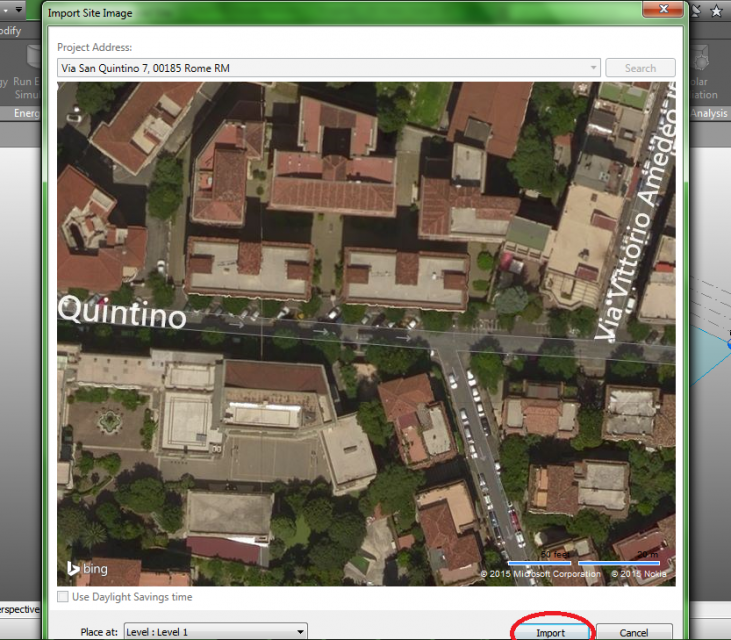
A map of your location will now be shown on the plane.
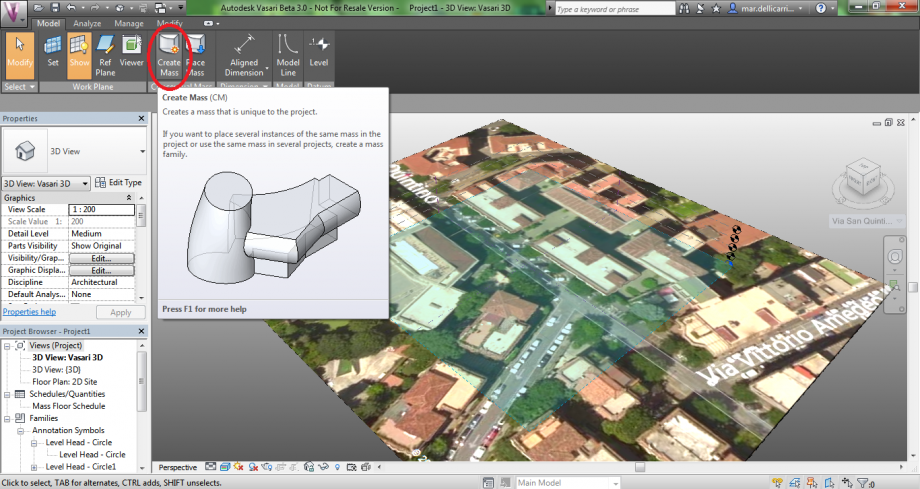
4. EXTRUDE BUILDINGS
Now that your ground plane is set, you will have to extrude the buildings on the map, in order to set the shadows. Select Model>Create Mass.
Select the shape of your building’s base. In this case, a rectangle.
To make it easier, set the Top view on the upper right side of the page, then draw your shape.
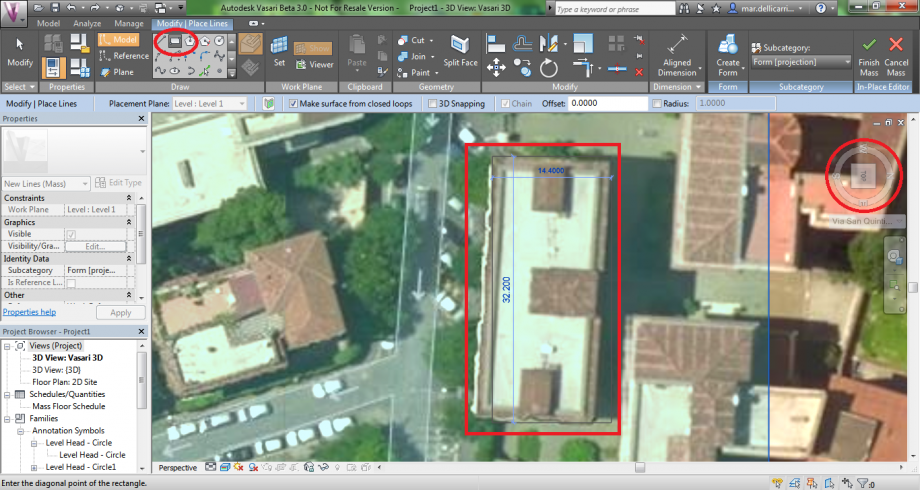
(Your rectangle might not be aligned with the map, but you can rotate it afterwards).
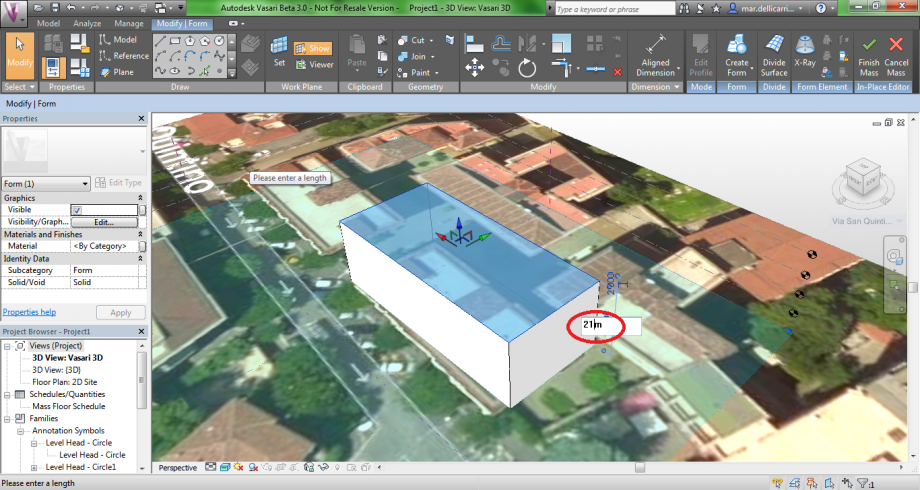
Now select your shape and click Create Form>Solid Form.
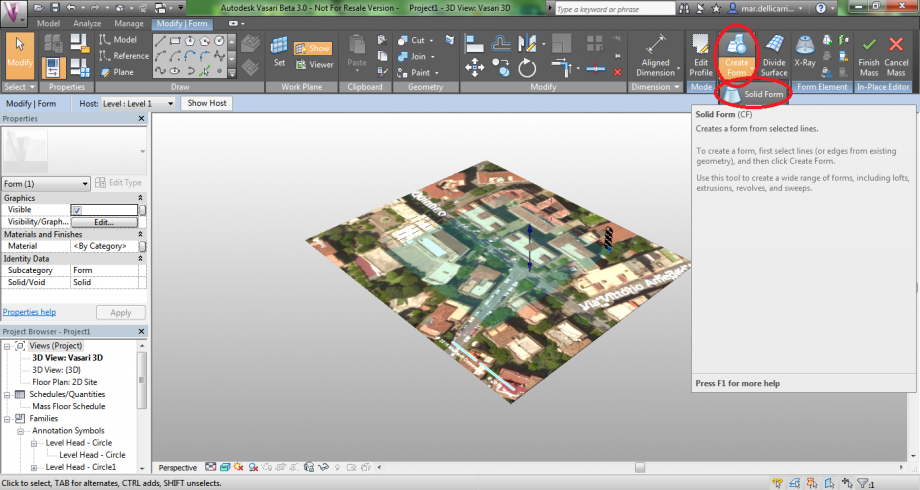
You can change the building’s hight by clicking the vertical dimension. Remember to write ‘m’ (meters) after the new dimension!
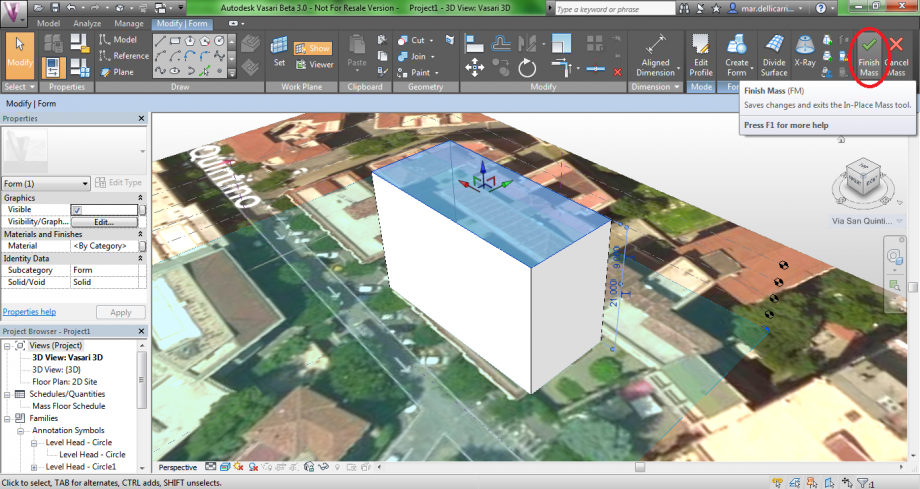
Then click Finish Mass.
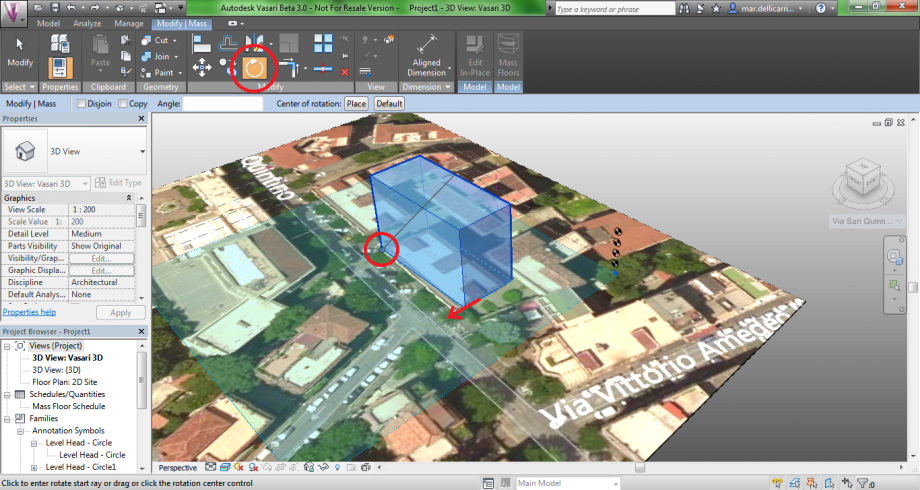
5. ROTATE
Select Modify|Mass>Rotate, place the Center of Rotation moving the blue dot. Then select the corner you want to move and replace it.
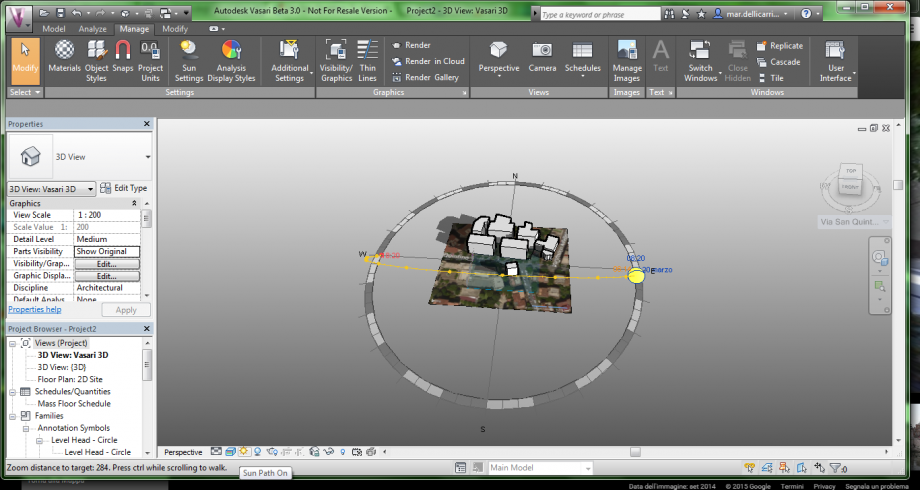
6. SHADOWS AND SUN PATH
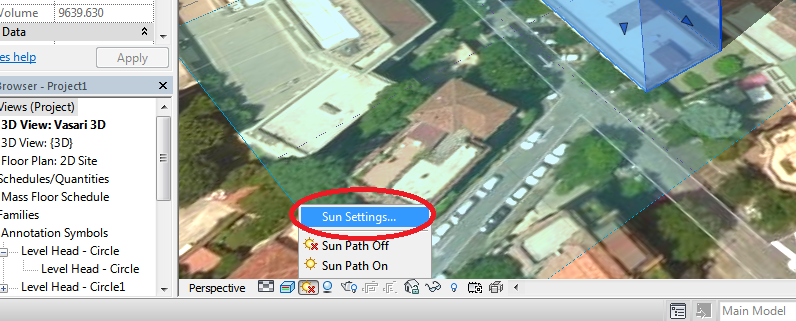
Let’s now consider the lower bar. You will see there is a red X on two icons: activate shadows and sun path by clicking on them.

Then press Sun Settings… and set date and time.

I chose to set March 20th, 8.20am.
Sun path (visible by zooming out, once activated) shows the position of the sun at that certain time.
You can now place all the other buildings (following points 4 and 5 again).
7. SET CAMERA
Select Floor Plan: 2D Site, from the left bar. Then click Camera, place the camera icon on the point of view and direct the visual cone towards the building.
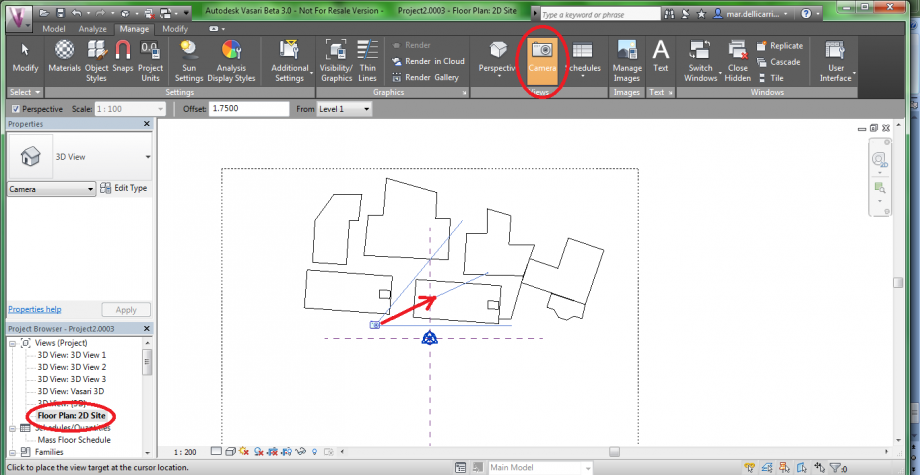
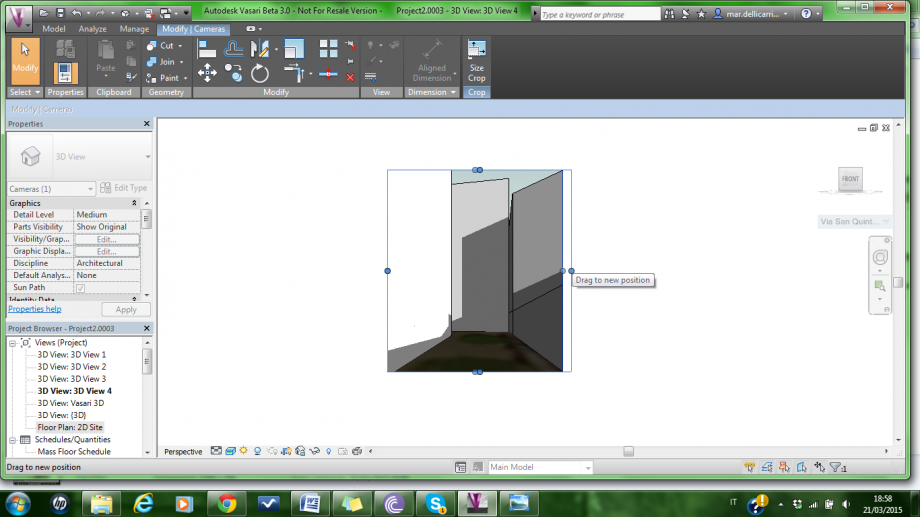
If the framing is too narrow, you can widen it by stretching the sides.
Check if sun path and shadows are still on, because they might have turned off.
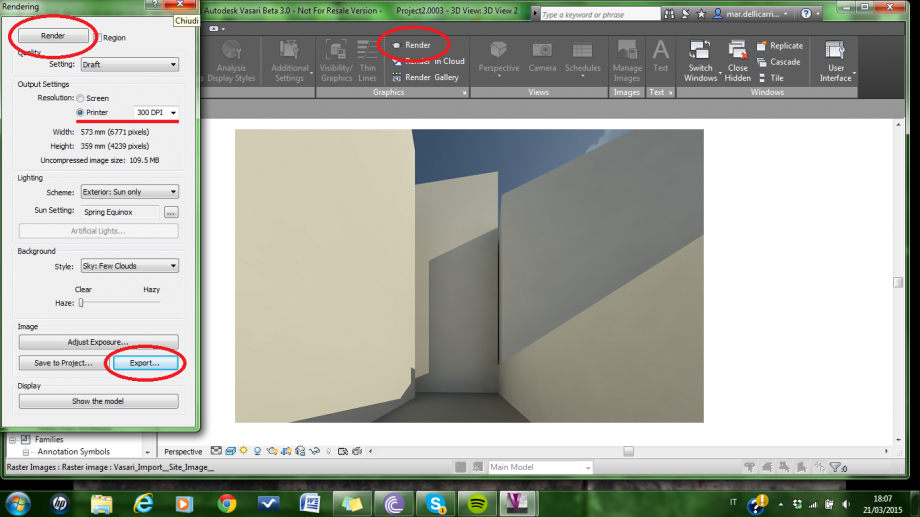
8. RENDER
Now select Manage>Render. Then click Printer resolution, and set the DPI.
Click Render, and wait for it to be done. If you like it you may press Export… and save it. Otherwise click Show the model to change settings.
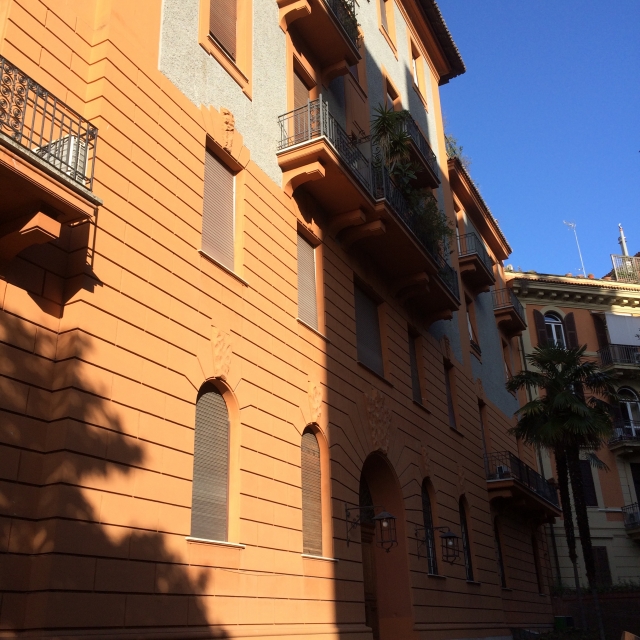
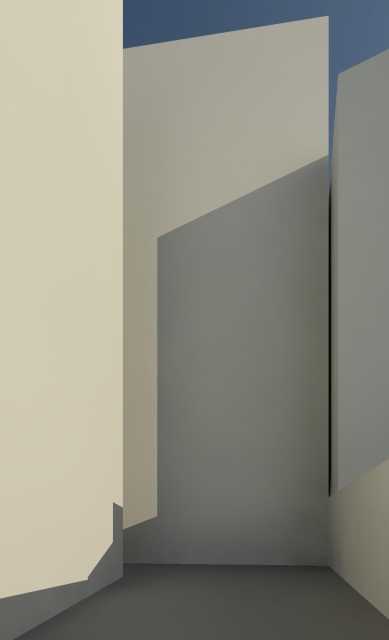
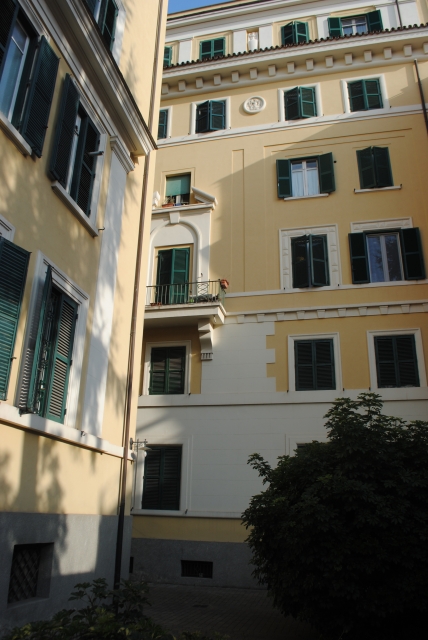
You can check your work by taking a picture of the building from the same point, on the same day and at the same time.
San Quintino st, 7 ROME. March 21st, 8.20am.
Now, a few more examples:
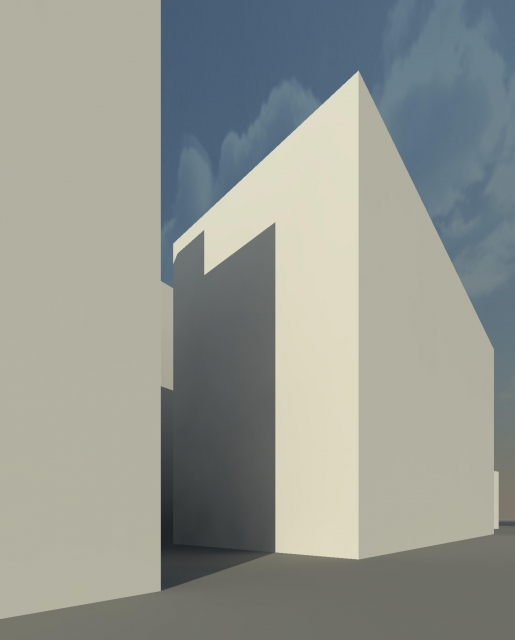
San Quintino st, 7. March 21st, 4.20pm.
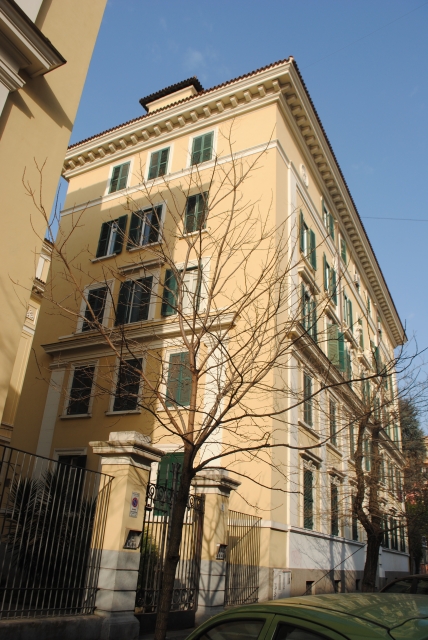
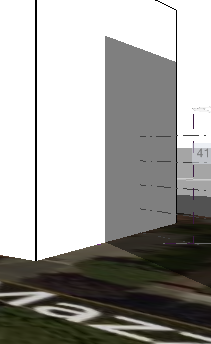
Mazzini av, 6. March 23rd, 8.00am.