Analysis of the tree of the Project
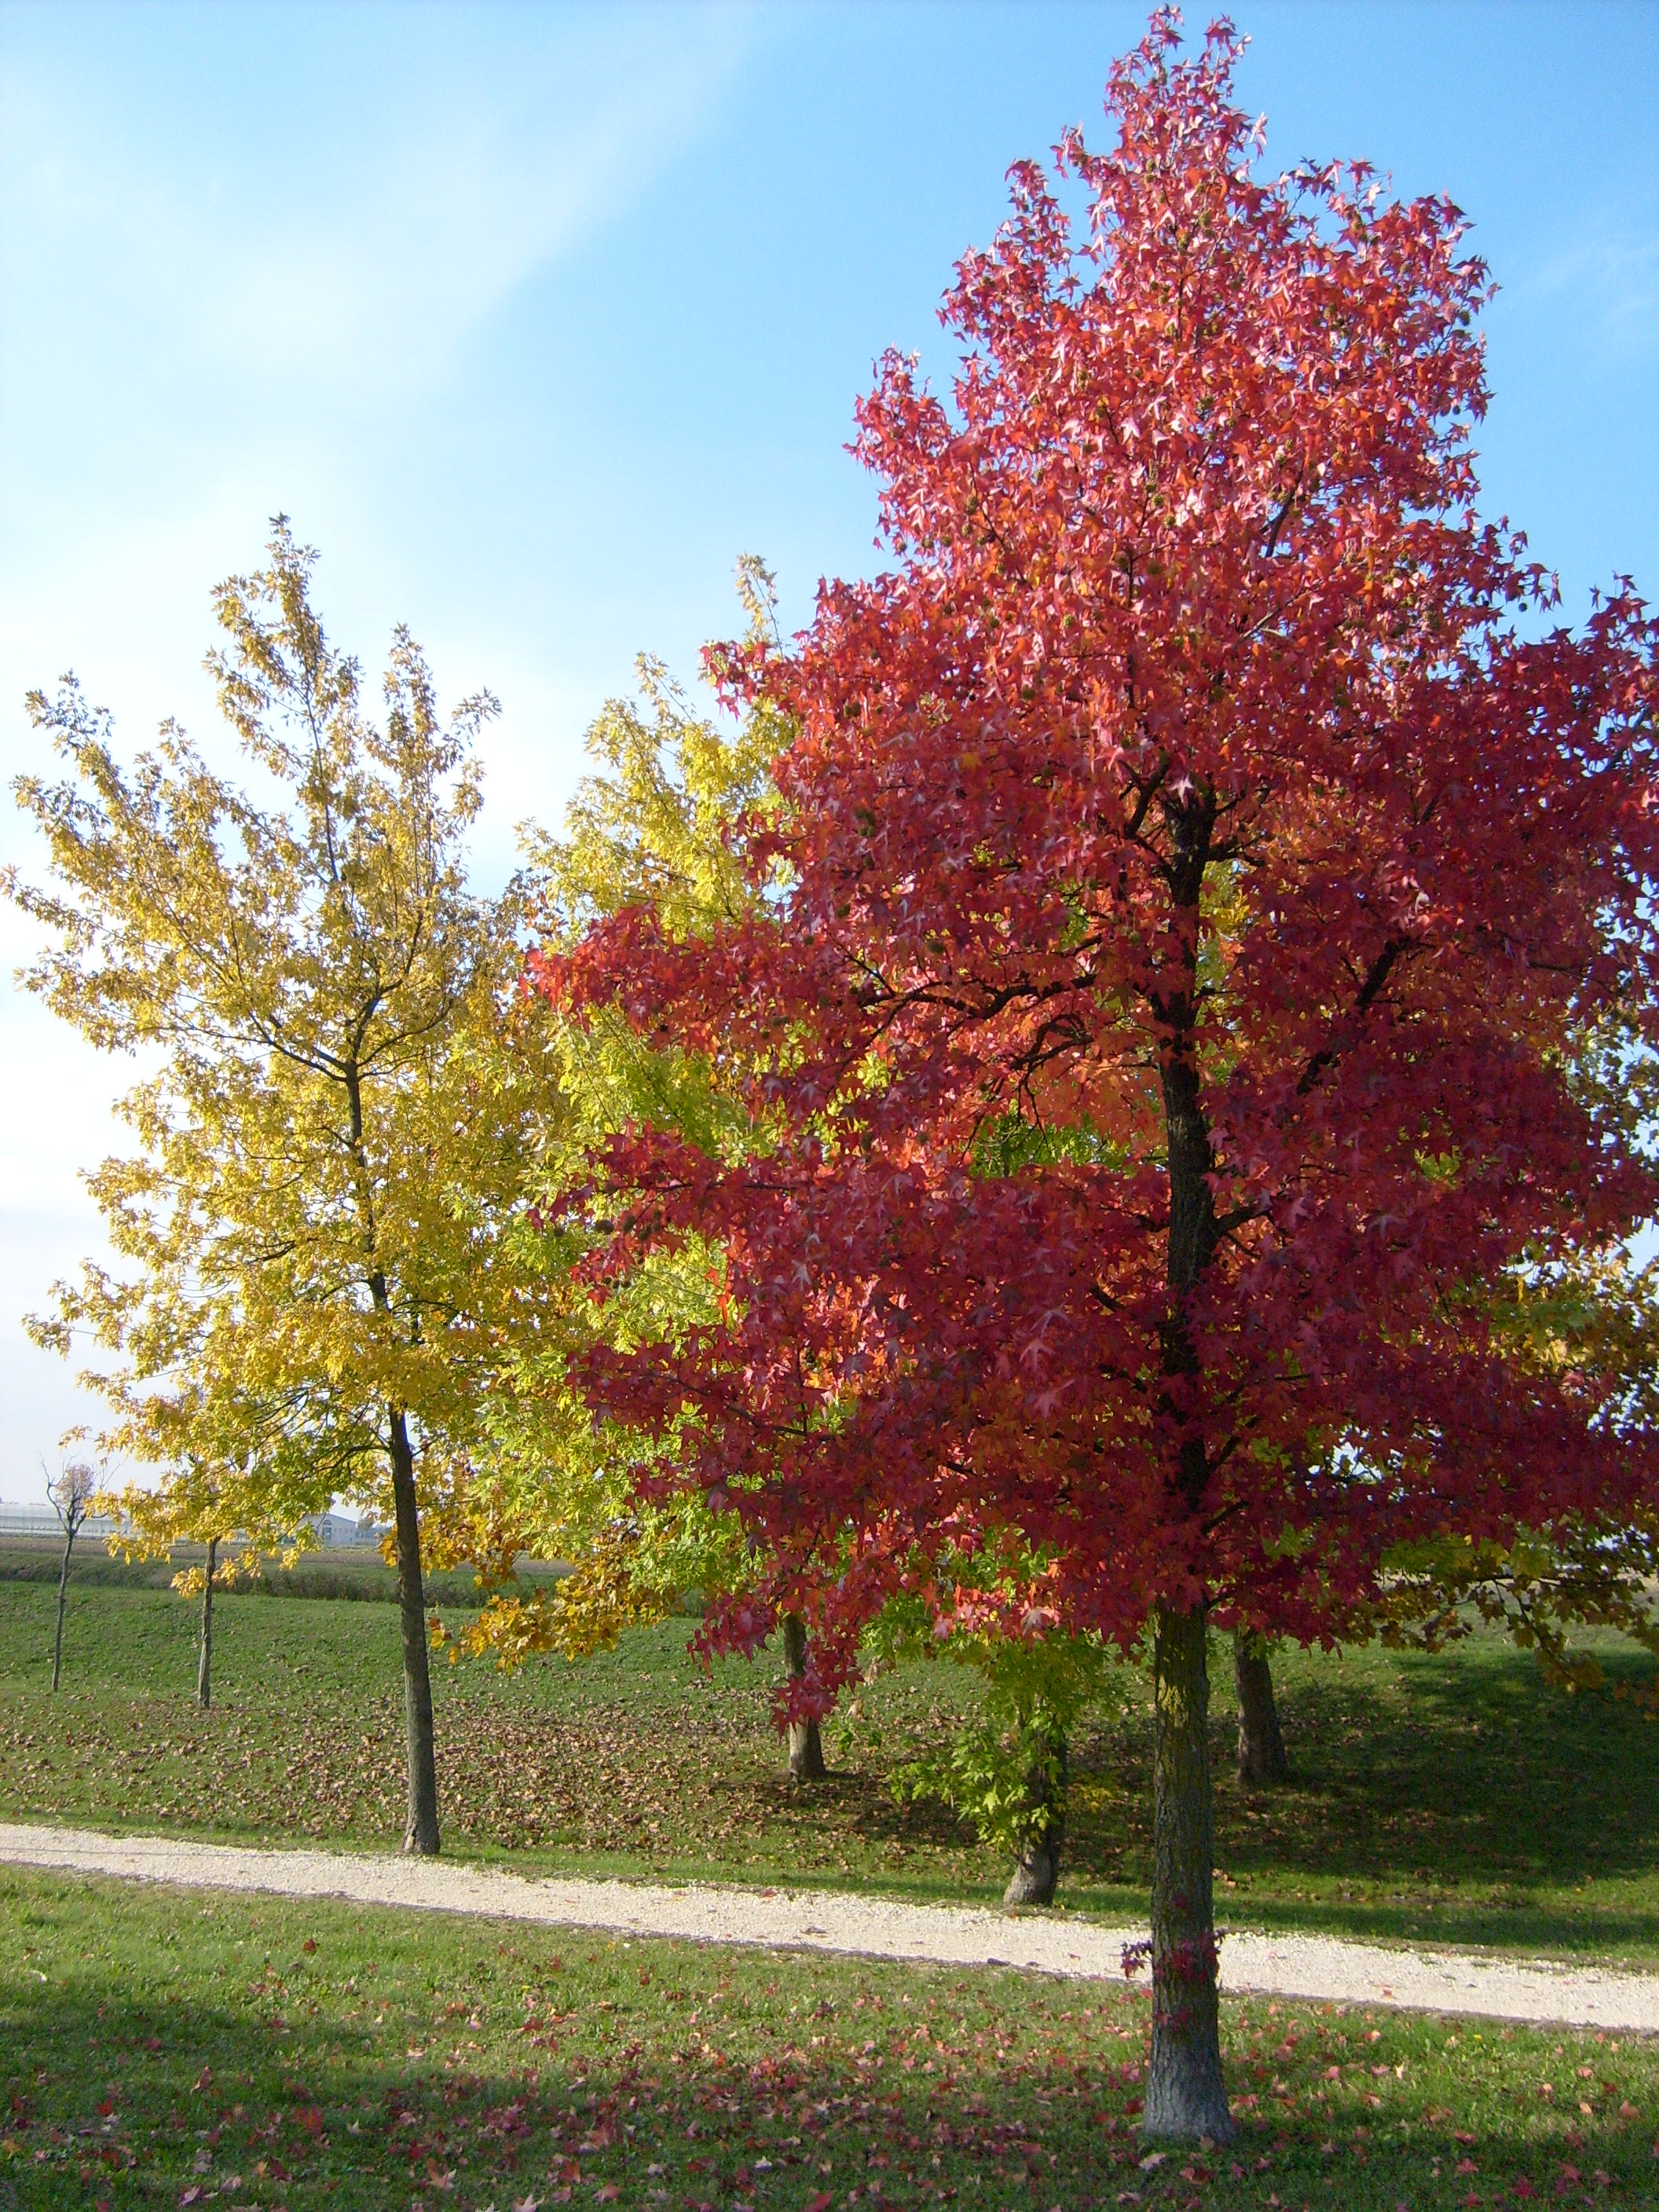
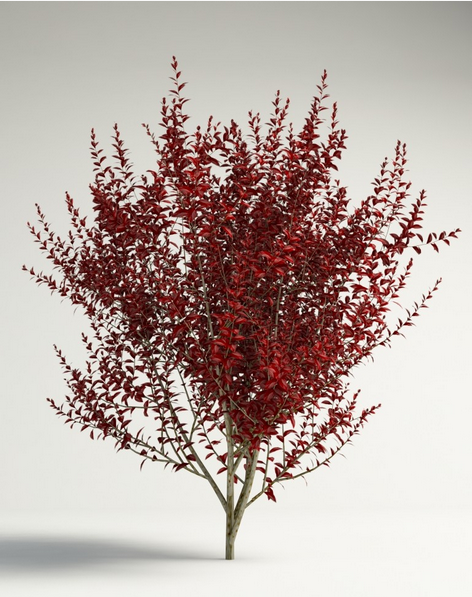
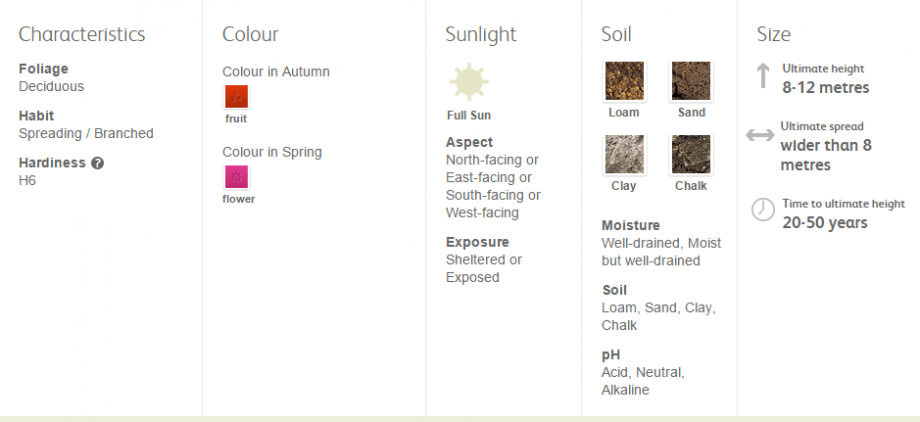
PRUNUS CERASIFERA 'NIGRA'
Prunus can be deciduous or evergreen trees or shrubs with showy flowers in spring, and often good autumn foliage colour. Some have edible fruit in autumn, and a few species have ornamental bark.
'Nigra' is a medium-sized, round-headed deciduous tree with deep blackish-purple leaves and twigs. Single, pale pink flowers open from deep pink buds before the leaves.
Cultivation
Grow in moderately fertile soil in full sun
Propagation
Propagate by budding or grafting, although softwood cuttings in early summer with bottom heat can be successful.
Suggested planting locations and garden types
Low Maintenance Hedging & Screens
- Step1 Open Vasari and A New Conceptual Mass
Run the Program
Click on New but in the Section of Family;
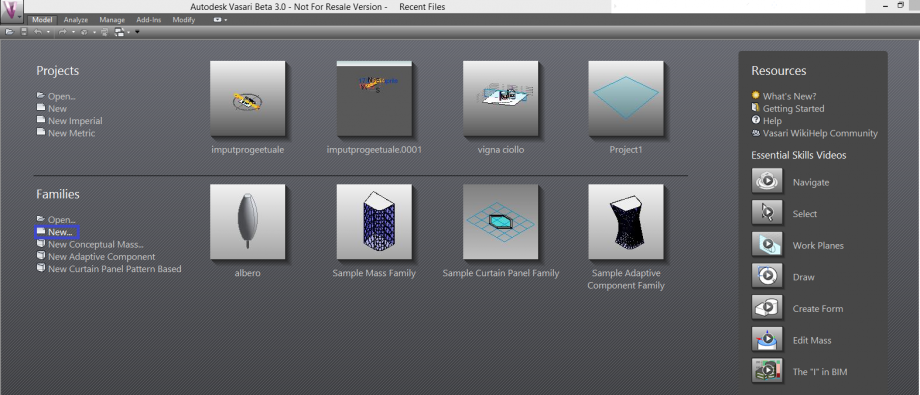
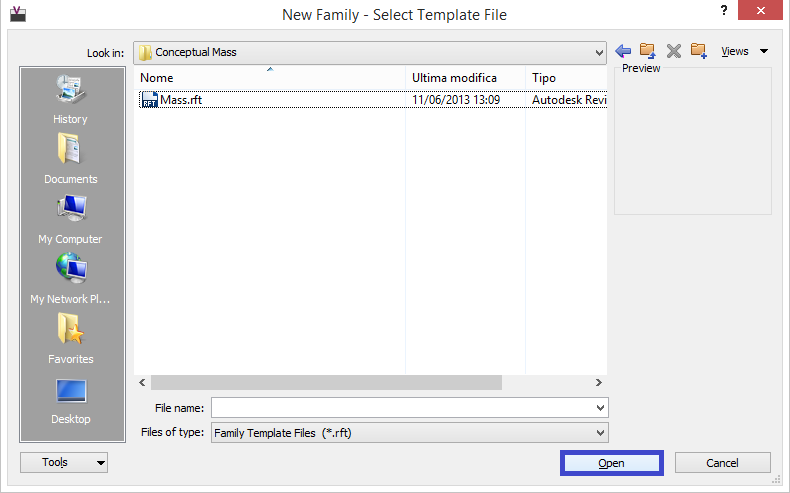
A table will opened and it has to check if there is Conceptual Mass and Mass.rft;
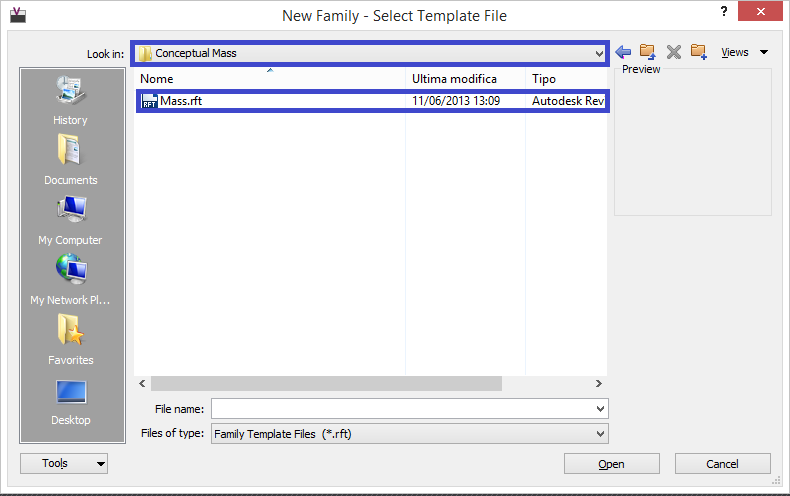
Click Open;
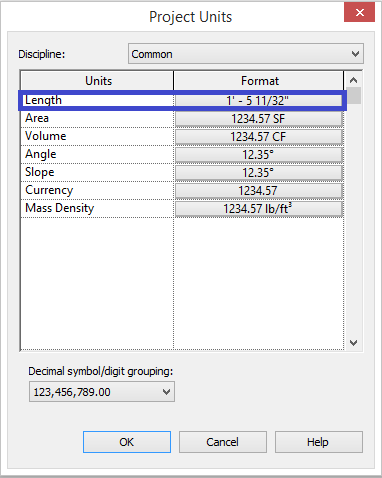
Before Start to Draw the tree it has to change the project units with the right units, in this case, metres;
Go to Manage and Click on Project Unit;

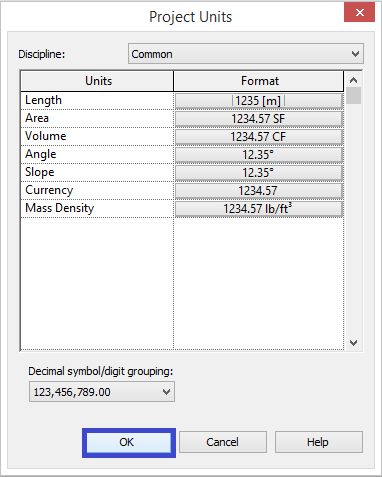
Select on the Lenght and feets will be changed with Metres, thank Click OK;
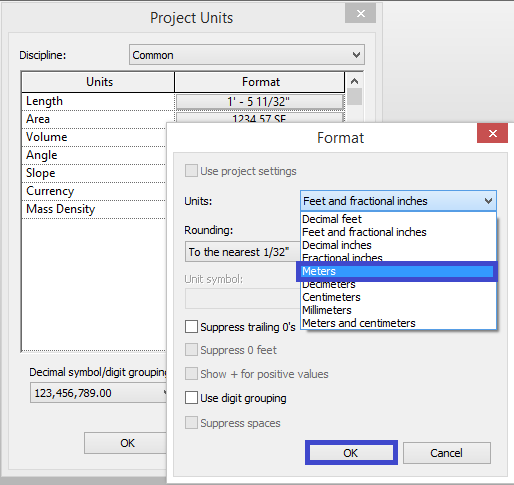
Click OK;
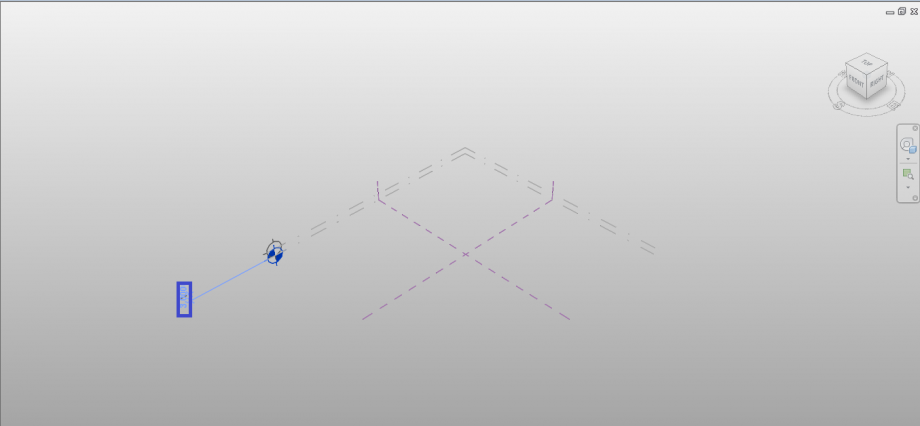
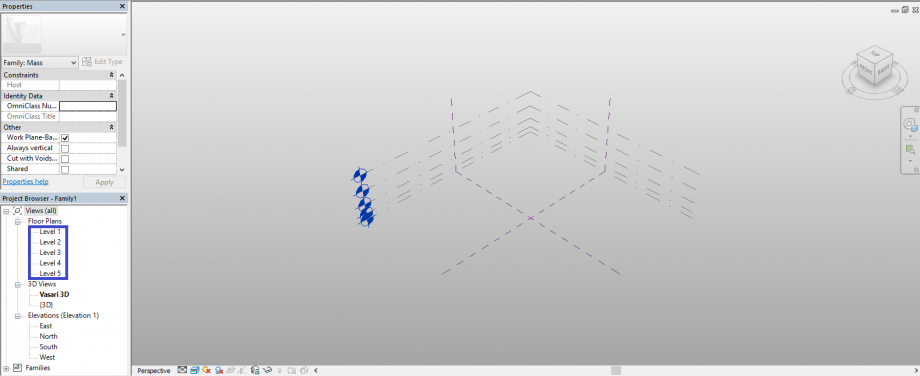
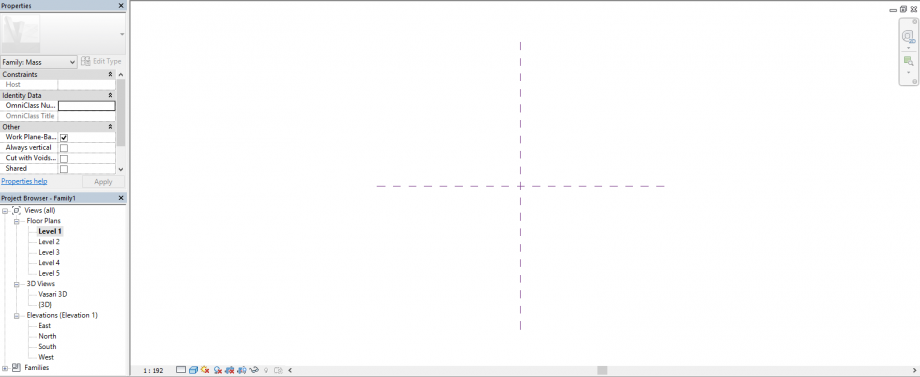
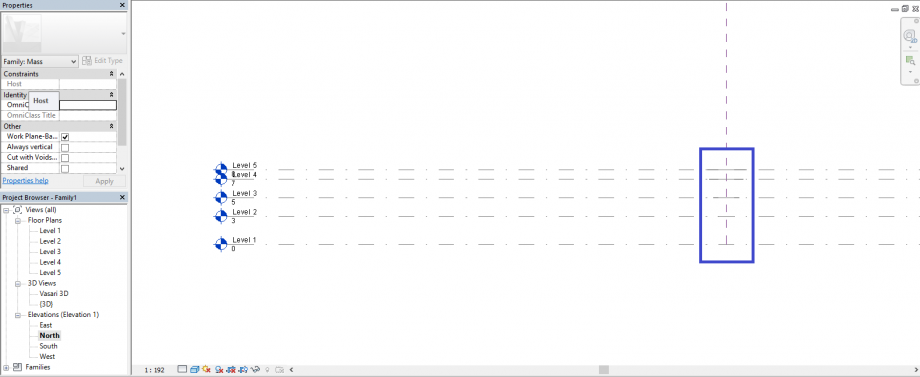
Go to Model and Click Level;

The tree is tall 8 metres, so it has to Create 5 Levels cause the foliage and the stem have differents dimensions;
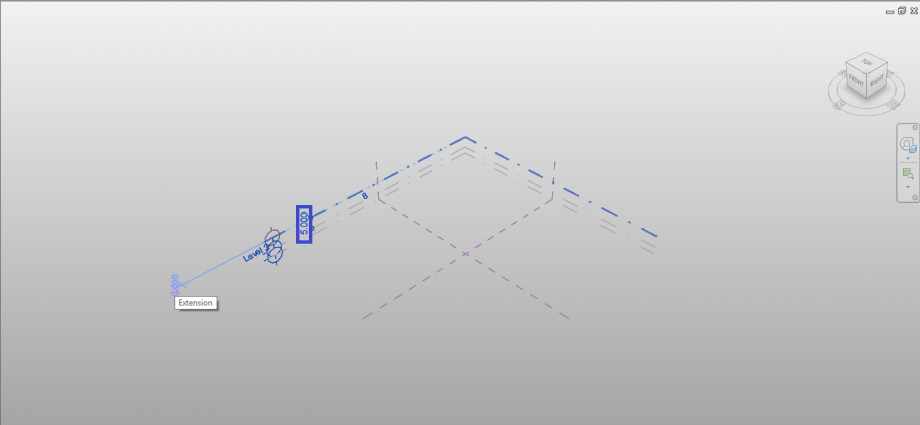
Start with the Level 2 of 3 metres to creat the stem;
Continue with the Levels 3 of 5 metres, Level 4 of 7 metres and Level 5 of 8 metres to divide the foliage in order to draw the different circles;
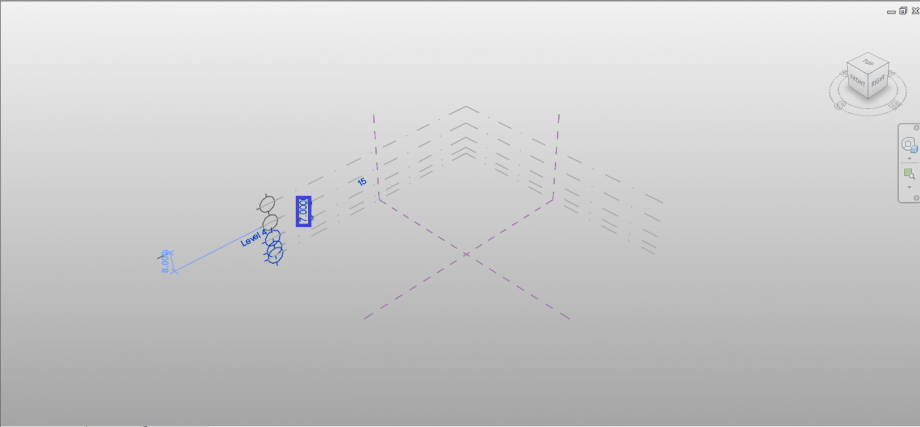
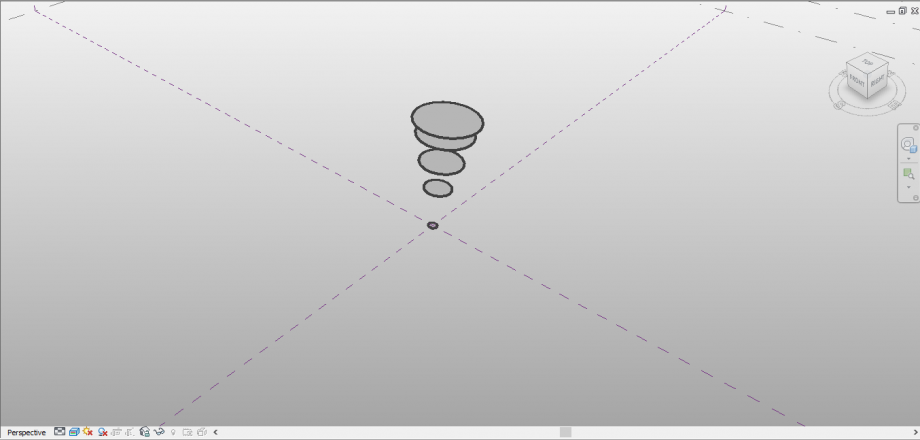
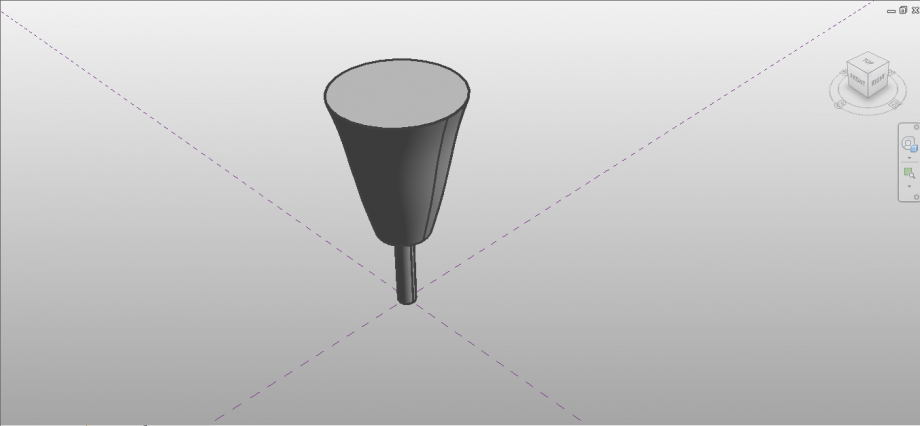
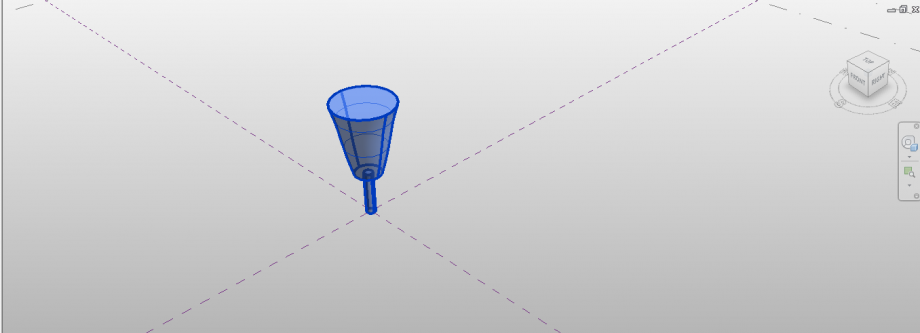
It obtains something like that;
Click on Level 1 in order to go to the top view;
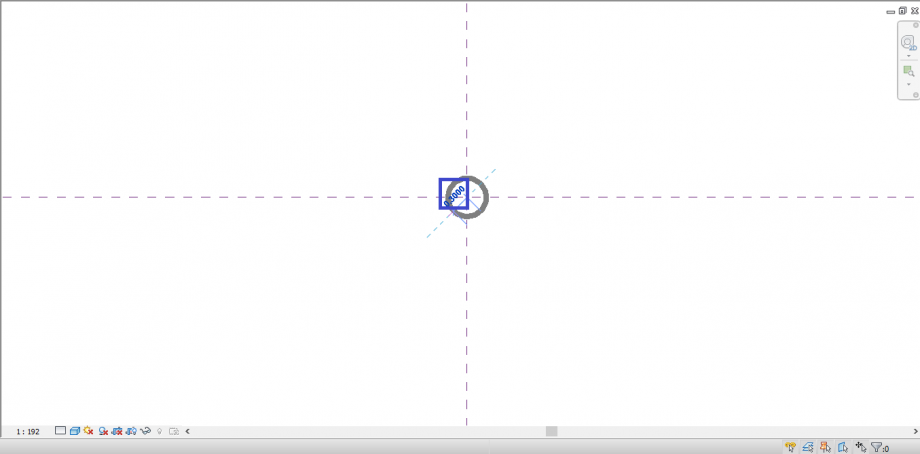
Step2 Draw the circle of the stel and the circles of foliage
Go to Modify, Click on Circle;

First drawing the Circle Click on Draw on Plane, just to be sure that you are drawing on the right Level;

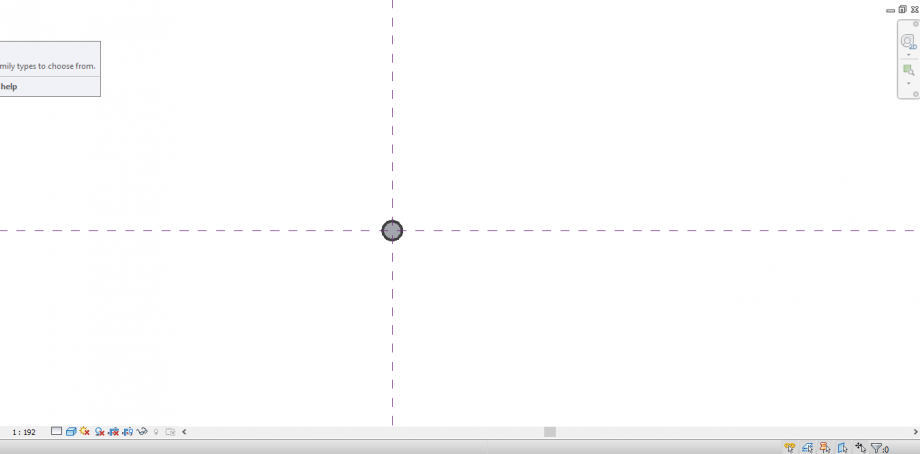
Draw the Circle of the Stel with the right dimension, in this case, o 0.30 metres;
It obtains this result;
Do the same Passages with the other circles on the different levels of the foliage and at the end of drawing it will obtain;
Go to the North view to make sure that all the circles are in the right position;
Select All the circles;
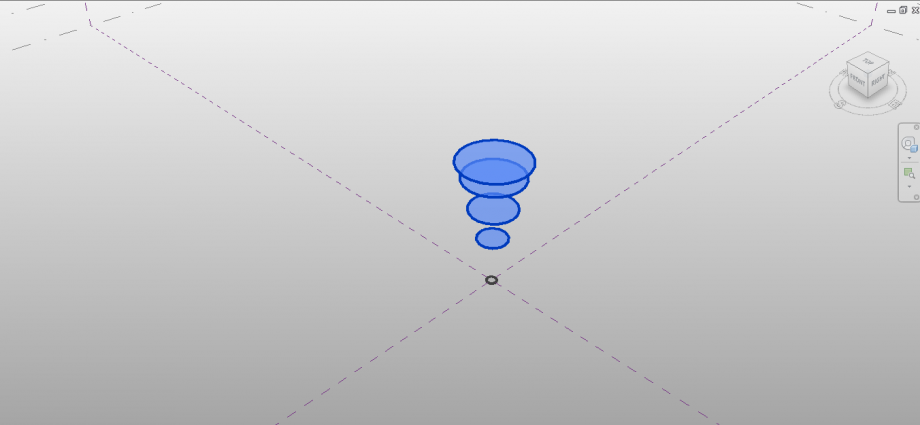
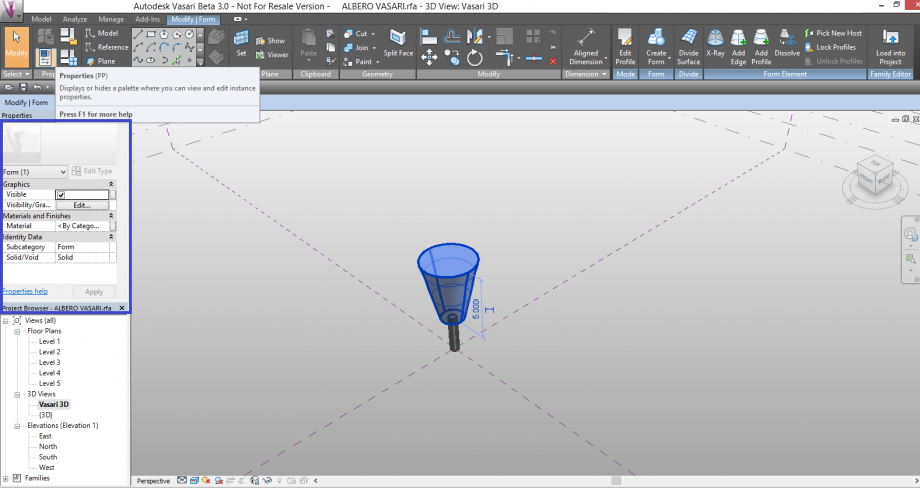
Click on Create Form in order to Create the foliange;
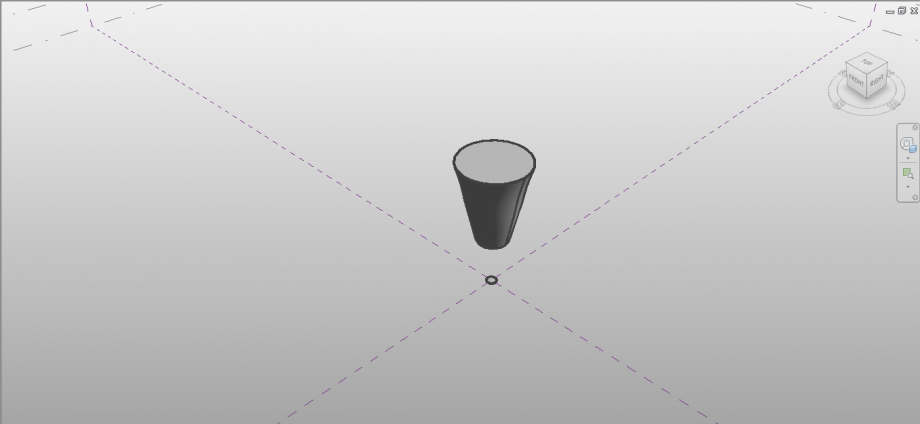
Select the circle of the Stel, Click on Creat Form Solid Form and it will obtain the stel;
Step3 Enter the parameters
Once we created our object we are going to enter the parameters for growth and the transience of the leaves;
Set first parameter to the foliange in order to eliminate in the winter season
Select the Foliange;
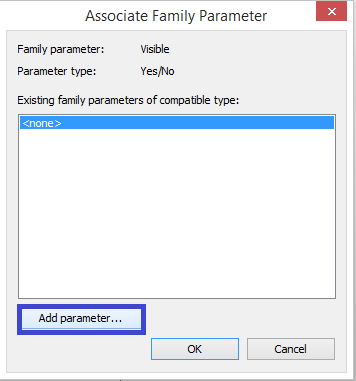
Click on Proprieties in order to open Associate Family Parameter;
Click on Add Parameter to Creat the parameter of the foliange;
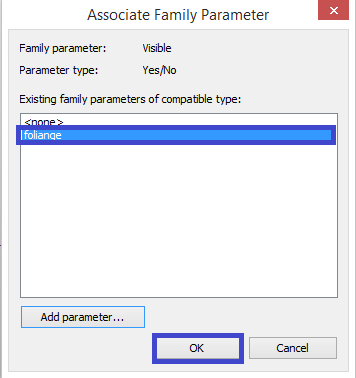
A table will be opened and It has to Click on Istance and also to Name this Parameter;

Than Click Ok;

Select the Foliage Parameter, than Click OK;
So the Parameter now works;
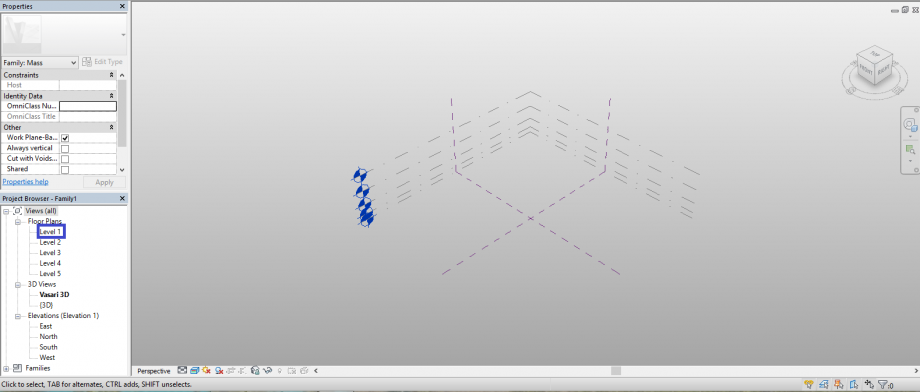
In order to bring our tree in our project, open the previous project;
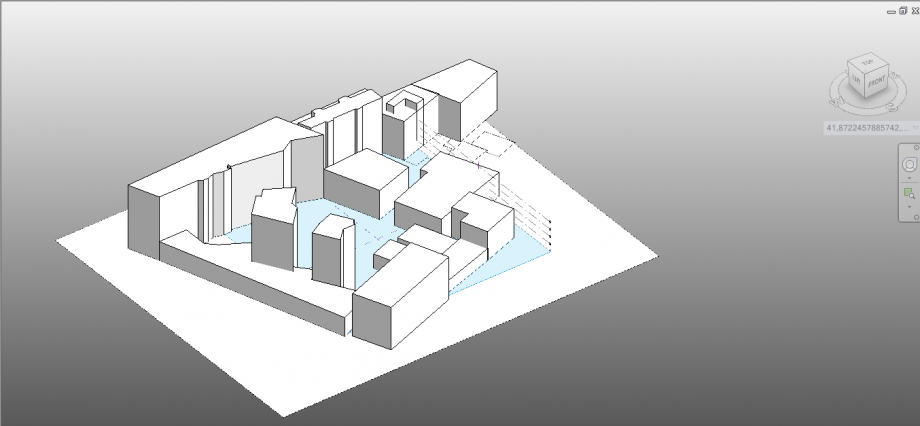
Select All the tree;
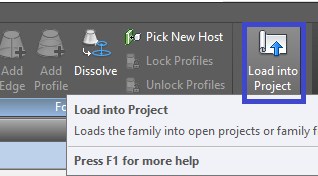
Go to Load Into another Project;
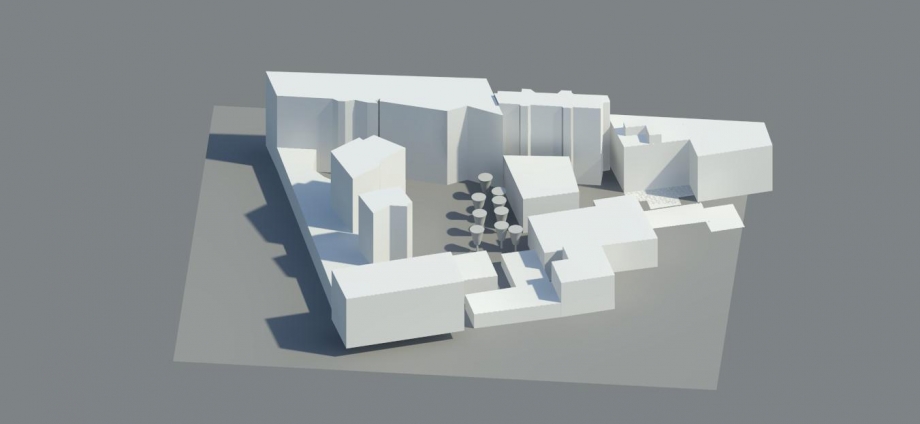
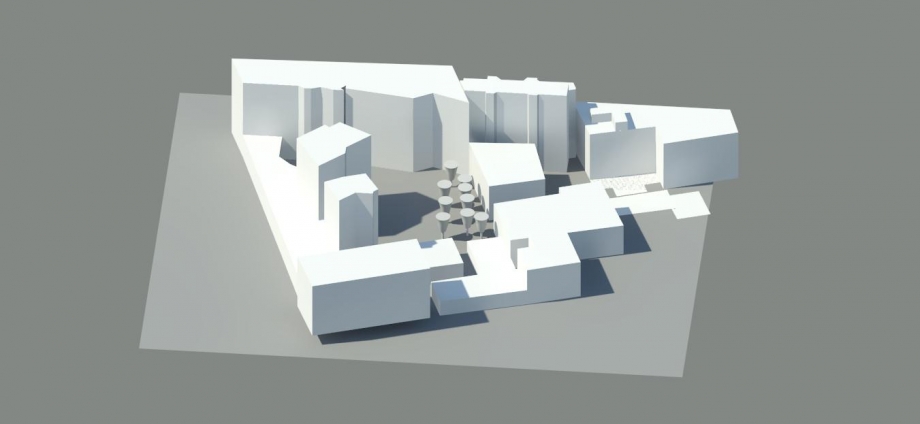
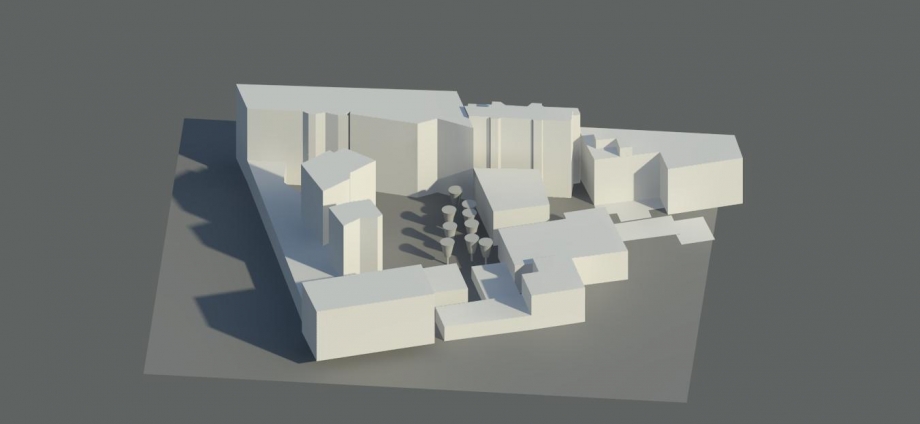
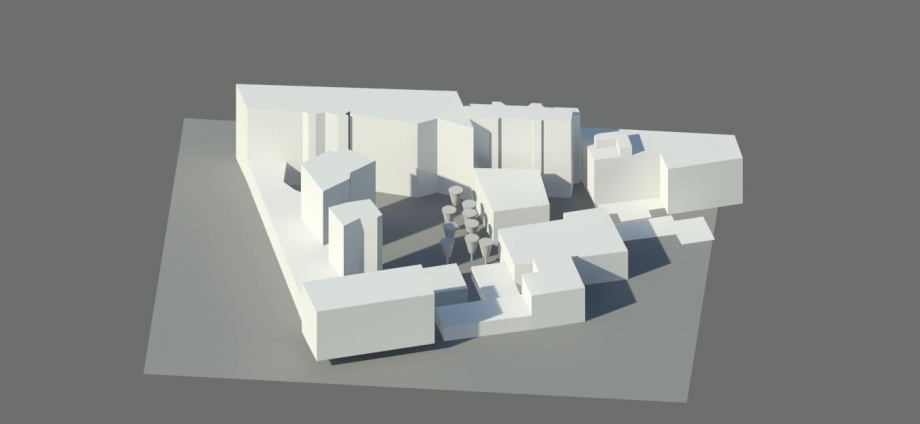
Automatically the tree will appear on the previous project and It is possible to collocate the tree;
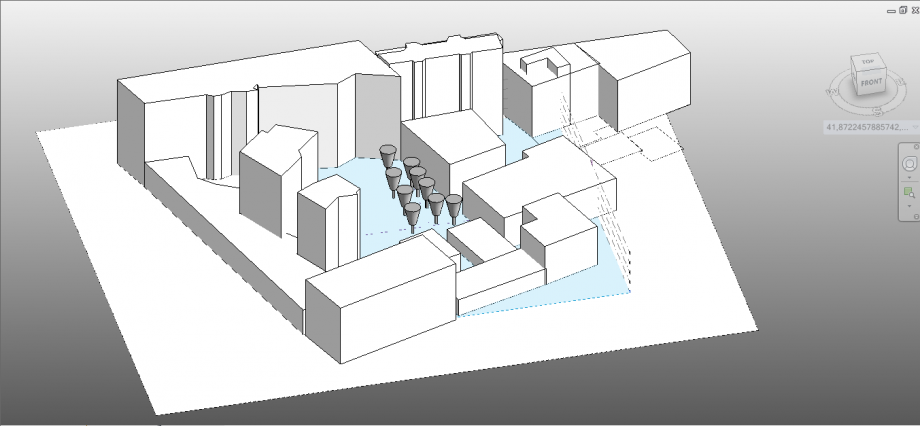
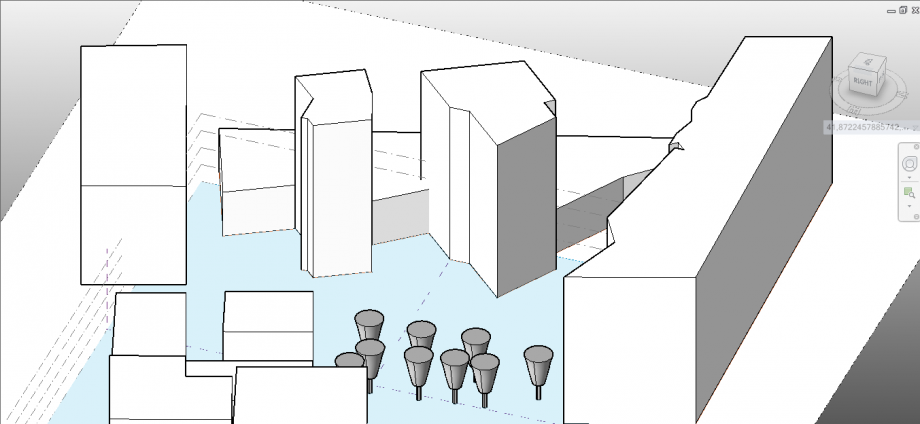
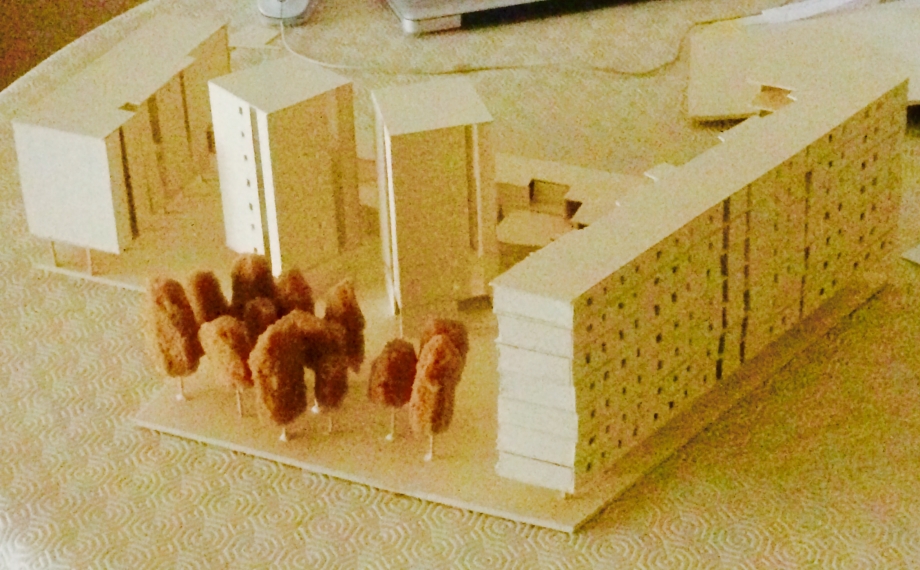
However the position of the trees doesn't affect too much with their shadows the sourronding buildings.
- 21/03/ 2015 at 10:00 AM and 4:00 PM;
- 21/12/ 2015 at 10:00 AM and 4:00 PM;
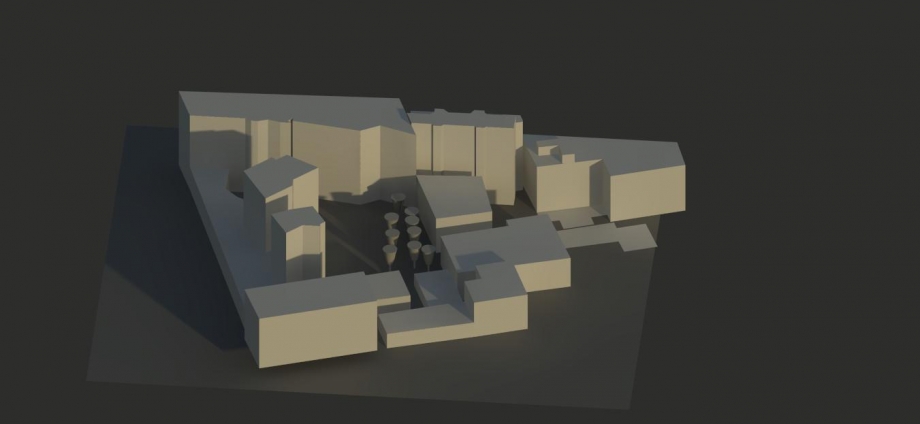
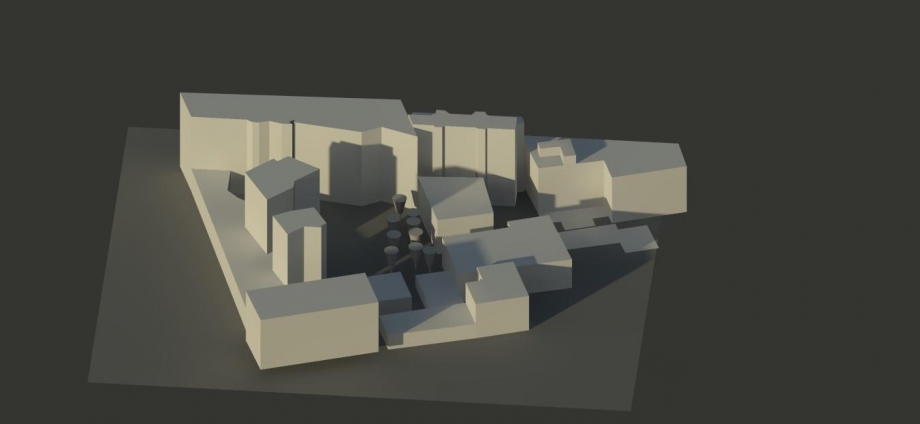
- 21/09/ 2015 at 10:00 AM and 4:00 PM;
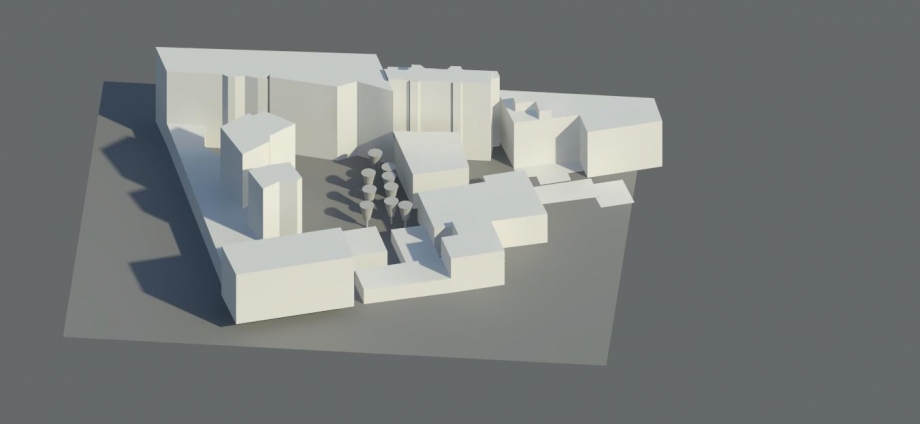
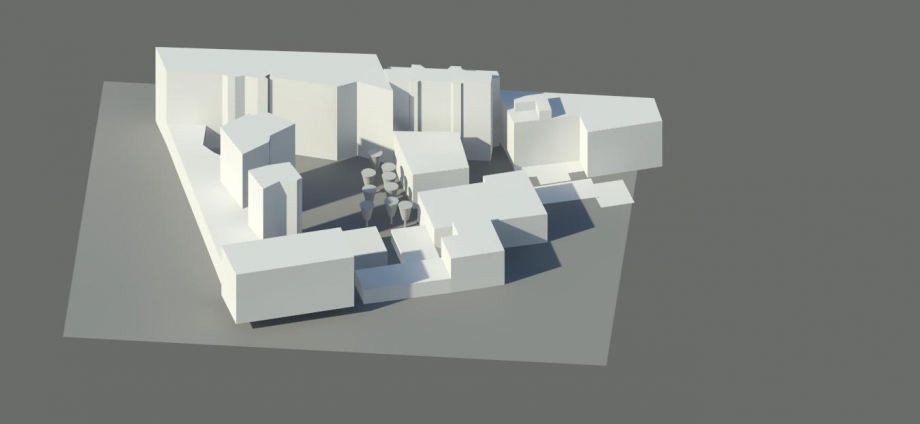
- 21/06/ 2015 at 10:00 AM and 4:00 PM;