Vegetation_Prunus Nigra
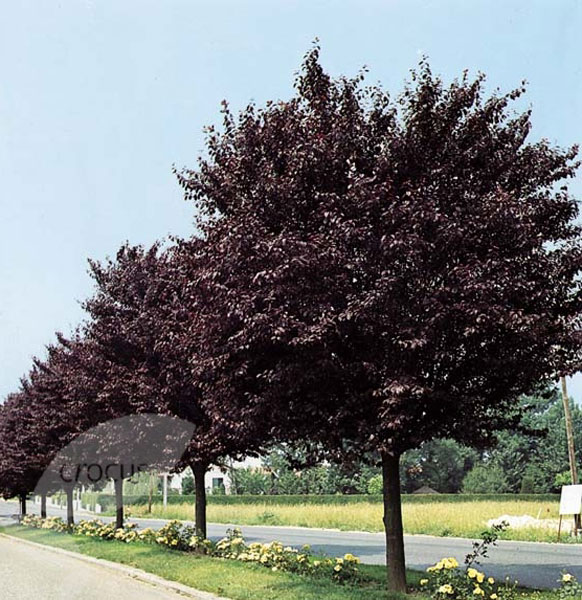
The Prunus Nigra is a species of Prunus native on the eastern North America, brought in the Mediterranean area and that we can frequently find in the city of Rome. It's a tree that can grow over 10 meters with a trunk up to 25 centimeters diameter with the low part dense crowing of stiff rigid branches. The leaves are 5-12 centimeters long and 3-7 centimeters broad, with different kind of shapes: heart, rounded at base or abruptly contracted to a narrow point at the apex.


To create this kind of tree we have to use the "Families" group at the opening screen of the program, clicking on the icon "new" as we did in the first image.

What we are going to find next is a screen that ask us to "Select Template File" with three options. We have to click on the fist one that says "Conceptual Mass" that will open another page with just the option "Mass" that is the one we wanted.

After doing this the usual page of Vasari will show up, but at first, as everytime we have to go up to the command "Menage" and select "Project Units" to change the measures, from Feet to Meters, with wich we have to draw.


Done this we can start to create our tree, but to do this we need to add more levels to draw in so it will be easer to create different forms with different measures. To add levels we need to go always on the command bar and "Model" group of options we can choose "Level" and add them as many as we want with different distances between each other.

Once we have decided how many levels we want (we can also add them when modelling), we have to first of all to create a circle, we can find this option always on che command bar, "Modify"--> "Draw", with the diameter of the trunk, and create a mass for it determinating the height.

Created the trunk we havo to start the foliage using the different levels we have added before. For each level we can create a circle, one on another, always checking the wiew and the cricle position by changing the scree view on top left (the cube). To be sure to draw on the right level and not to the one above or below, click on "Draw on work plane ".


Now we have to create the form, in our case the foliage of the tree, we have to select all the cirles we have done on each level and click on "Create Form" and then on the window below "Solid Form". The result will be an example of the tree as in our picture.

Now that we finished modelling, we have to insert the tree model in our project, and to do this we have at first to open our project file, click on "Model" on the command bar, "Place Mass" and then to insert the tree on "Load Family". After clicking on this command it will open the list of the files where we can select the file of the tree and click "Ok".