


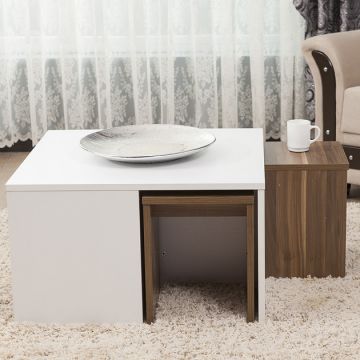
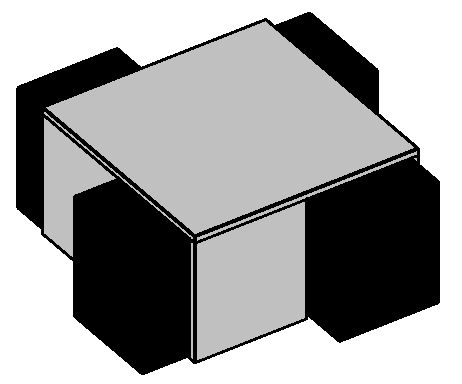
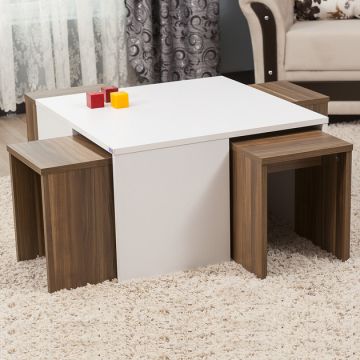
Multifunctional coffee table
These functional coffee table can be used as 5 parts. It has main body and also it has 4 movable parts which are used as small table and small seat.
First of all I created project file named as "IB_famigliamadre". Then I open new family file as "Metric Generic Model Face Based".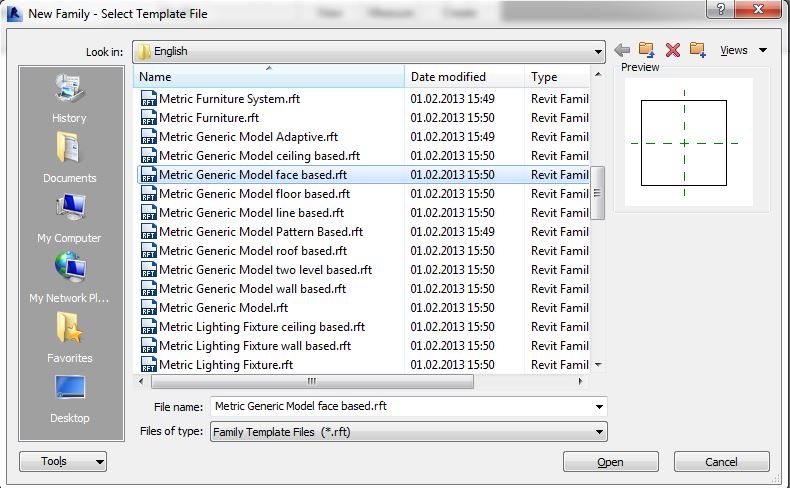
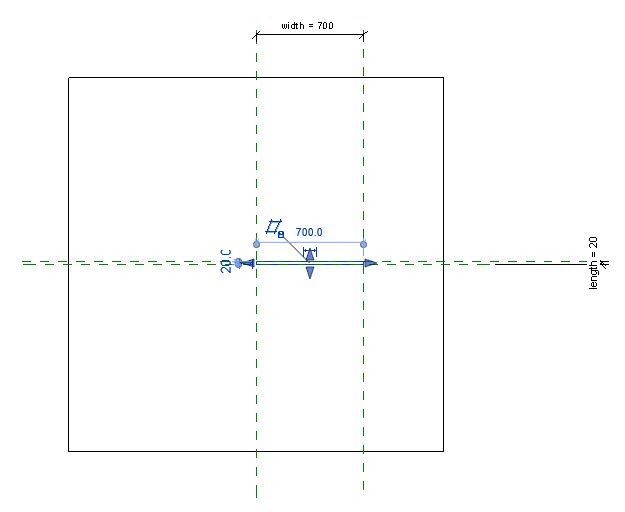
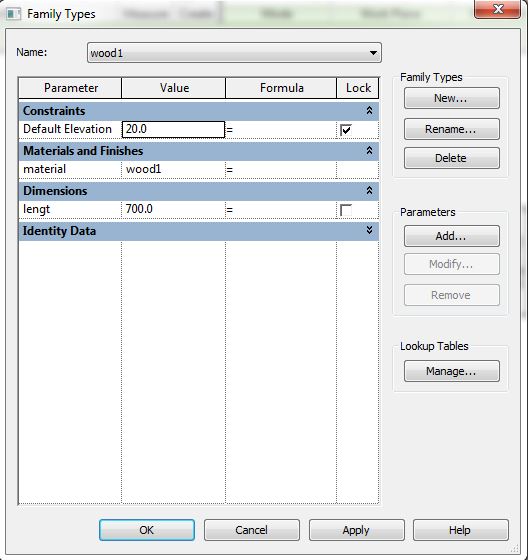
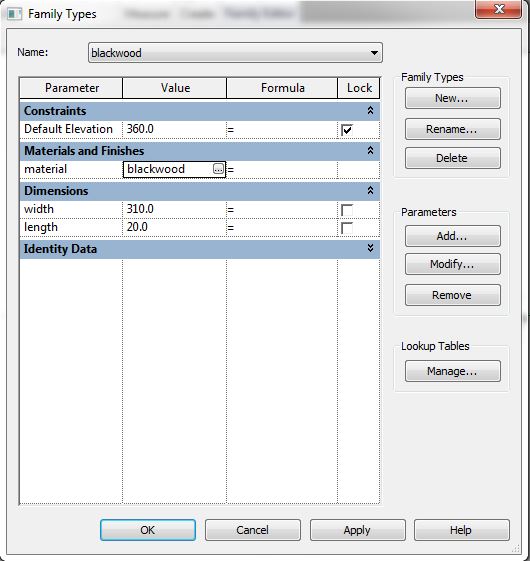
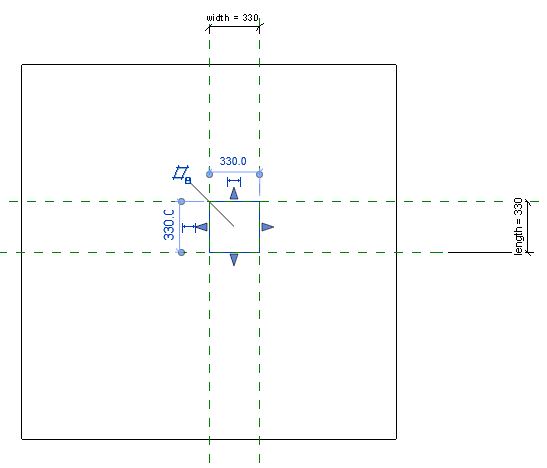
Firstly I created legs of the main body. I drew my references by using referance plane and drew the leg. I defined my parametres as width and length.
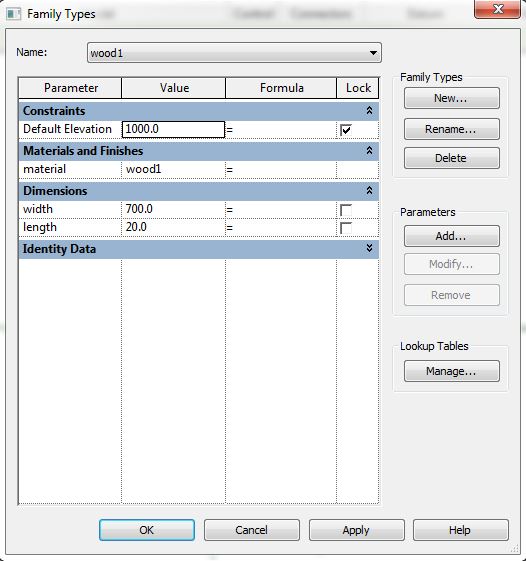
Then I define my material as parametre and create new material as wood1 which is used for main body.

You can see my family types for the leg.
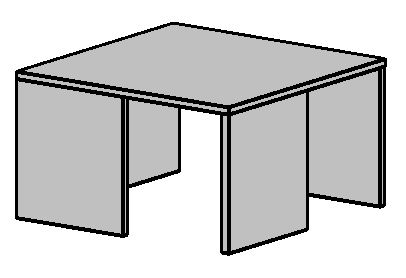
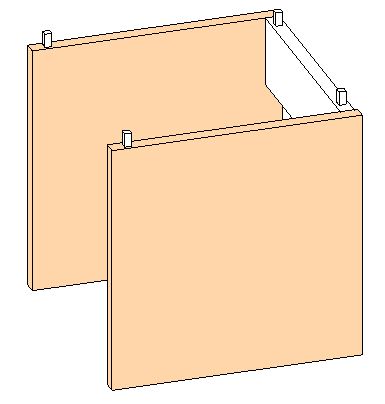
Then, I clicked to "load into project" and clicked "place on work plane". I need 4 legs for main body and they should stand as in the below picture.

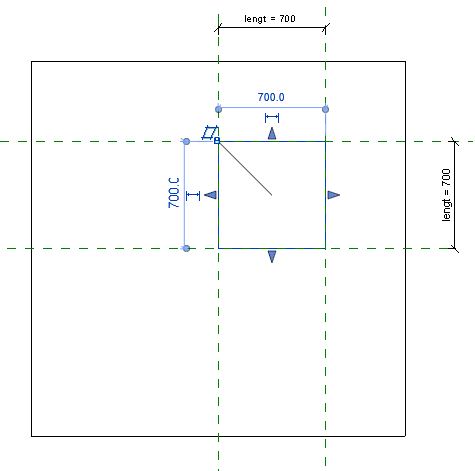
I opened new family file as "Metric Generic Model face based". I created my references and parametres for the surface of the main body.
I defined the material as I did before. I used the same material as the material of legs.
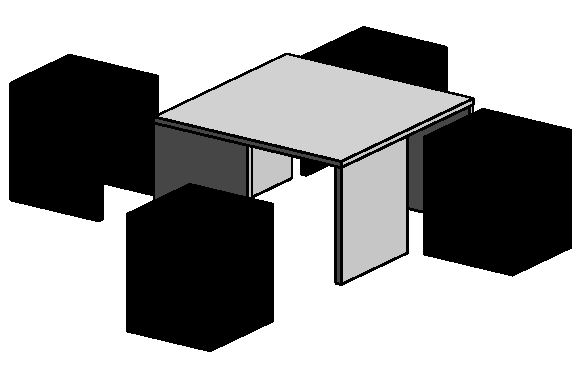
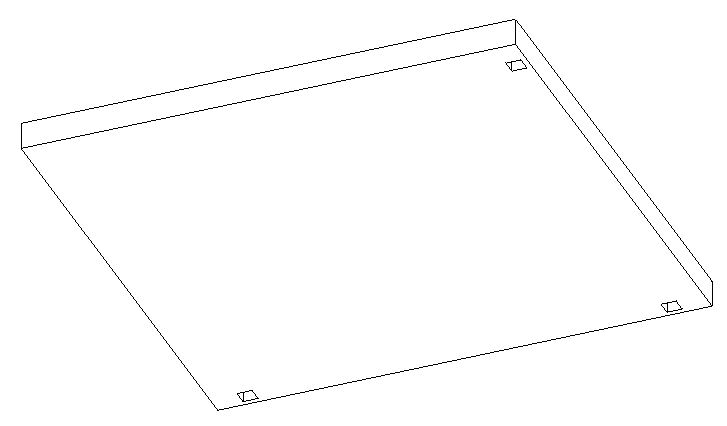
I clicked "load into project" but this time, in project file, I click "place on face" because it should be on the legs. This picture shows the main body.
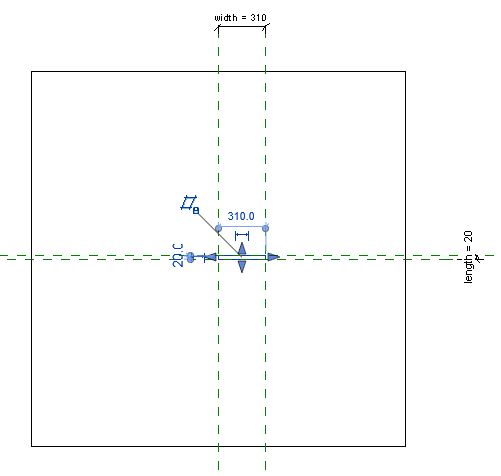
Now, I need to create small tables. First, I created my legs. I applied the same steps as I did before. This time I need different material so I created different material named as blackwood.
I upload it in to the project file by using "place on work plane" tool. Then, I open new family file to draw the surface of the small tables.
I upload it in to the project file bu using "place on face" tool. I put them on the legs. Finally, its top view is as below picture.
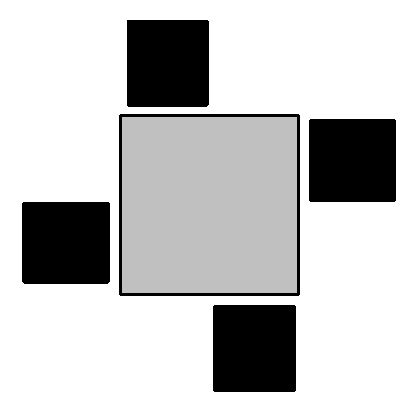
You can put the small tables where you need and when you're done, you can put them inside the main body. Thus, they don't hold so many places.
Commenti
StefanoConverso
Mer, 19/11/2014 - 15:17
Collegamento permanente
ok tectonics but...
Where's Irem?
Try more variations for next works ;)
Even "subtle". Or did I miss anything?
Manuel Andrè Bo...
Mer, 19/11/2014 - 18:27
Collegamento permanente
mother family or mother project?
hi Irem,
as you showed into the post, you created a new project named "mother family". It's not correct, in this exercise you need to create a new family as "mother family" and not a new project. We would like that you make experience (and learn the potential) about family's nidification processes.
only in the end, you can load into a new project your mother family, already assembled
Irem Bahcelioglu
Mer, 19/11/2014 - 18:28
Collegamento permanente
What do you mean by trying
What do you mean by trying more variations and "subtle"? Could you explain what should I do or could you send me an example?
Irem Bahcelioglu
Mer, 19/11/2014 - 22:19
Collegamento permanente
Modify the project
I tried to modify the project as I understond. I created family file as "Metric Generic Model" and saved it as "famiglia madre". Then open new family folder as "Metric Generic Model face based" and I started to create the parts of the project. Each part was created as different family file.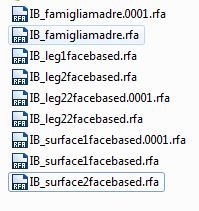
In addition to previous project, I tried to think about mounting more detailed. I added or removed some parts of the object for mounting.
I used the same measures and the same parametres to the previous project. I combine all the parts in the file "famiglia madre". And final view is as the below.
Manuel Andrè Bo...
Mer, 19/11/2014 - 22:47
Collegamento permanente
better :)
Now better, is clear your strategy of system assembly. I think the Professor was talking about more variation. Maybe form variation, or material variation...now, that you assembled the mother family using different imported object, will be easy try to change some elements. For example you can modify the top (shape/material/holes...), save it as a different family, than import into the mother family and selecting the old Top you can change it into the new one through the object proprieties tool
here an example of changing an existing sphere object with an other one: