


Libreria A
My initial idea was to create a modular bookcase. To construct it I would make a base niche that would become a parametric module to be repeated changing its form and dimensions in order to create the bookcase.
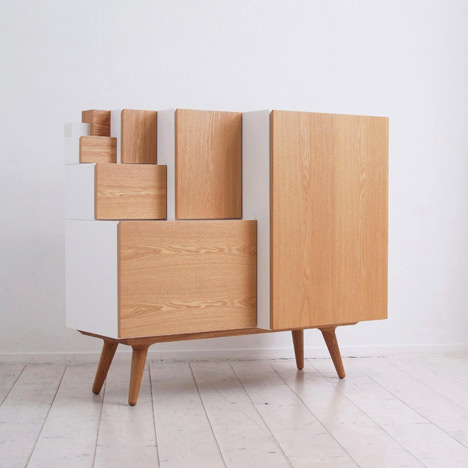
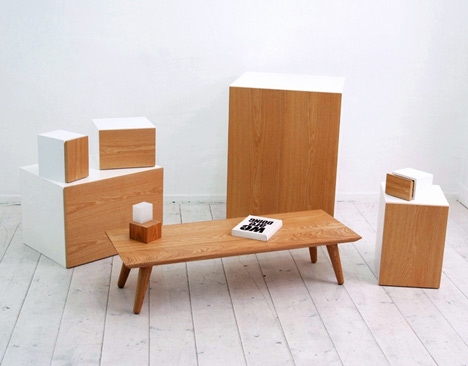
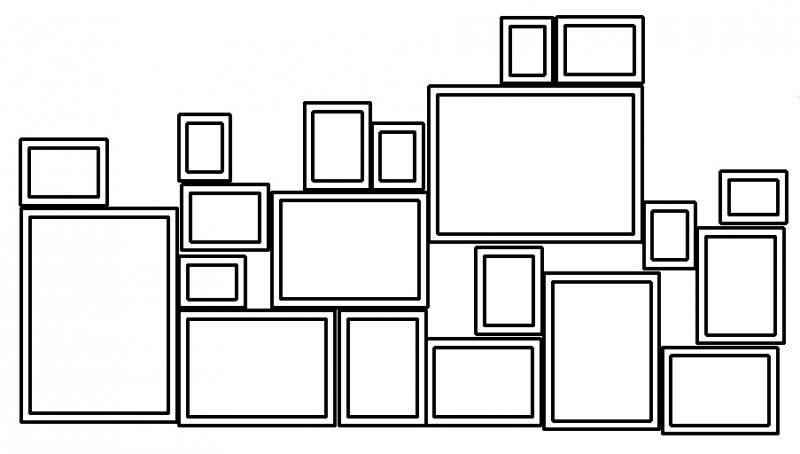
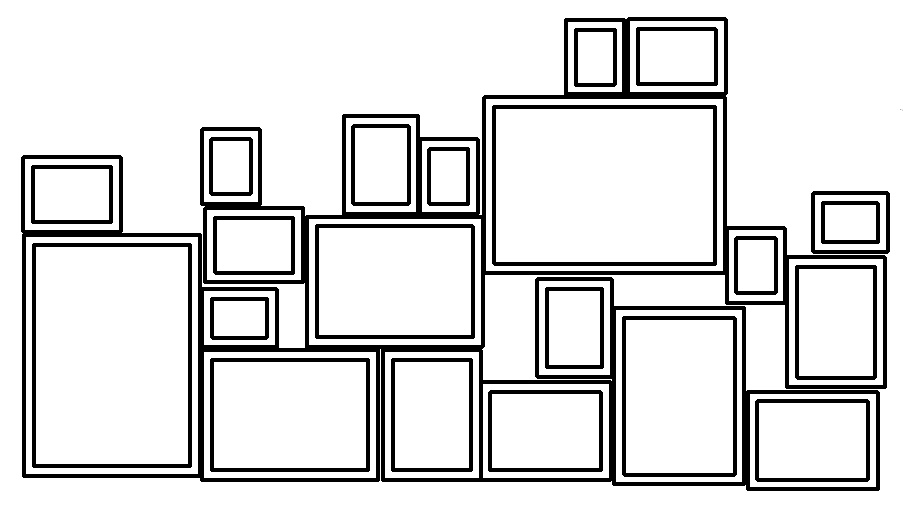
I found this project below on the internet and it inspired me to create a module based on a A4 form of a paper. The parametric changes in width, height and depth would transform the niche in other A paper sizes, such as A2, A3, A5, A6.
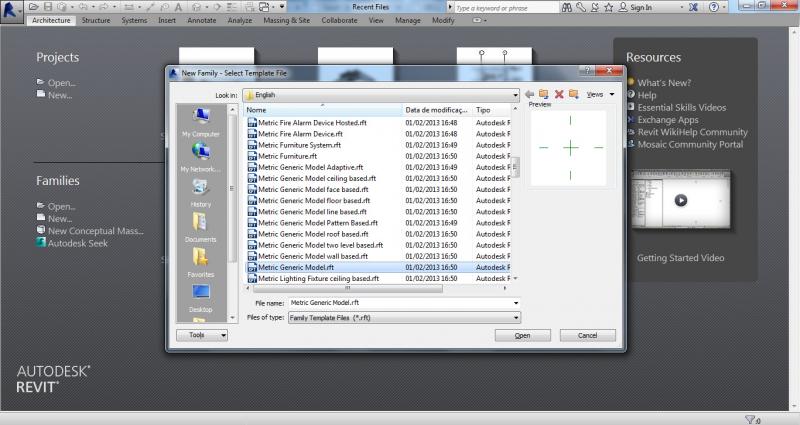
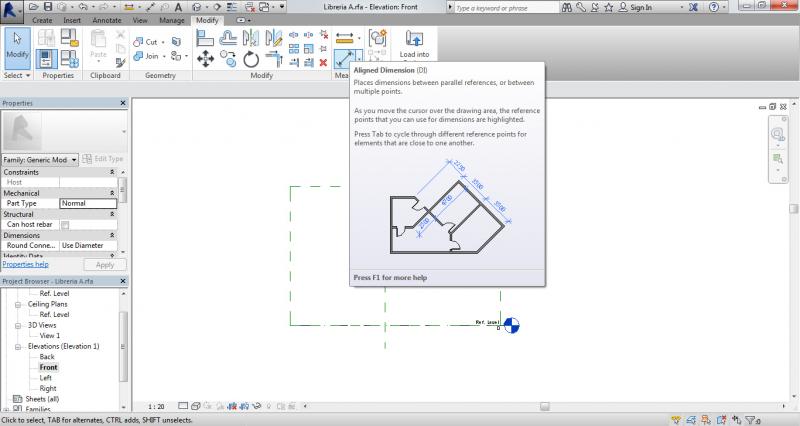
To design my project on Revit first I opened a New Family in Metric Generic Model.
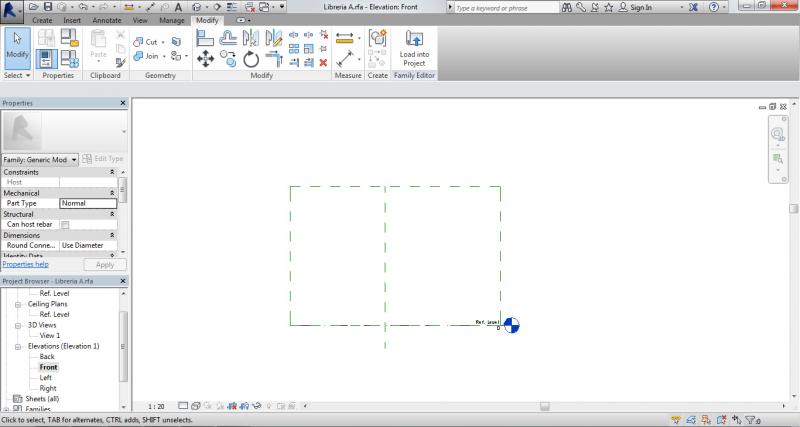
Choosing the Front View to work in,I created three reference planes (the fourth is the already existing floor plan):
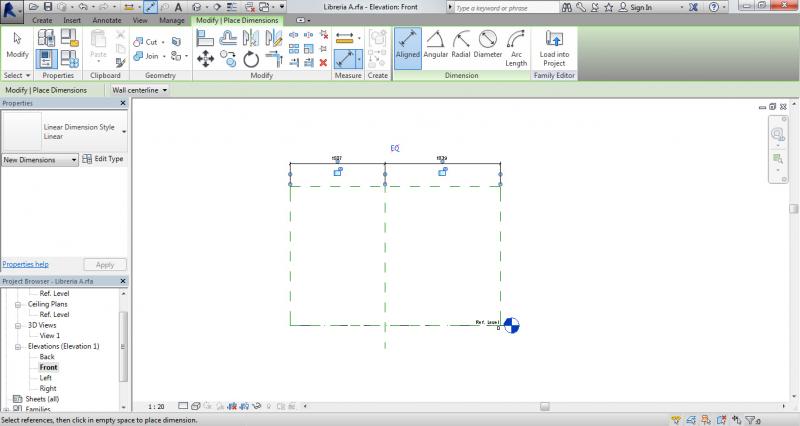
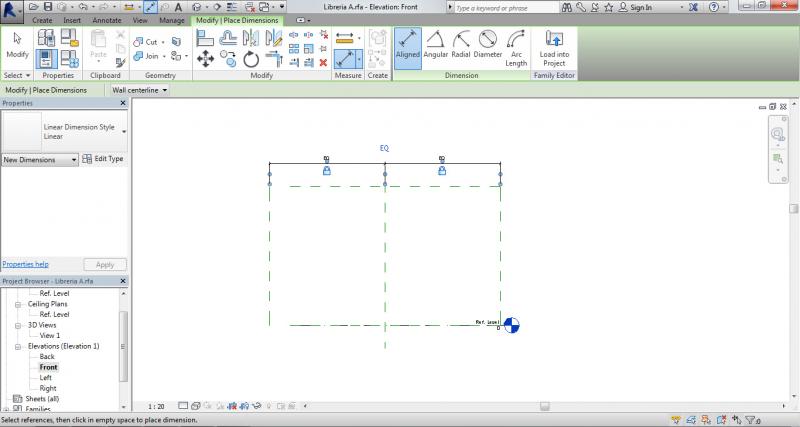
Then I started to align the dimensions,
making the vertical ones equal in reference to the central plan.
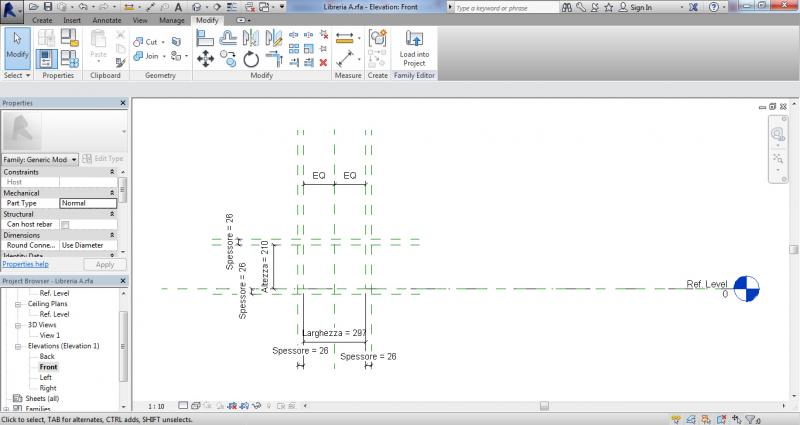
After that I started adding the dimensions and creating a parameter for them…
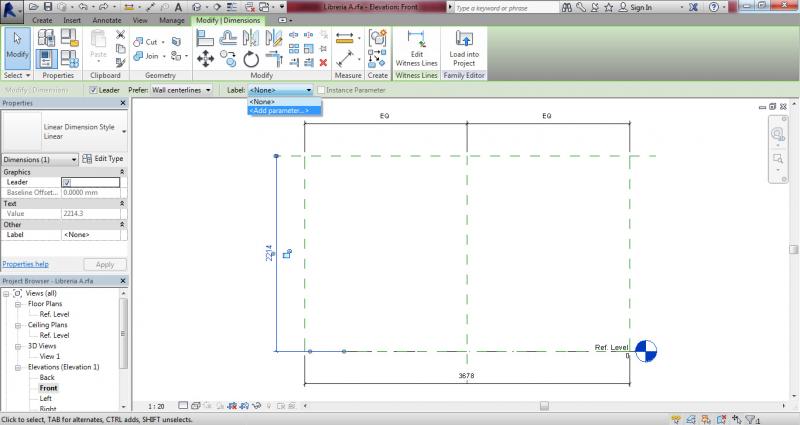
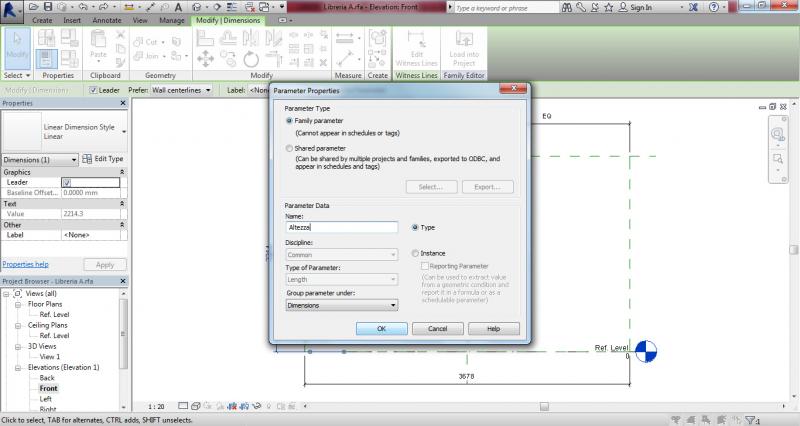
…based on my A4 module.

I drew four more reference lines to create the thickness of my niche and also added parameters to them.
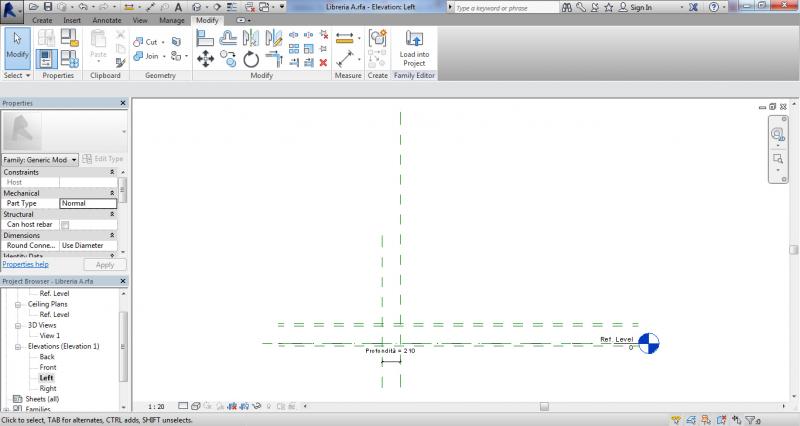
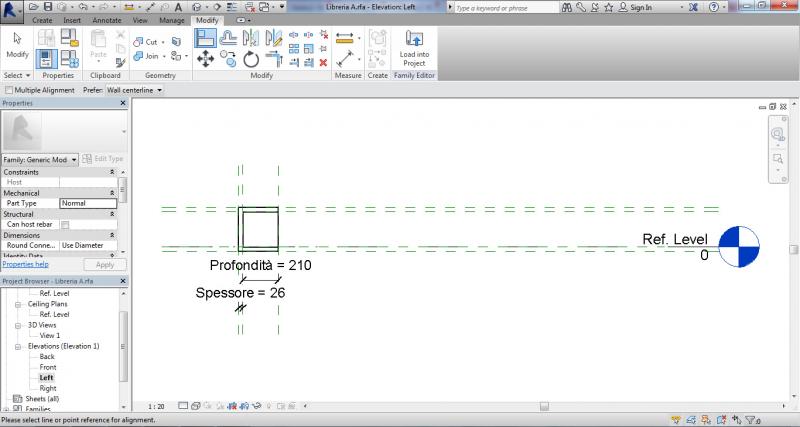
And I’ve also done it one the left side to create the depth of it.
Then I drew my figure with the rectangular extrusion too
l,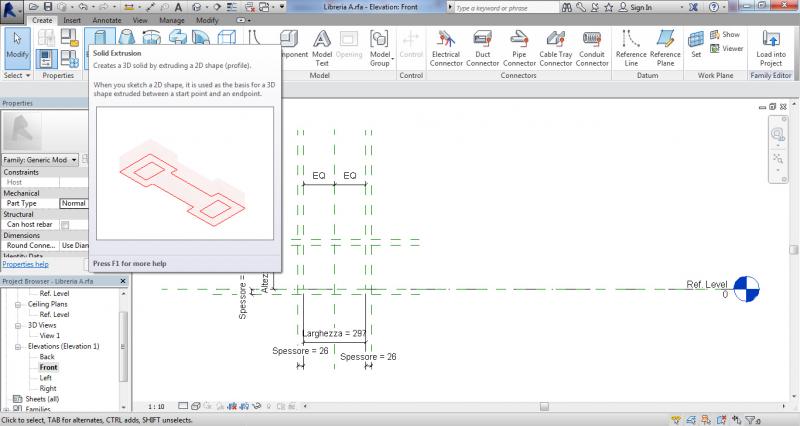
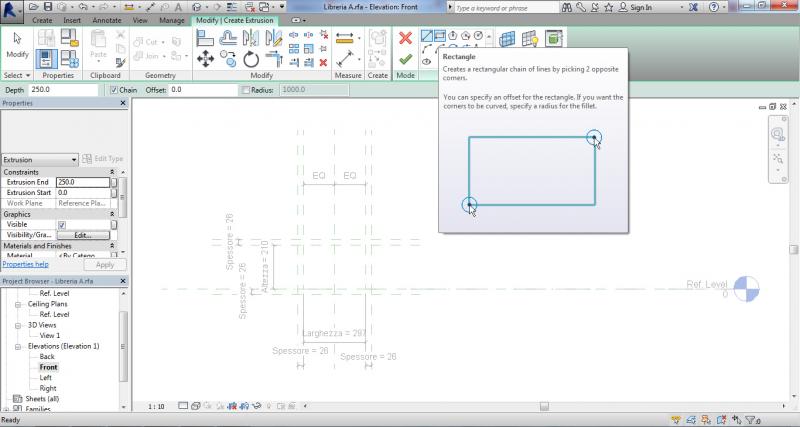
and aligned it with the reference planes, making sure to close the lockers.
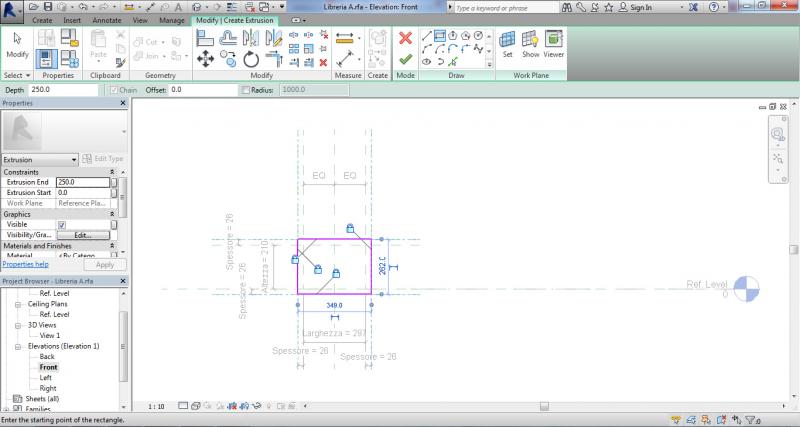
My figure based on a A4 form ended up like this:
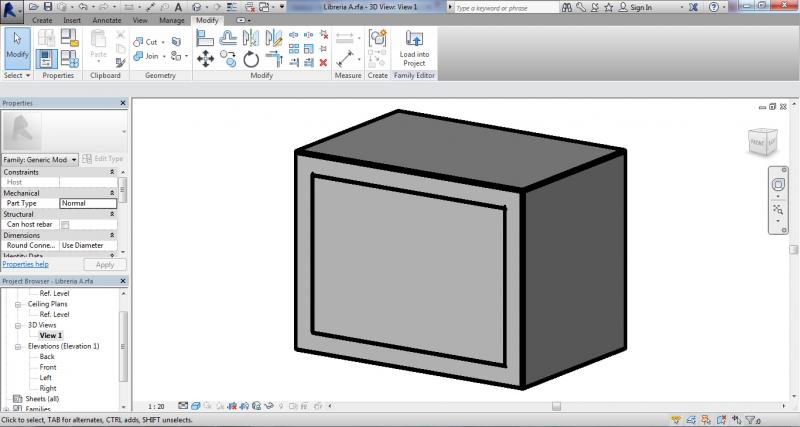
I had some trouble during the process and wasn’t able to make the interior space empty, and neither to apply a material to it.
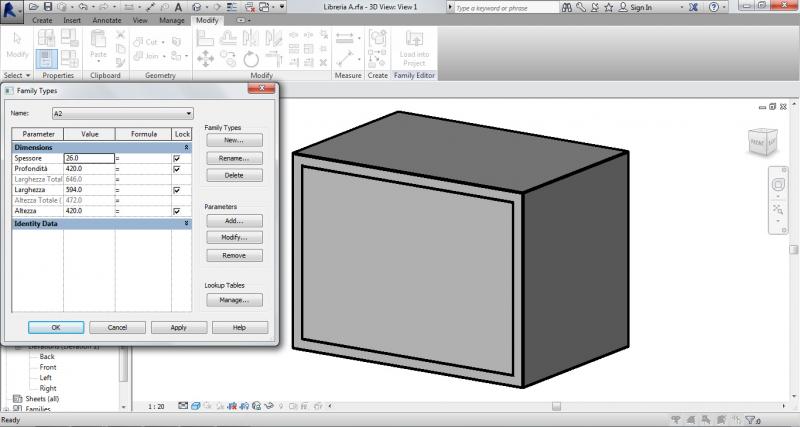
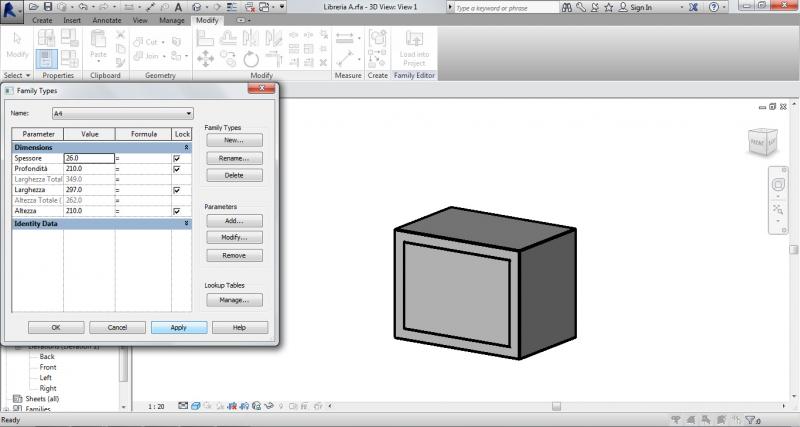
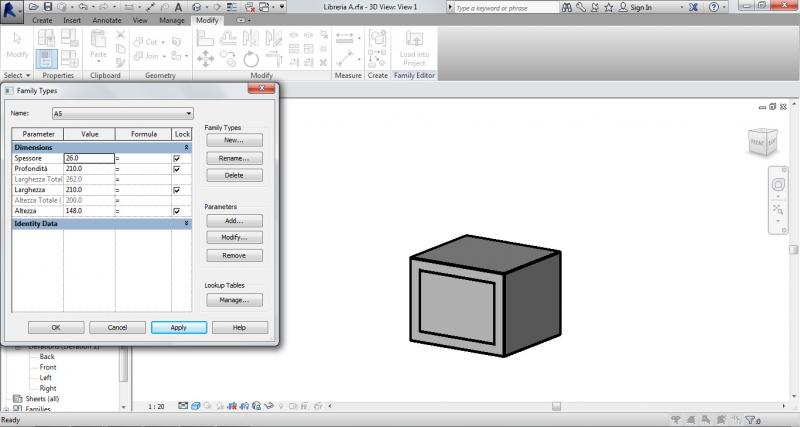
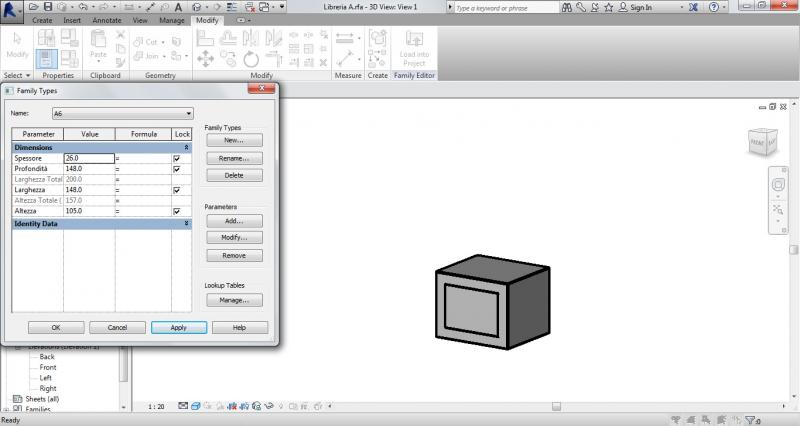
After that I created a serie of Family Types and named them to the other according sizes (A2, A3, A5, A6).

Finally I exported the family to a New Project.

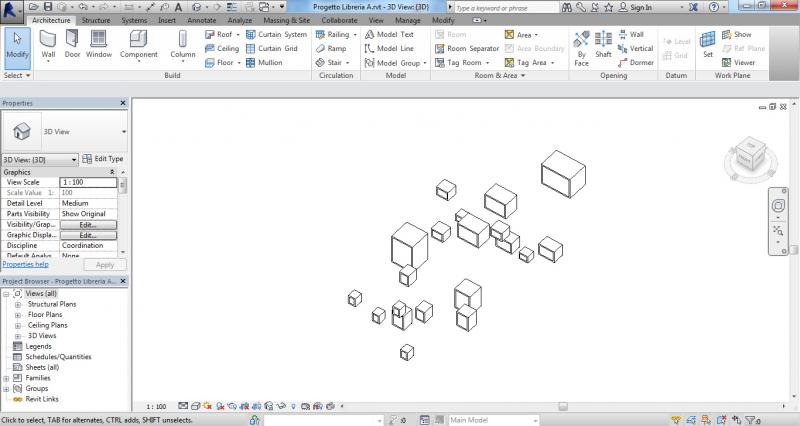
And modelled a bookcase with all of the niches together that I named Libreria A.
I used two pieces of A2, three of A3 and successively like this with the others. But as I didn’t have much time left to deliver I also couldn’t understand how to align the objects properly together.
I hope it is enough an I'm sorry for the delay!
Commenti
StefanoConverso
Gio, 06/11/2014 - 10:42
Collegamento permanente
Media Image 3D?
ciao Julia!
funny, your post is much better than the image, please change it!
Also, material play is important in your case, given the example.
You didn't assign it. did you?
For sure, there is a good play with depth of the component, and not
just height and width. Please share more 3D images.
S.C.