


PortaCandele
In questa terza consegna ho cercato di creare qualcosa che contenesse i concetti fondamentali finora spiegati:
- Parametro, Dima, Standard, Non Standard, Controllo Quantitativo.
In this third delivery, I tried to create something that would contain the basic concepts explained during classes until now:
- Parameter, Dima, Standard, Not Standard, Quality Control.
1_I COMPONENTI (COMPONENTS)
- Anello (Componente semplice non standard)
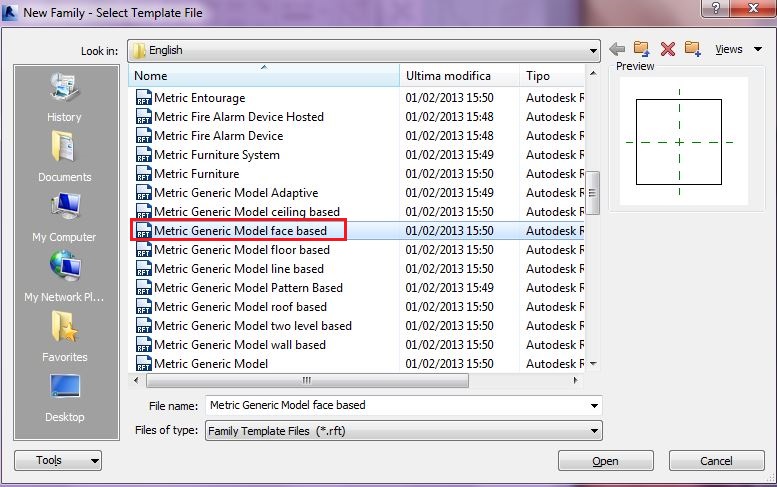
Partendo dalla generazione di un nuovo file all'interno delle FAMILIES, e selezionando METRIC GENERIC MODEL FACE BASED,
Starting from the generation of a new file within FAMILIES, and selecting METRIC GENERIC MODEL FACE BASED,
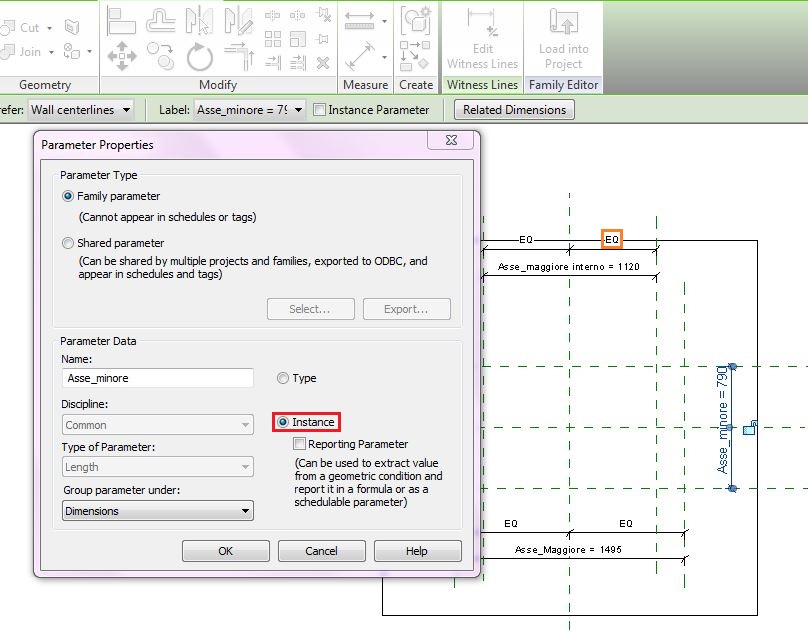
Ho realizzato dei REFERENCE PLANE che ho quotato equidistanti dagli assi principali, cliccando sul termine EQ che è comparso in alto. Dopodiché ho assegnato dei parametri di INSTANCE alle quote:
I quoted the REFERENCE PLANE equidistant from the main axes by clicking on the term EQ that appeared at the top. Then I assigned parameters INSTANCE to the quotes:
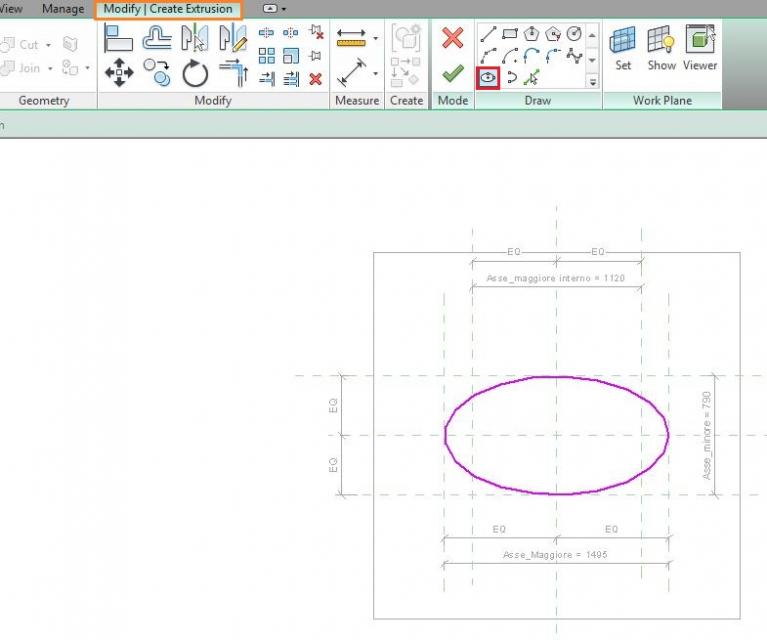
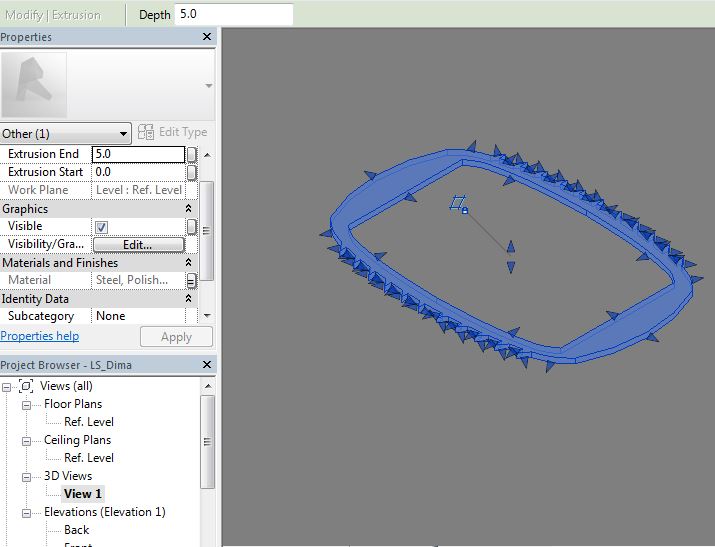
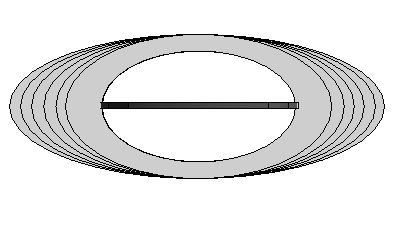
A questo punto, attraverso i comandi Modify>Create Extrusion>DRAW ELLIPSE, ho disegnato due ellissi per realizzare il mio primo componente: l'anello.
At this point, through the commands Modify>Create Extrusion>DRAW ELLIPSE, I drew two ellipses to realize my first component: the ring.
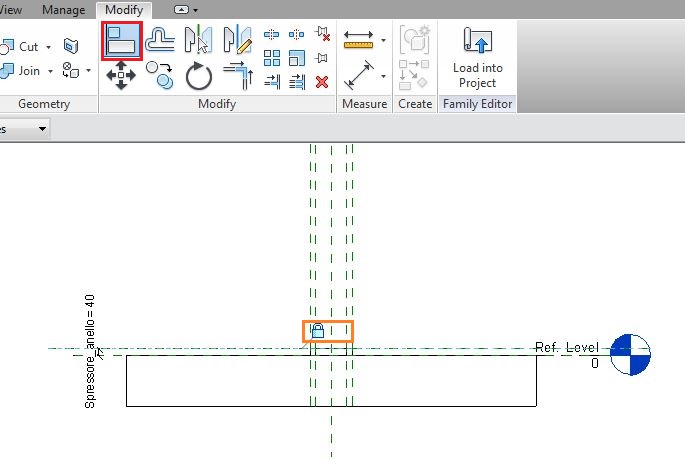
Ovviamente ho aggiunto un altro parametro per lo spessore, dopo essermi posizionata sullla vista FRONT e dopo aver creato un altro REFERENCE PLANE.
Then I placed on the FRONT view, created another REFERENCE PLANE and added another parameter for the thickness.
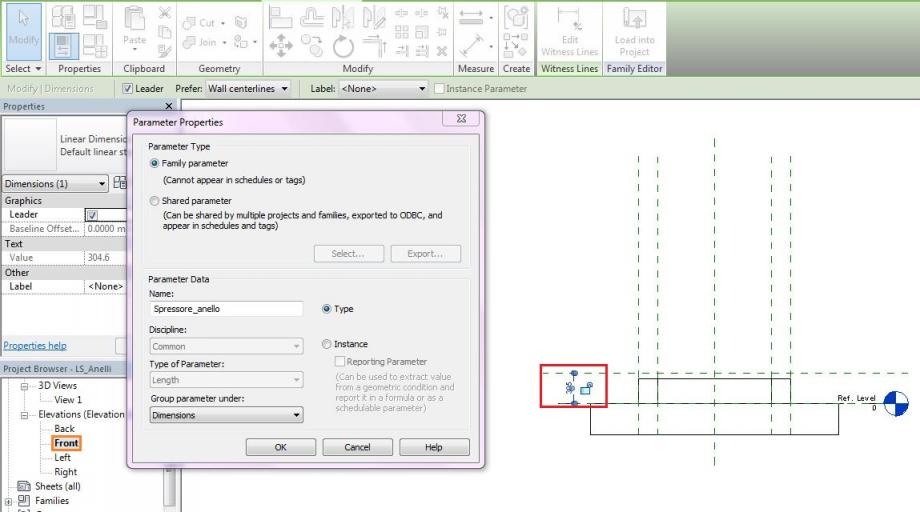
Ho allineato lo spessore al piano di riferimento con il comando Modify>ALIGN e lucchettato.
I aligned the thickness to the reference plane with the command Modify>ALIGN and locked.
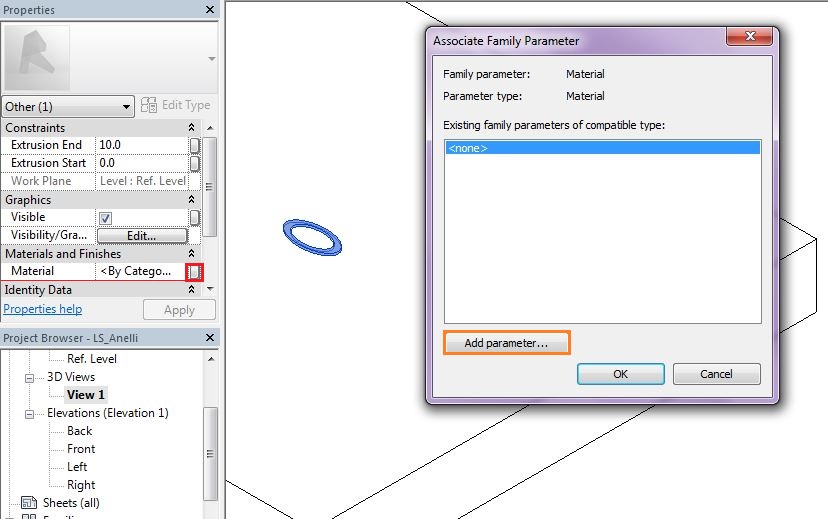
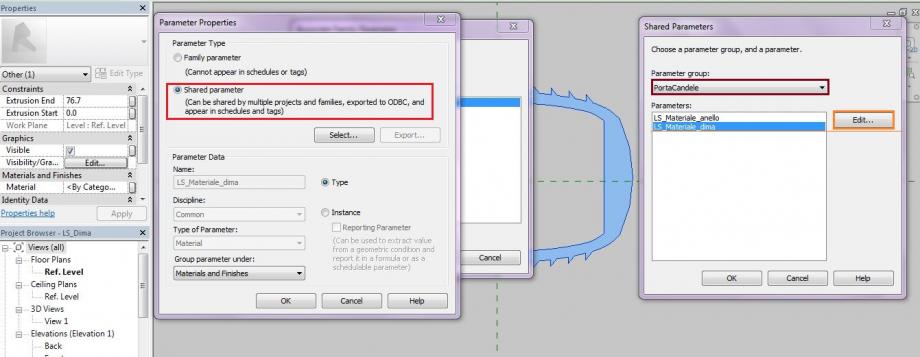
Infine gli ho assegnato un materiale attraverso i seguenti passaggi: ho selezionato l'anello, e, dalle PROPERTIES che appaiono a sinistra, ho cliccato sul rettangolino grigio che appare accanto a Materials_by category, che mi apre una finestra dove creo il parametro Materiale con il comando ADD PARAMETER.
I gave it a material through the following steps: I selected the ring, and, by appearing PROPERTIES to the left, I clicked on the gray rectangle that appears next to Materials_by category, it opened a window where I created the parameter Material with ADD command PARAMETER.
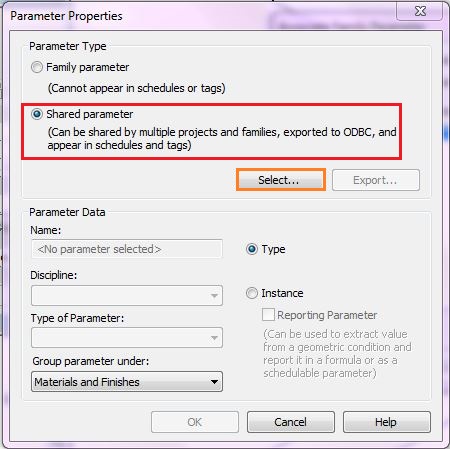
In questo caso, ho voluto renderlo uno SHARED PARAMETER, perciò ho spuntato la casella del parametro condiviso e cliccato su SELECT, dove mi è stato chiesto di creare uno SHARED PARAMETER FILE.
In this case, I wanted to make a SHARED PARAMETER, so I checked the parameter shared and clicked SELECT, where I was asked to create a SHARED PARAMETER FILE.
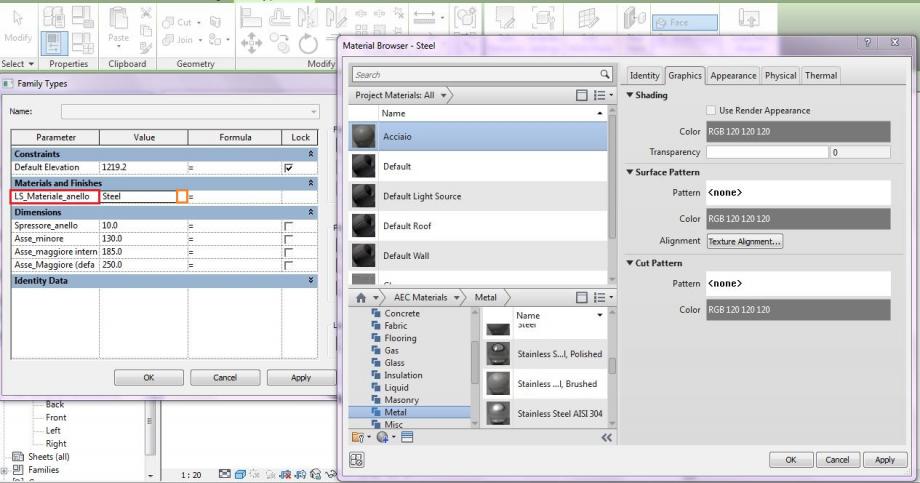
Dalla barra Properties ho selezionato FAMILY TYPES e, dopo aver cliccato su NEW.. ho dato vita a cinque profili diversi di anelli.
I selected FAMILY TYPES in the Properties bar, clicked on NEW .. and I gave birth to five different profiles of rings.
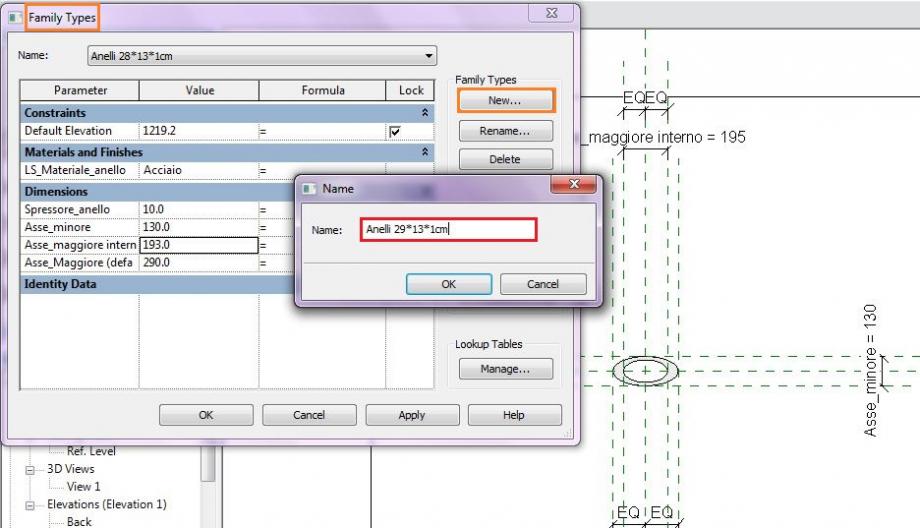
IMPORTANTE: Ho assegnato una Category agli anelli, che di default sarebbe Generic Model, cliccando sulla barra delle Properties>FAMILY CATEGORY and PARAMETER, e spuntato la casella SHARED, perché che mi sarà molto utile nella fase di controllo "quantitativo" del mio progetto.
IMPORTANT: I assigned a Category to the rings, which would be Generic Model by default, clicking on the bar Properties>FAMILY CATEGORY and PARAMETER, and ticked the box SHARED, because it will be very useful in the "quantity" control phase of my project.

- Dima (componente complesso non standard che permette l'assemblaggio dei componenti semplici)
Ho creato nuovamente una METRIC GENERIC MODEL FACE BASED, dove ho disegnato i REFERENCE PLANE, ed i parametri. Anche qui, ho assegnato un materiale sempre di tipo Condiviso:
I recreated a METRIC GENERIC MODEL BASED FACE, where I drew the REFERENCE PLANE, and parameters. Even here, I assigned a material type Shared:
2_LA FAMIGLIA MADRE (THE MOTHER FAMILY)
Apro un nuovo METRIC GENERIC MODEL FACE BASED e salvo la mia famiglia madre.
I open a new METRIC GENERIC MODEL FACE BASED, then i save the new family.
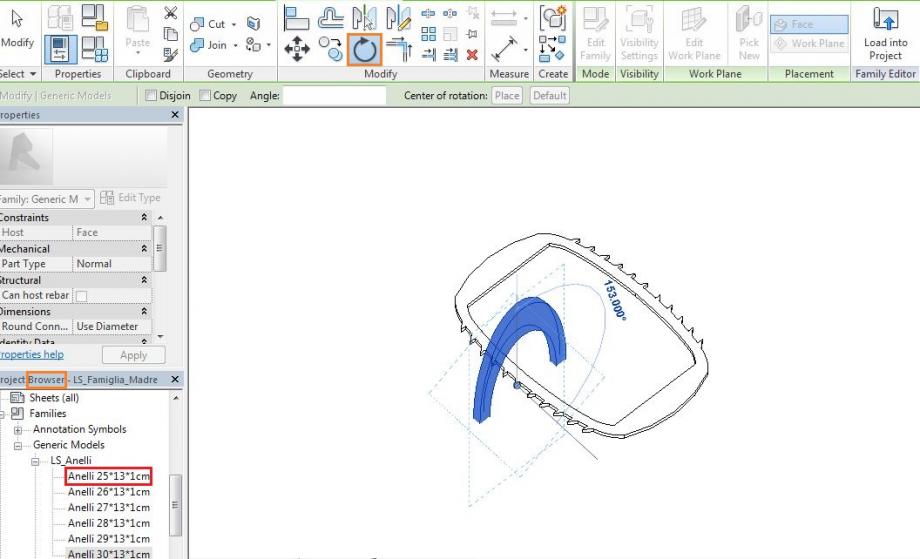
All'interno della FAMIGLIA MADRE inserisco, prima, la dima e, poi, gli anelli che saranno ancorati a una faccia della dima, attraverso il comando LOAD INTO PROJECT.
I enter, first, the dima and, then, the rings that will be anchored to a face of the dima, using the command LOAD INTO PROJECT.
Una volta inserito il primo anello, per caricare gli altri, basta trascinarli dal browser a sinistra.
After entering the first ring, I load the other ones just draging them from the browser to the left.
Il risultato finale lo inserisco nel progetto.
I insert the final result into the project.
3_IL PROGETTO E LA SCHEDULE (controllo quantitativo del progetto assemblato) (THE PROJECT AND THE SCHEDULE)
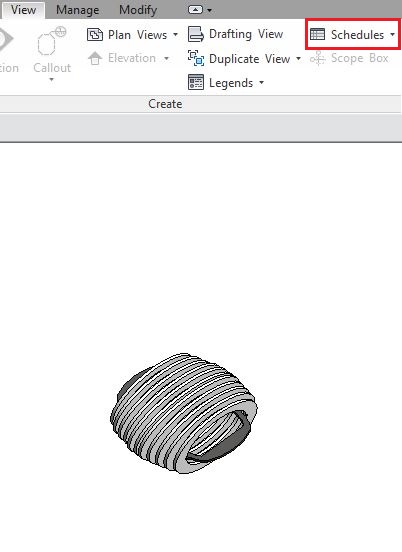
Ora passiamo alla creazione della schedule, cliccando su View>Schedule>SCHEDULE/QUANTITIES.
Now i click on View>Schedule>SCHEDULE/QUANTITIES and I create the schedule.
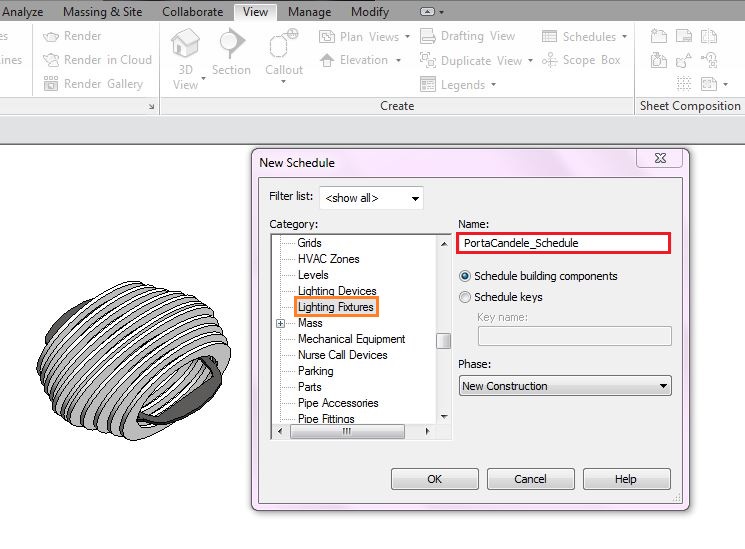
Do un nome alla scheda e le attribuisco Lighting Fitxure come Category, la stessa che avevo attribuito agli anelli, ma non alla dima (per dimenticanza).
I name the schedule and assign Lighting Fitxure Category, the same i assigned to the rings, but not the dima (i forgot it).
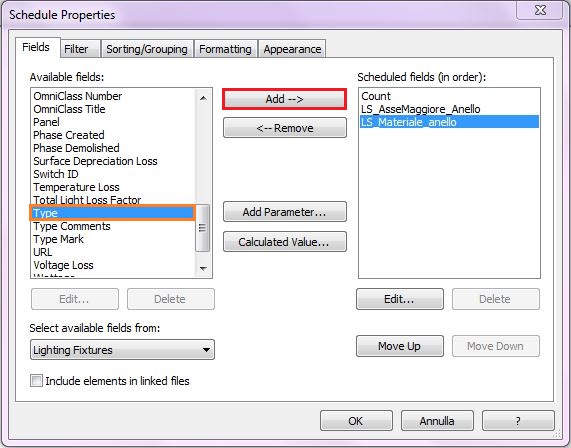
Mi viene chiesto quali Parametri voglio inserire (attraverso il tast ADD) e visualizzare nella Schedule.
I choose the Parameters I want to insert (throw the botton ADD) in my Schedule.
La scheda iniziale che mi appare è questa:
The schedule that apperas to me is that:
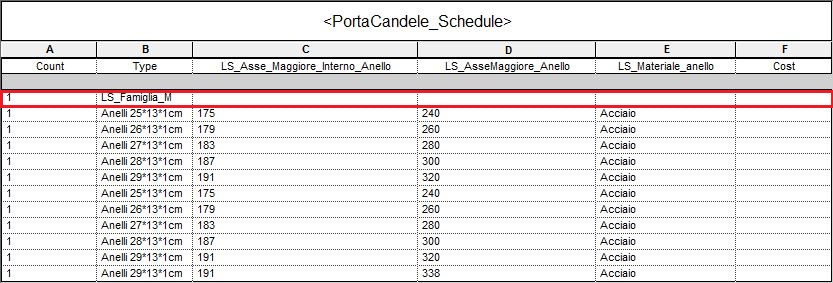
In rosso ho segnato il componente dima che presenta tutti i campi in bianco, perché i parametri che ho inserito non hanno nulla a che vedere con essa.
I marked in red the dima that has all the fields blank, because the parameters I choosed for the schedule have not anything to do with it.
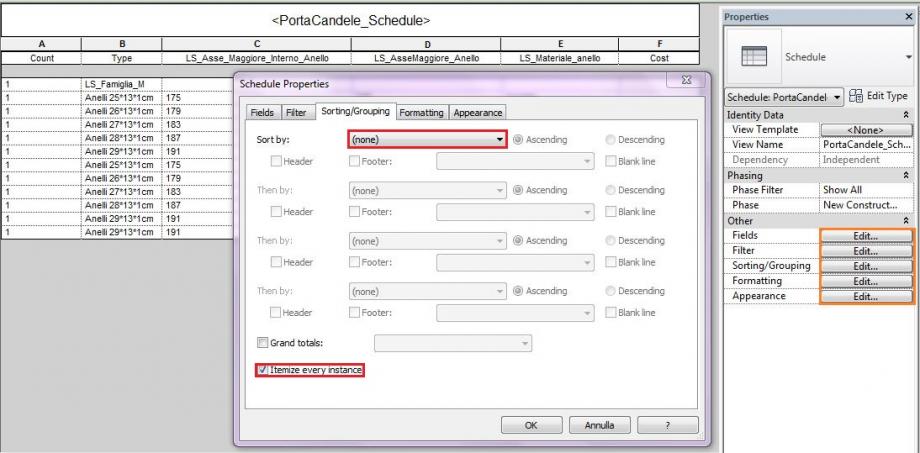
Attraverso una serie di filtri, cui posso accedere attraverso il tasto EDIT, posso ordinare, secondo un parametro, e pulire la mia schedule:
Now I can order and clean my schedule, using EDIT.
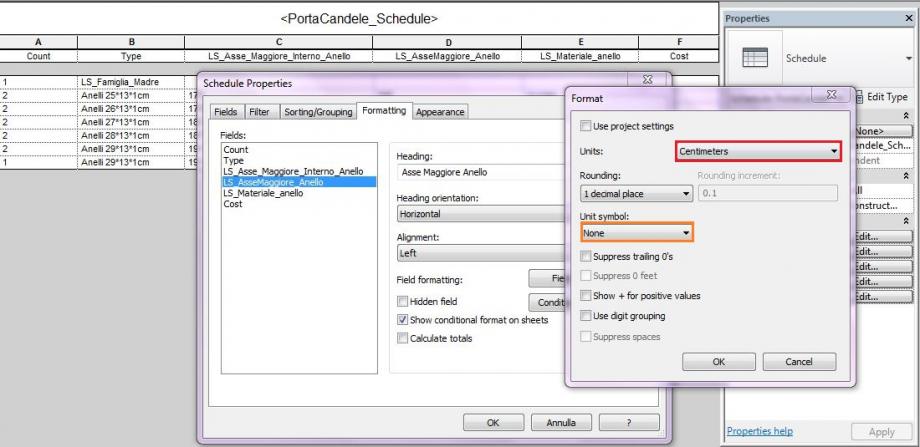
Sempre attraverso Edit, e andando su FORMATTING posso attribuire un'unità di misura e cliccando sul menù a tendina delle Unit Symbol, posso chiedere alla scheda di visualizzare l'unità di misura.
I can attribute a unit using Edit>Formatting, and clicking on the drop-down list of Unit Symbol, I can ask the board to show the unit of measurement.
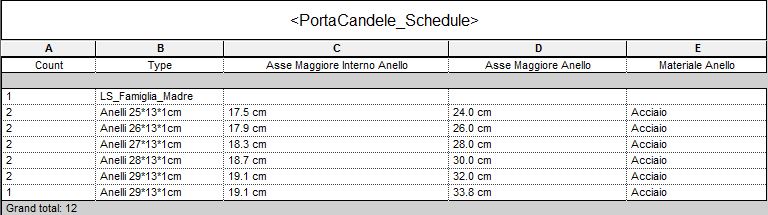
La scheda, una volta modificata secondo le mie esigenze, appare così:
Now, my schedule looks like this:
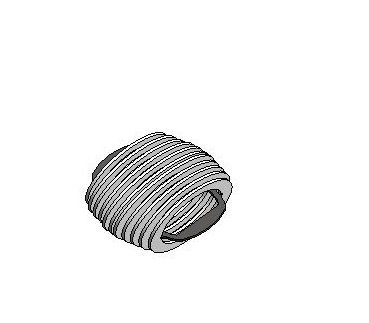
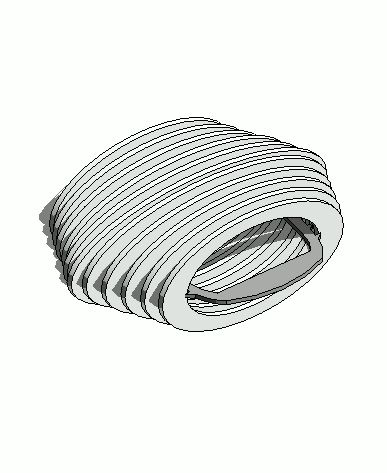
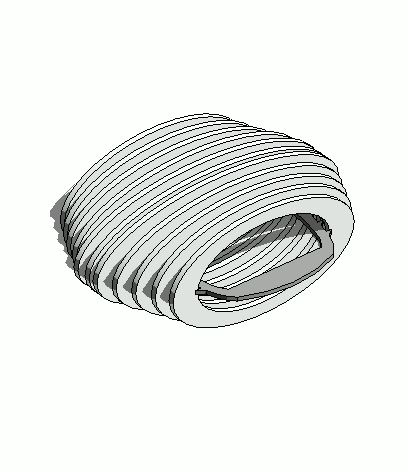
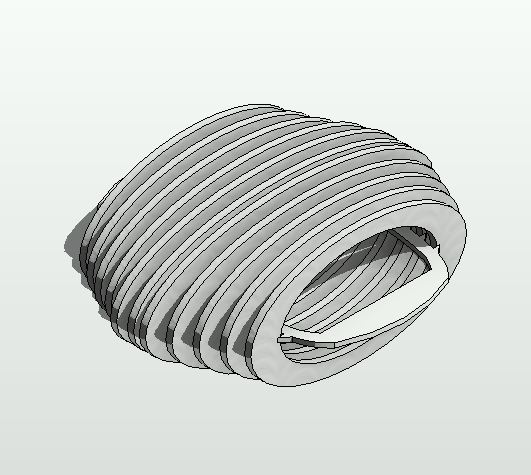
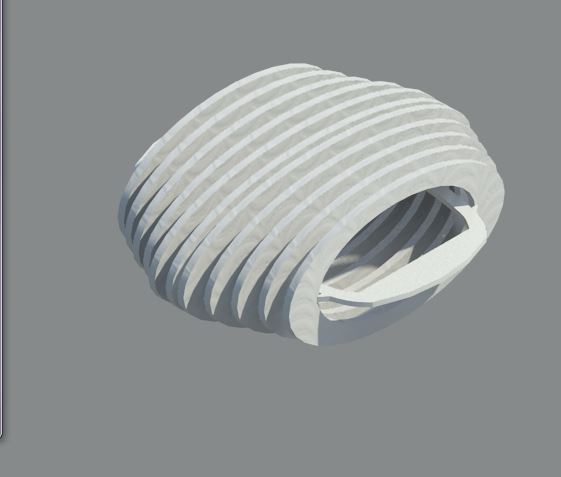
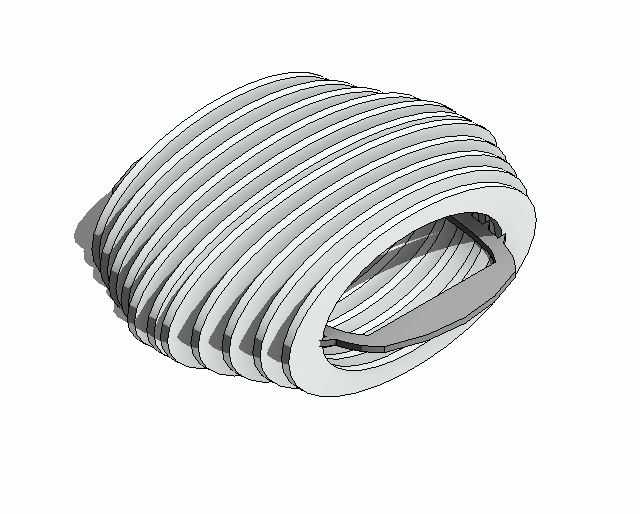
Altre immagini del PortaCandele
More imagens of the Candle Holders

Commenti
StefanoConverso
Mer, 03/12/2014 - 14:22
Collegamento permanente
Very Very Nice!
Supercool!
Non vediamo l'ora di leggere tutto, miraccomando la descrizione!
Potrebbe essere la prima delle "microlamps"!