PERFORATED PANEL CURTAIN WALL (Delivery4)
In this post I tried to reproduce a curtain wall facade inspired by the one realised by Herzog and De Meuron in their M. H. de Young Memorial Museum in San Francisco.
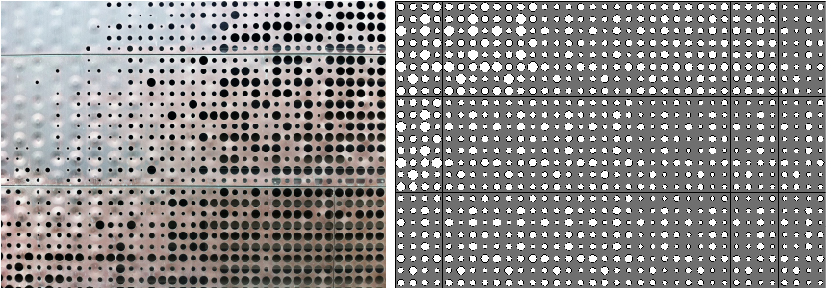
As I know, the workflow they used to get this amazing result was longer and more refined than mine. The reason why I let myself be inspired by this project is because I found interesting the relationship between the diameter variation of the holes and the shade they provide inside.
So, I can start immediately to show my workflow.
PERFORATED PANEL
At first I shaped the panel.
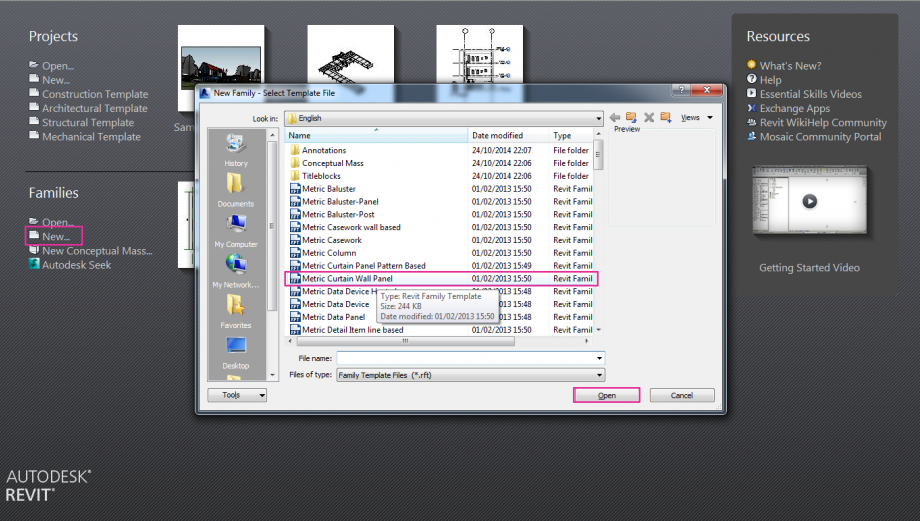
I Created a new family> Metric Curtain Wall Panel (in this environment I shaped the component I wanted to be the basic module of the curtain wall facade)
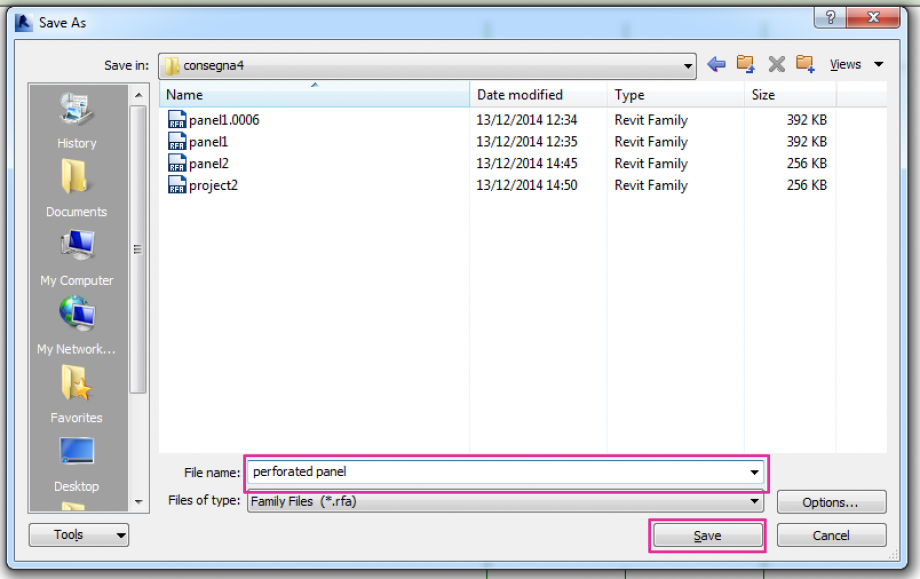
I Saved the file as a family
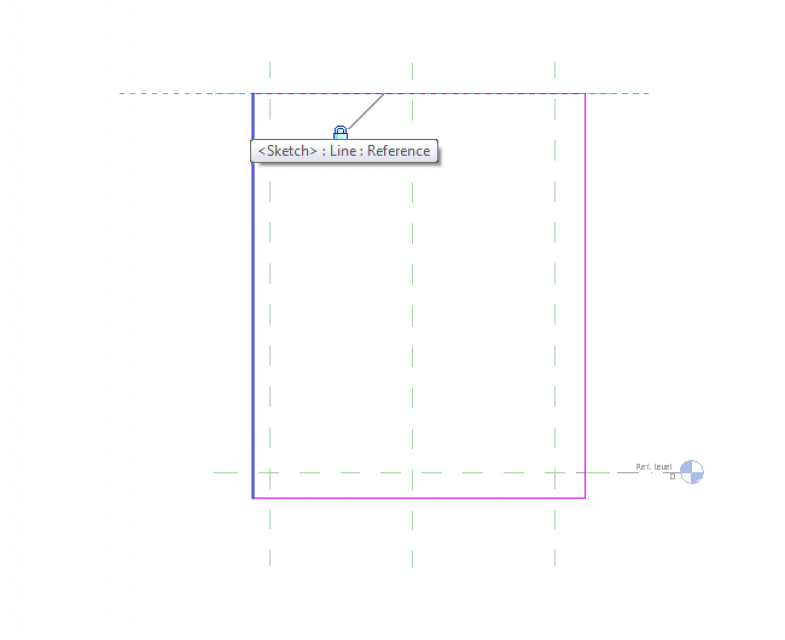
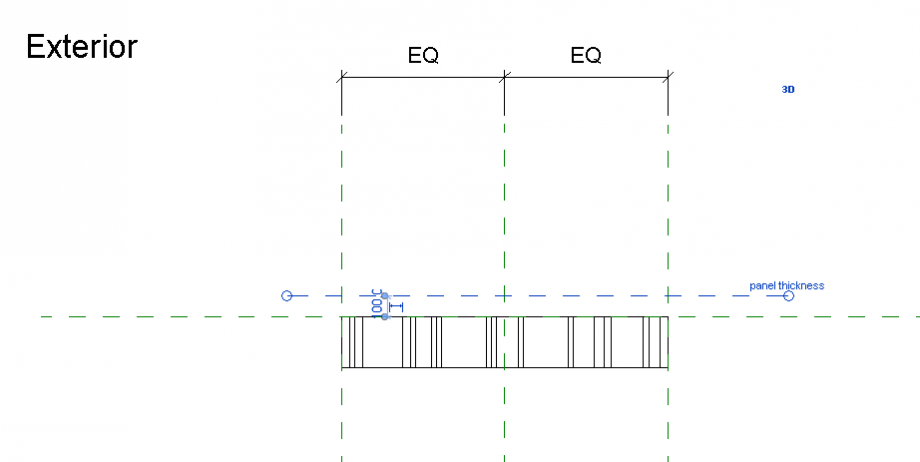
I Created an Extrusion. In the Exterior view I drew a rectangle> I aligned each side of it to the pre-formed reference planes.
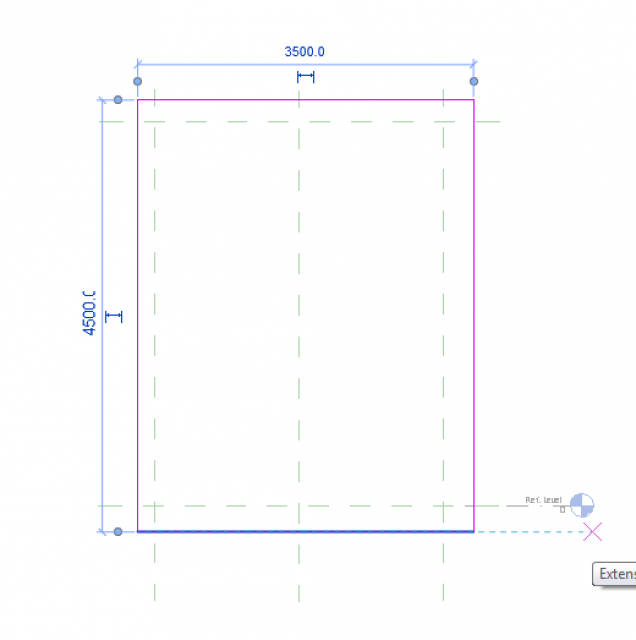
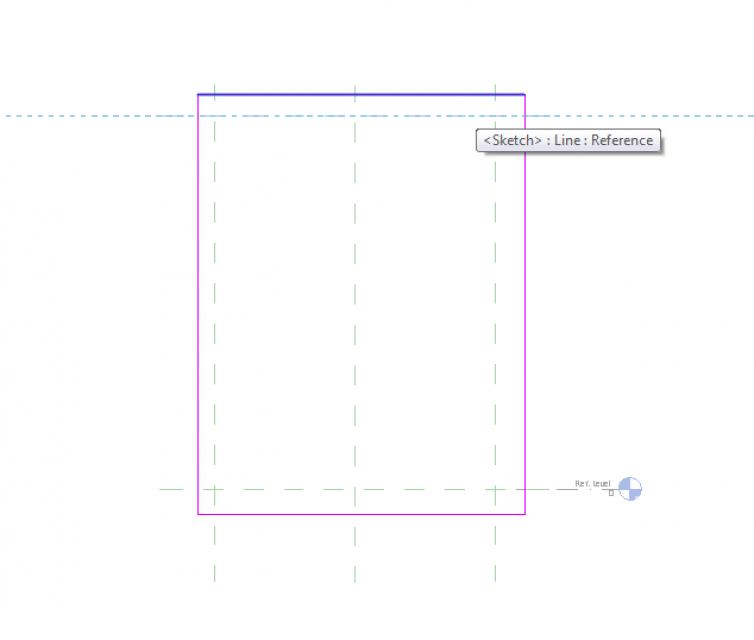
I gave the panel the dimension wanted.
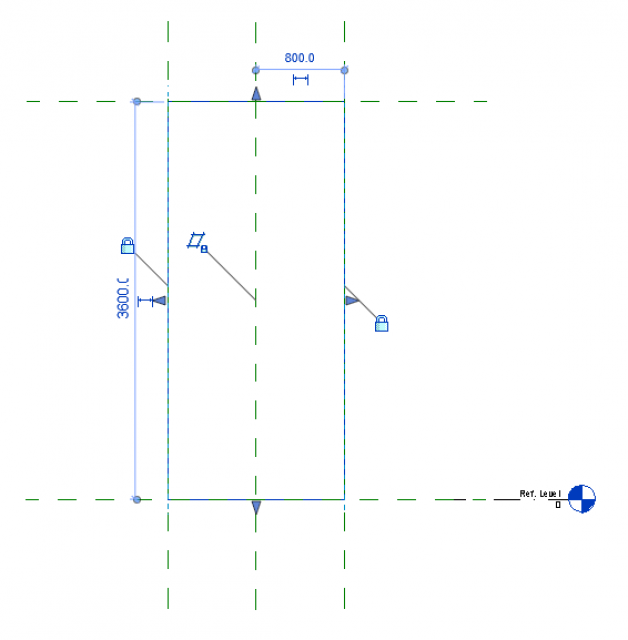
Then I started to draw reference planes in order to have guides when I needed to draw the holes after.
I kept in mind that in order to have a better result when I would have mounted all the panels together I needed to halve the space between the last column and the edge of the panel. So if I the space between two consecutive columns was 40 cm, the space between the last column and the end of the panel was 20 cm.
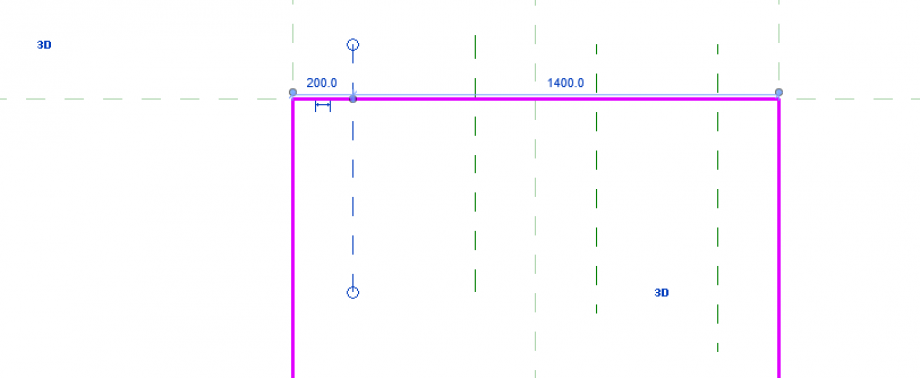
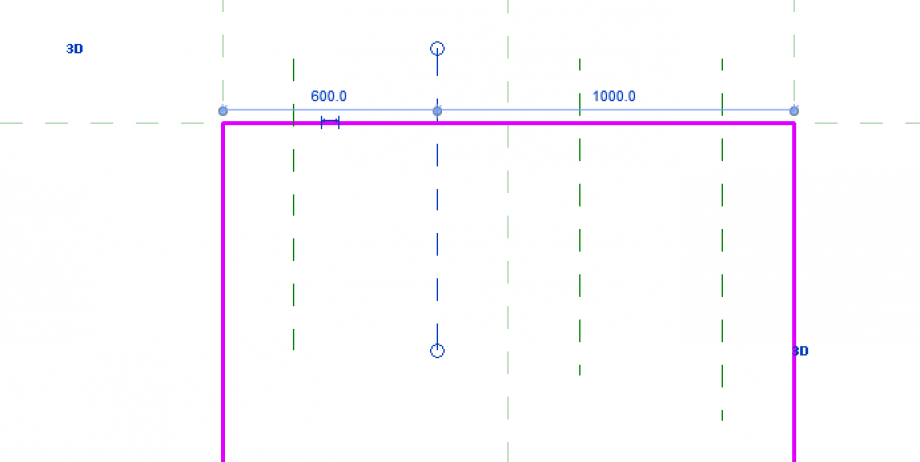
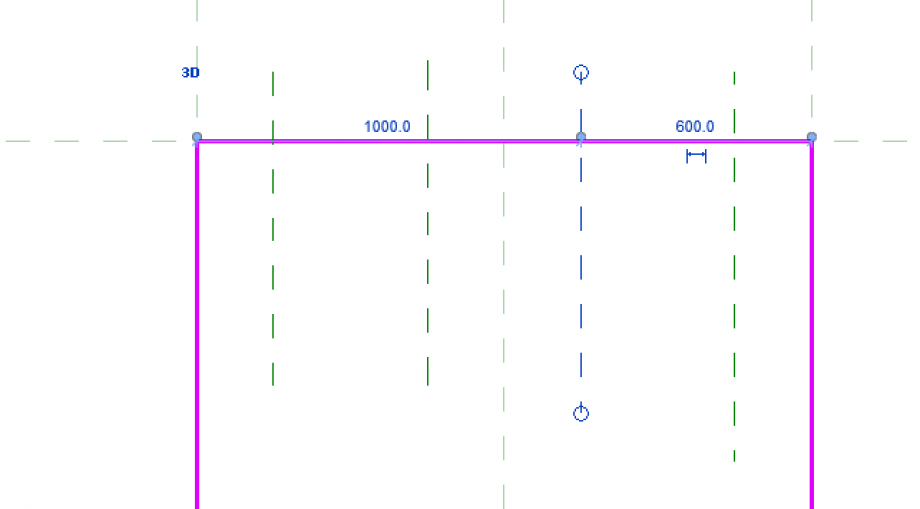
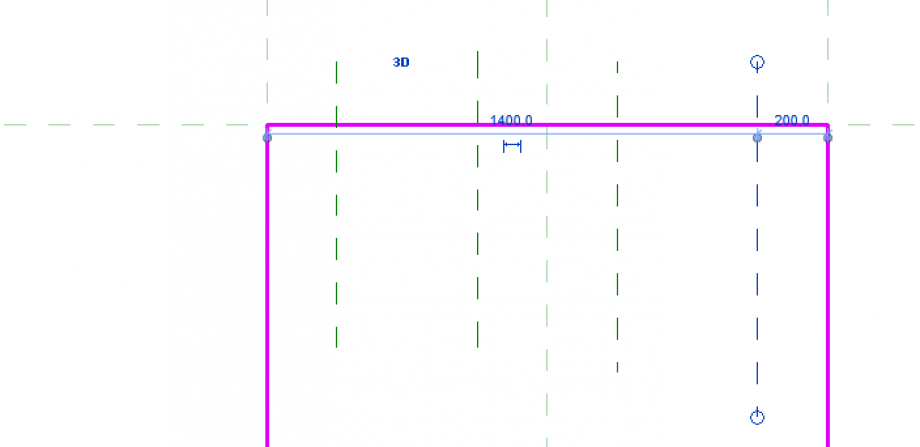
Then I drew the holes.
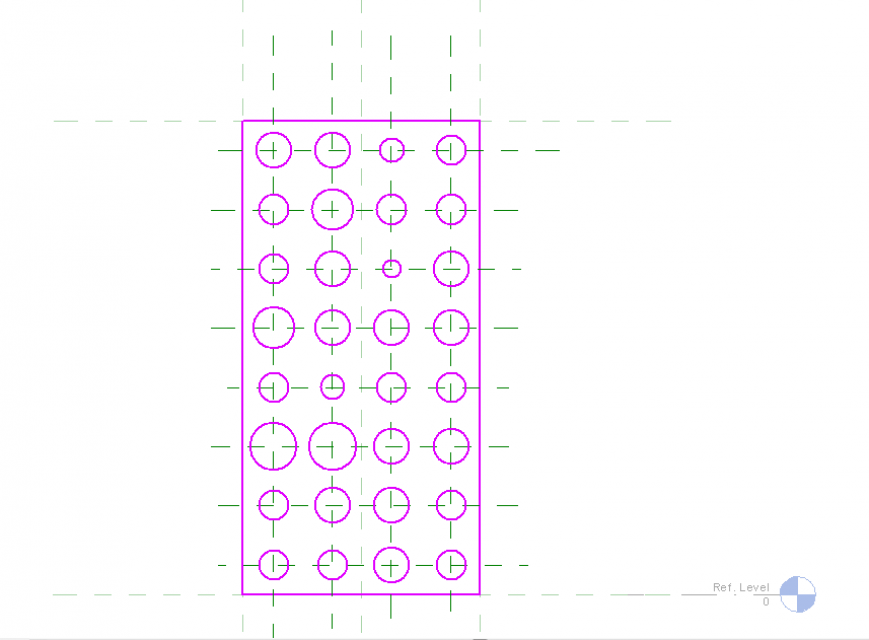
As my goal was to be able to control their diameter variation I assigned them a parameter.
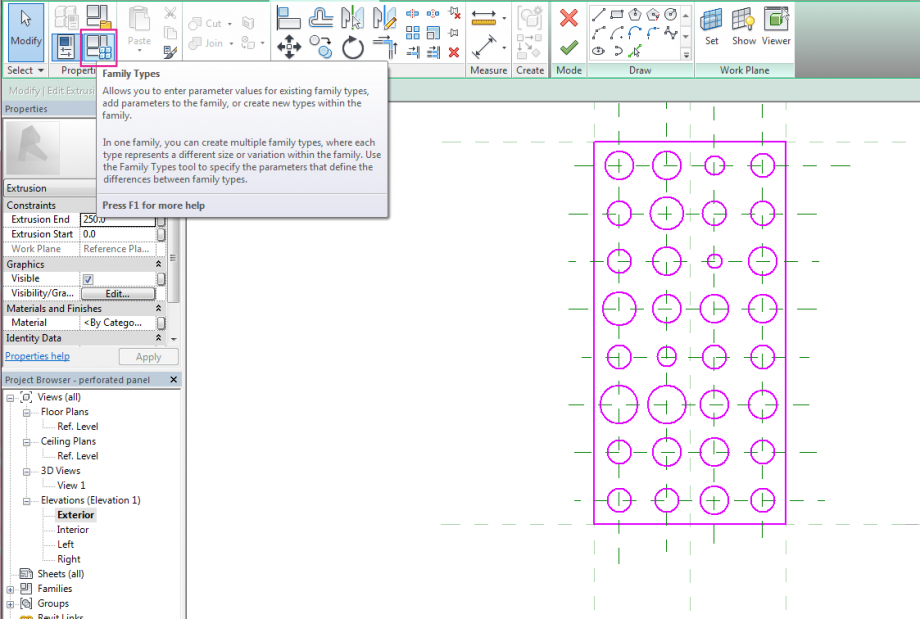 I assigned just instance parameters because I wanted to control each panel separately when I would came after in the project environment.
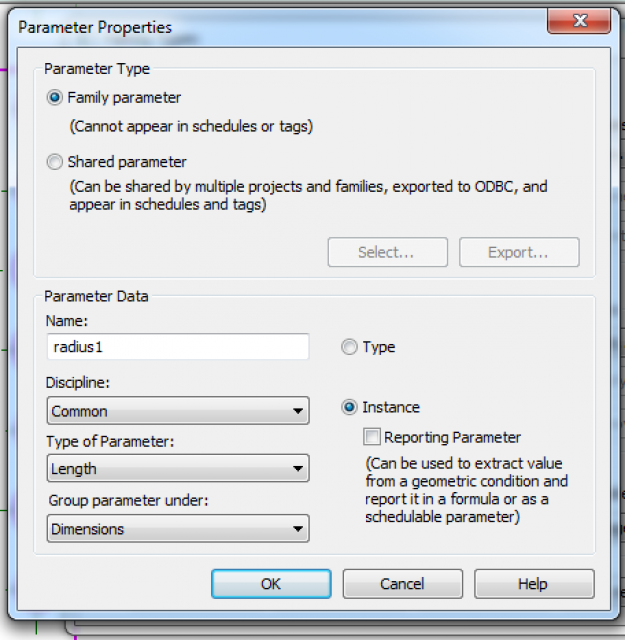
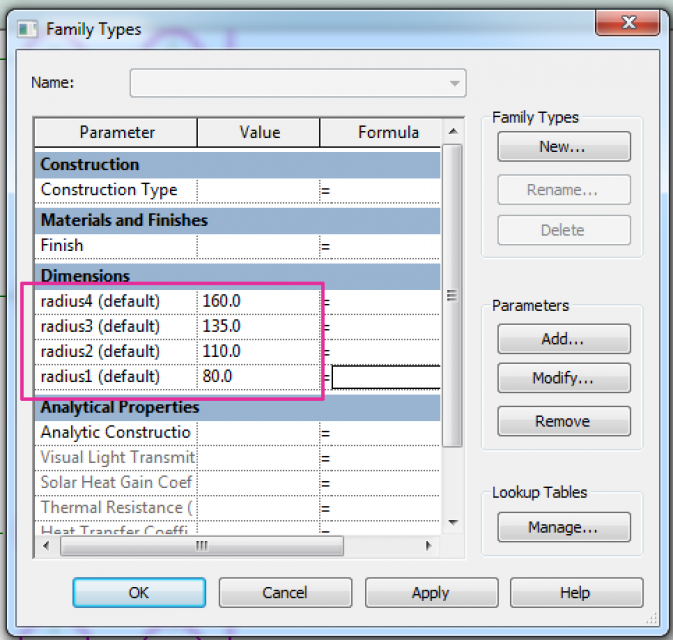
I assigned parameters to the holes’ diameter.
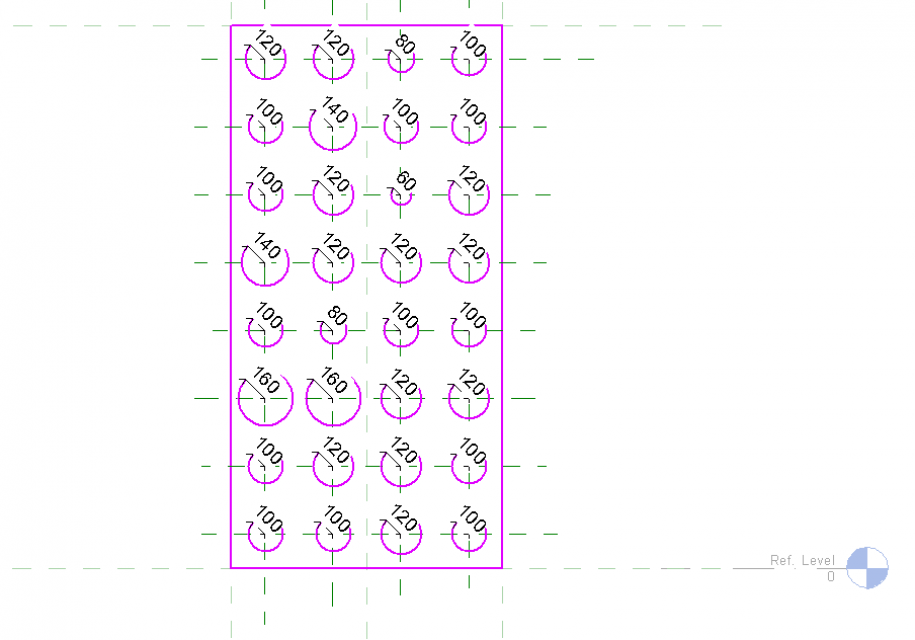
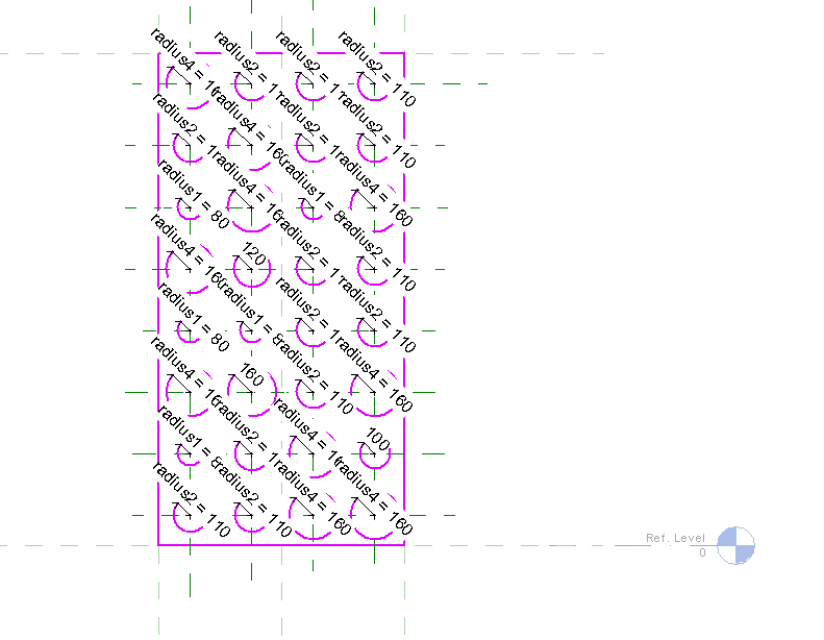
I made some corrections when I closed the extrusion just to adjust final result.
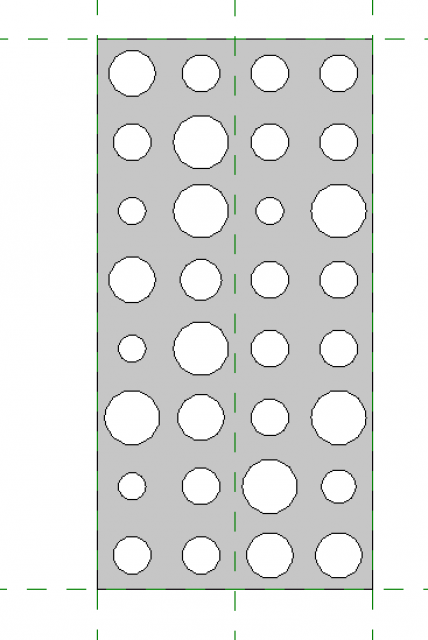
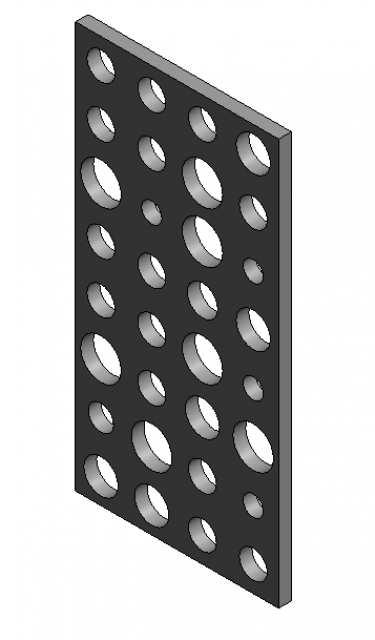
I created reference plane in the plan view to align my extrusion with. This was the final result.

CURTAIN WALL
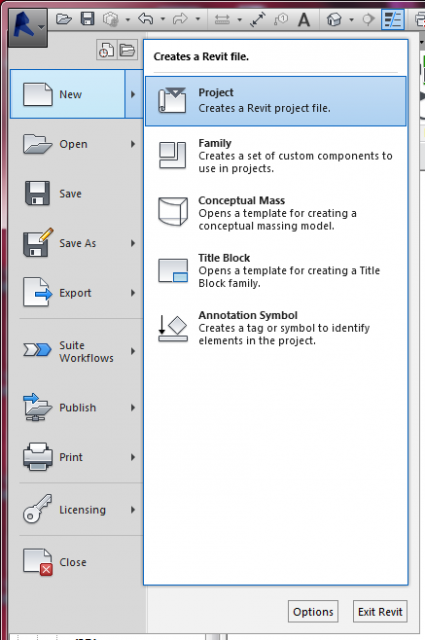
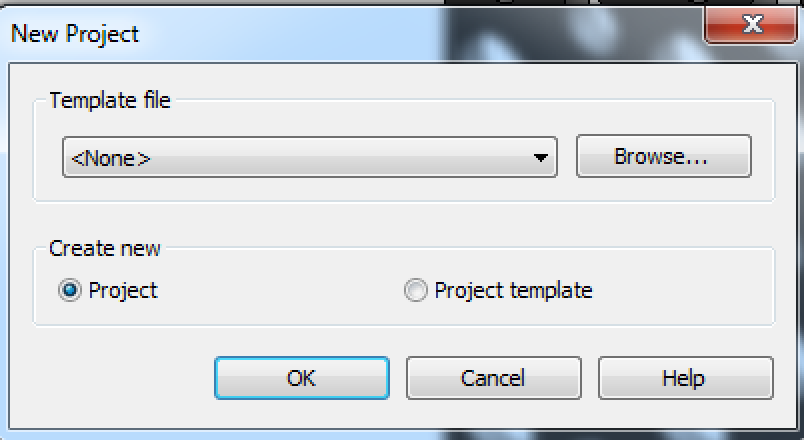
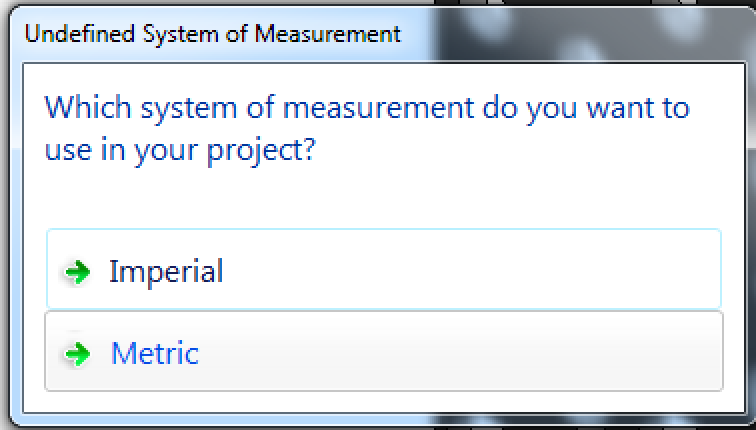
So, I created a new project file. New> Project> Template file> none> I chose metric as system of measurement.
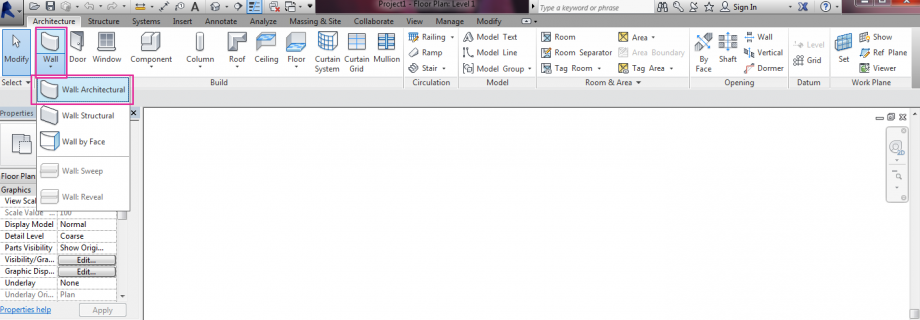
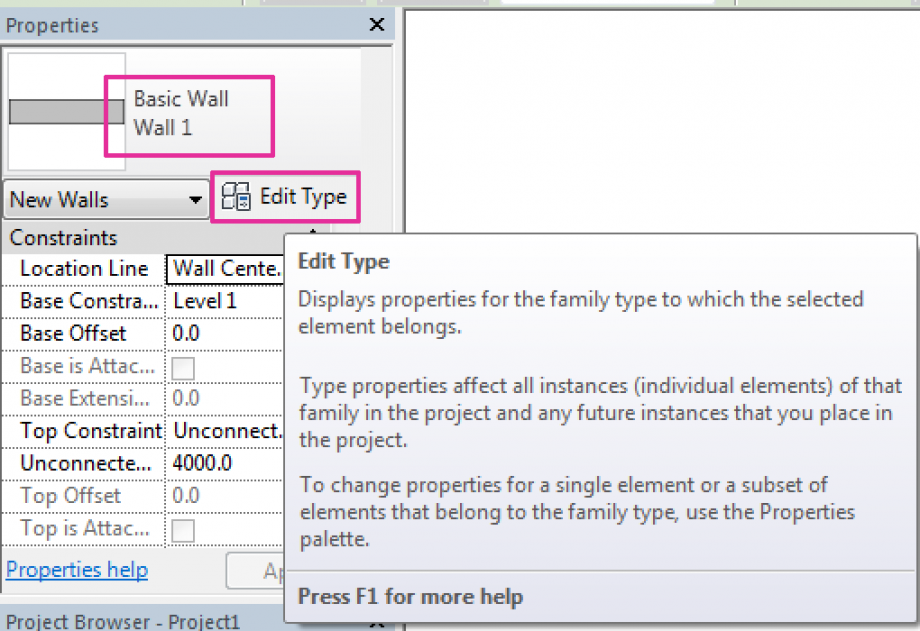
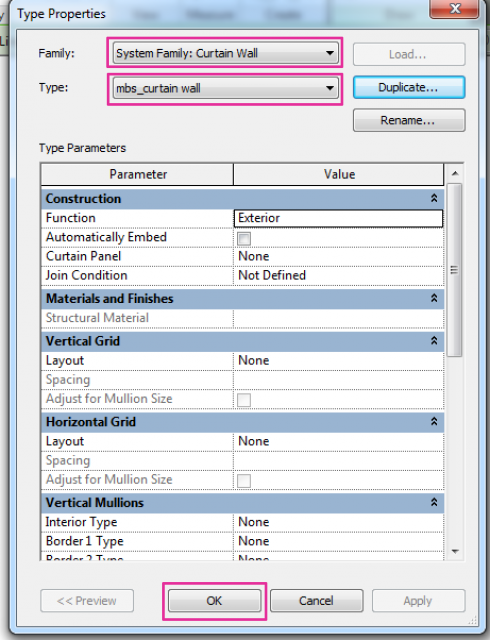
I created an architectural wall. Then I edited the curtain wall. Edit type (in properties tab)> System Family: curtain wall> I duplicated and renamed the type.
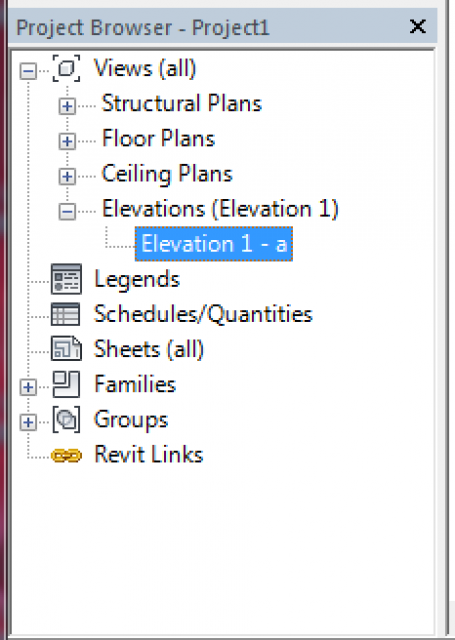
I added an elevation view. View> elevation> Project browser> elevation

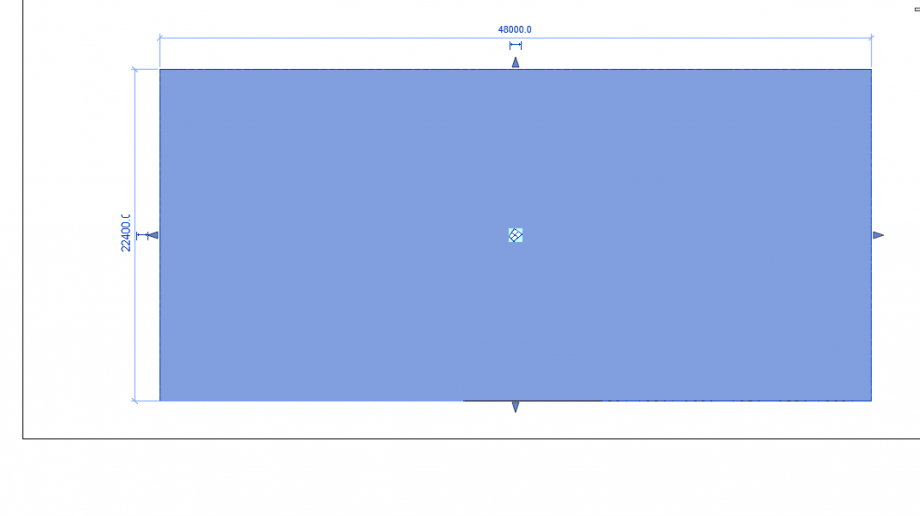
I gave the wall the dimensions needed and then I set as I want them to be.
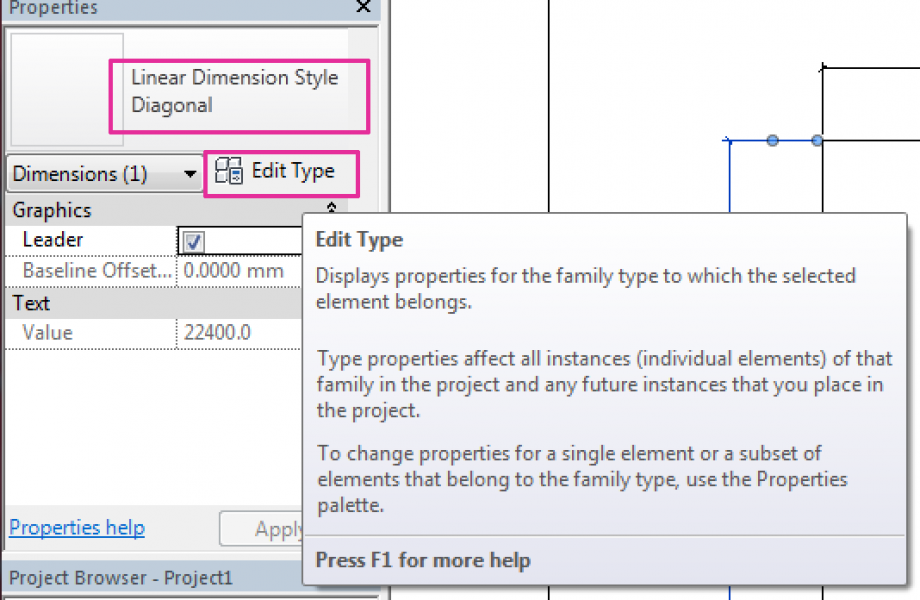
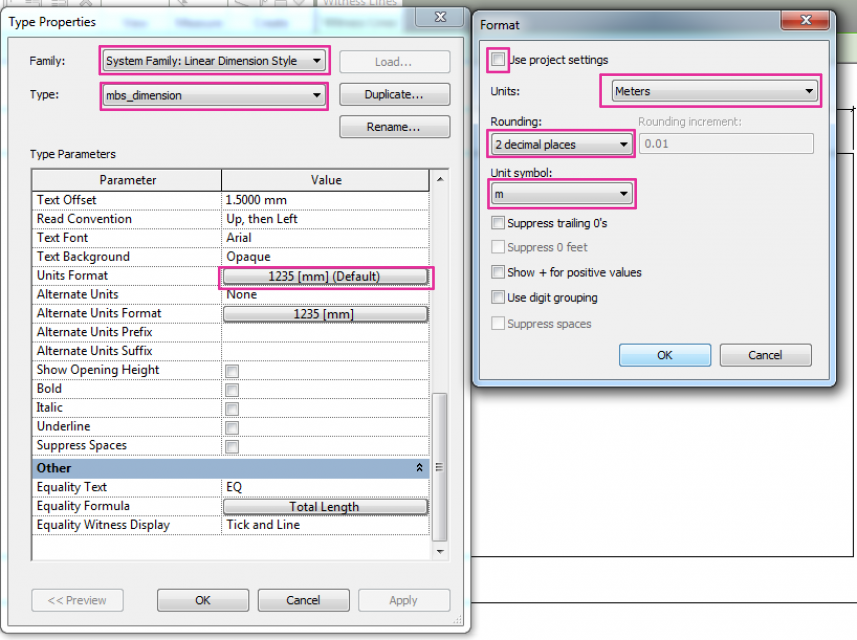
I drew the grid. Architecture> Curtain Grid.

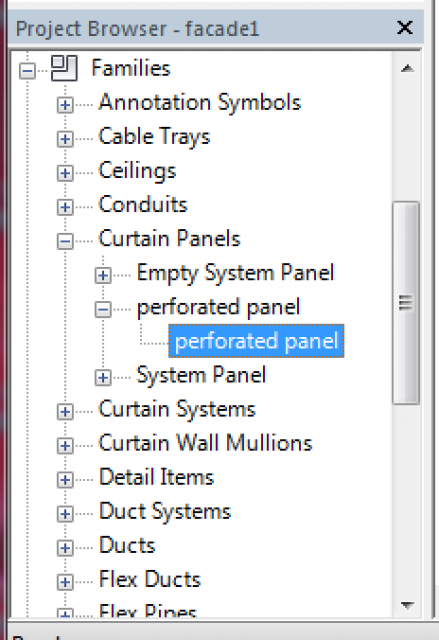
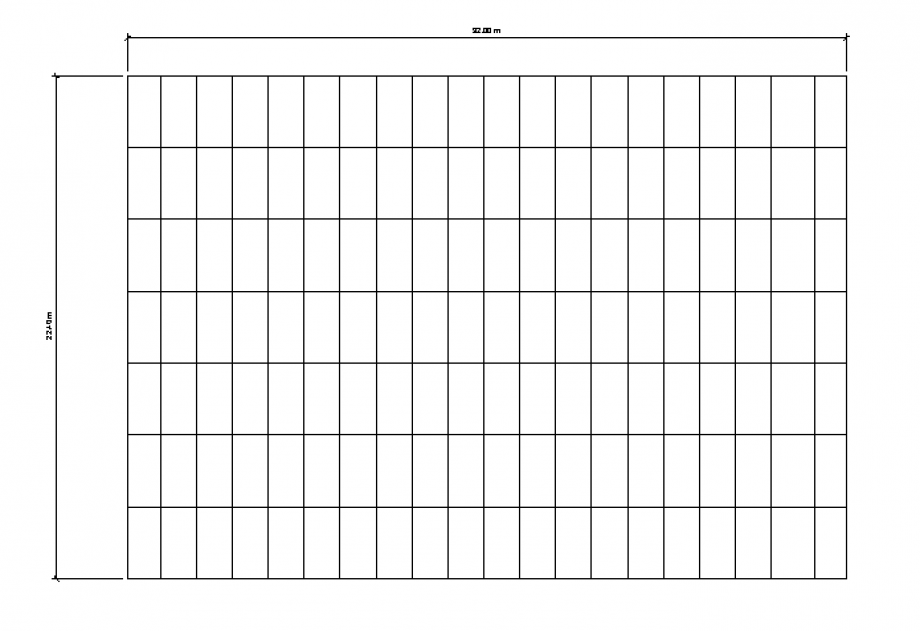 I loaded into the project the panel previously shaped and it was immediately visible in the families, in the project browser tab.
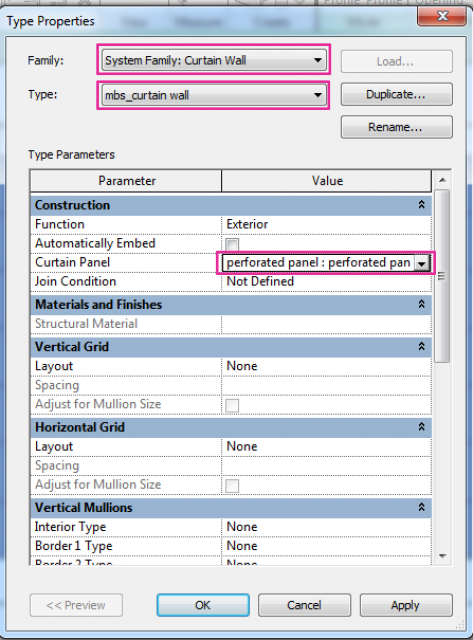
In the Curtain Wall Type Properties tab I set my panel as the panel for the curtain wall.
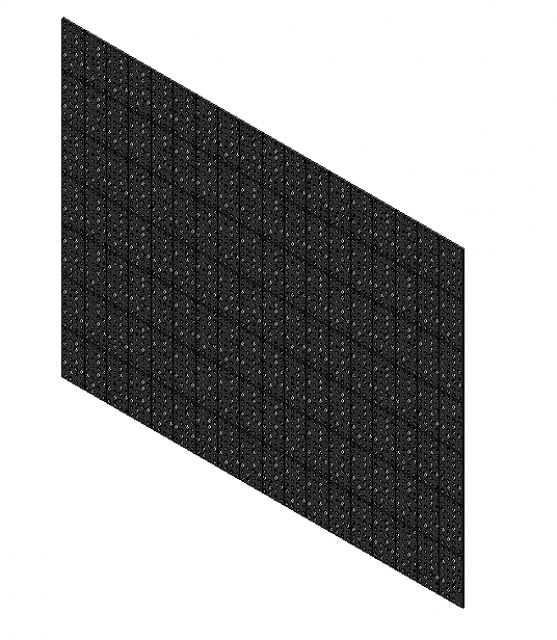
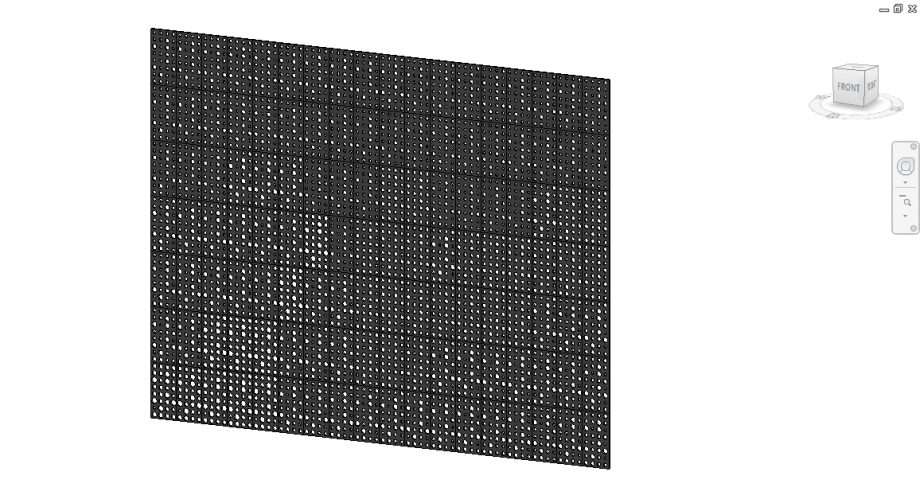
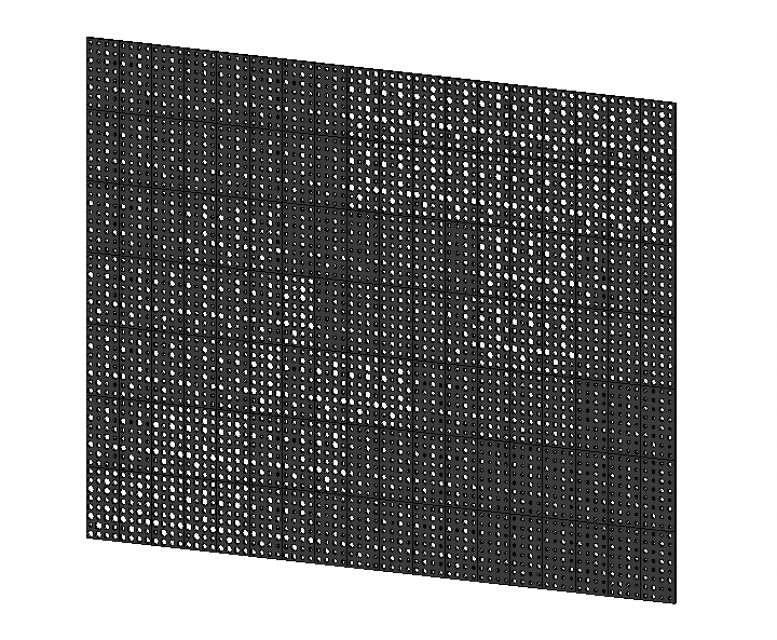
At last I tried with some variation clicking on a single panel and varying the holes’ diameter values.


Commenti
StefanoConverso
Lun, 15/12/2014 - 11:03
Collegamento permanente
Nice parameterization
Hi Mabel,
it's a good exercise of parameterization.
In fact, a lot of people, in these years of the class, tried on this topic,
but there always is a will to introduce too much variability (number of holes, position, radiuses...).
In your case, rows and columns, and hole number on the panel are maintained.
The change is concentrated in: position of radius in the grid, radius.
This gives a very nice "vibrant" aspect to the facade, but also a quiet aesthetical balance.
And makes it much more feasible, of course. Reality of fabrication has always somtething to
teach. And Herzon & De Meuron office knew this very well, especially at their beginnings.
Lately, they've lost some of their original balance on material modification and use,
they stopped their "start from the existing" design attitude. Caixa Forum is a perfect
example of this.
That said, very nice work. We think you are one of the students that are
looking for the right balance between paraterization, experimentation and design.
We look forward to your design progresses!
S.C.
Mabel Sorrentino
Lun, 15/12/2014 - 23:05
Collegamento permanente
Thank you! I hope to do so!
Thank you! I hope to do so!