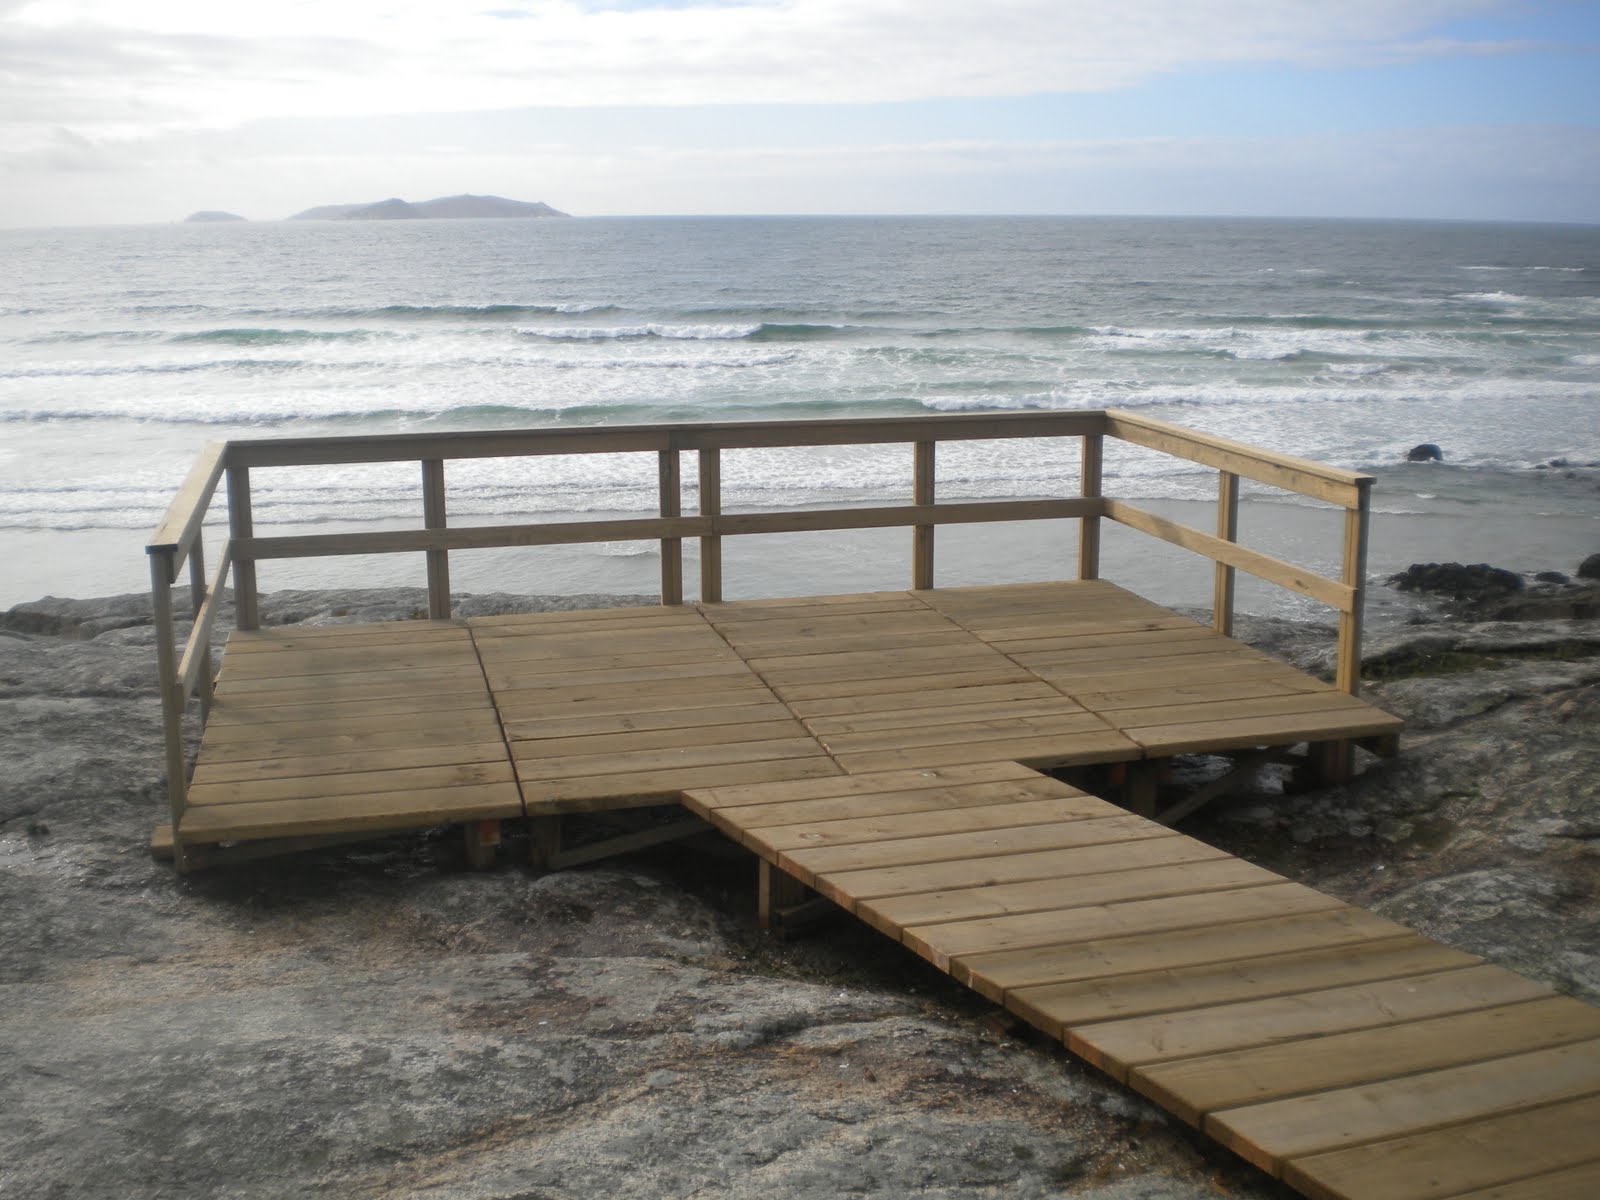
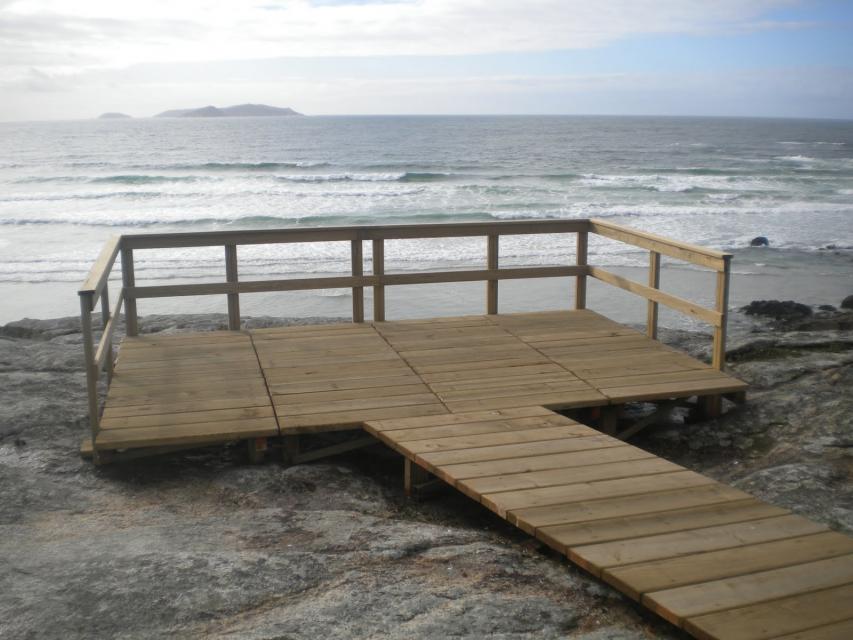
Stazione di Vedetta
First i wanted to create a balcony to see landscapes and fauna, but with an organic form, made of wood modules.
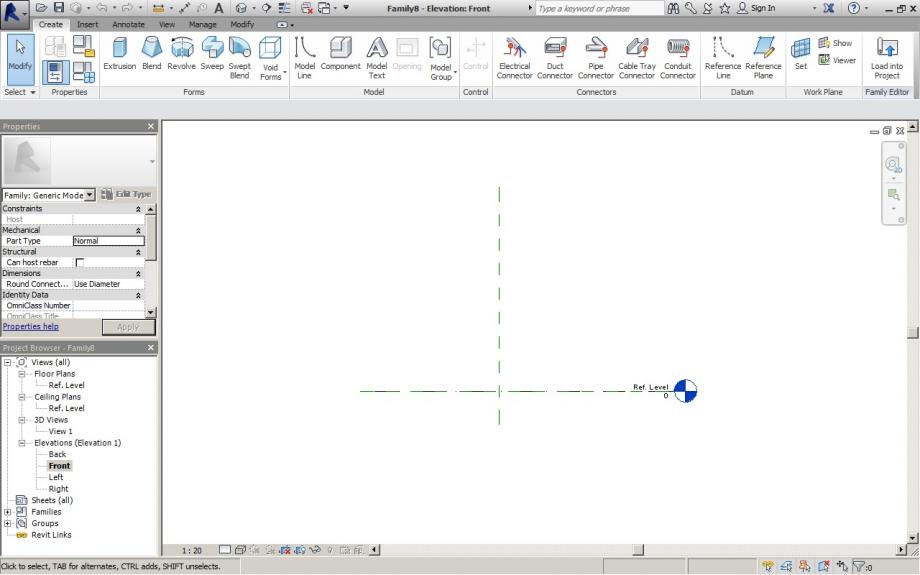
First i choosed the elevation front view, because i wanted to start with a module repeating system
I created the reference planes with the geometry i wanted my modules to have

Then i created an extrusion in the planes that i mentioned before, at the end i finished the extrusion in the green tick. (mode)

Now i align the sides of the extrusion with the reference planes and locked the padlock.

Then i added measures in the sided i wanted to change. with the command "di".

The next step is to select the measure and go in "label" and select "add parameter"

Here we put the parameter "name" and "value", and un "formula" we can use a simple formula to simplify the work, in this case i choosed that the "A" parameter to be the first one, and "B" depends from "A".

Now i Opened a new Family (Proyecto2), to load the project. I also choosed the elevation mode (front).

Now i selected all the things on the "Proyecto1" and selected "Load into Project"

And choosed the "Proyecto2" family, in this project just put one model.

Now with the comand "Array" i selected the model and replicate it.

In this case i choosed to replicate with a radial form.

Choosed an 5º angle, because with 10º the elements were too far away and below 5º didnt work.

Then i selected to array with 60 elements


Then i selected all the modules and choosed "Ungroup", this way i was able to work freely with one module at the time, to create the final shape each element must be selected one by one.

Then i was able to change the "A" parameter one module at the time, with this change all the parameters change, becaus of the formula i added before.

Then i created a new parameter, i called "C" because i wanted to add more geometric change in the shape.

Then i just selected "Loead into Project" and all my changes were passed to the "Proyecto2" model.

And the project was loaded with all the parameters and data.

Then i Started to changing the "A" parameter one module at the time, giving more air in some parts to create spaces of permanences. Again just changing the "A" parameter.

This is the Floor plan level.

This is the result, is a little small, but in time it will get bigger and with more permanence spaces inside.