PRIMA CONSEGNA - LE BRAZIDEC
1- Create a family, draw two new reference planes on the reference level and also on the front elevation

2 - Add dimensions linking the base planes to the new reference planes

3 - In the family type, create 3 parameters: length / width / height
4 - Associate each dimension with the corresponding parameter and lock them all
5 - Create an extrusion and then align it to the new reference plane
6 - In the family type, set the height to: width * 2/3

7 - Create new family types, for me: 3m / 5m / 8m / 10m / 20m

8 - Create a new project and load the family (cube), place the cube while varying the types
9 - In the family, change the family type and check the "instance” box

10 - Reload the family into the project and place the cubes around the model
11 - Add a new level (3), and then elevate some of the cubes

12 - Change the dimensions of the cubes manually and directly in the project using the “instance” parameter
13 - Use the schedule function, and sort the shapes to their type and family

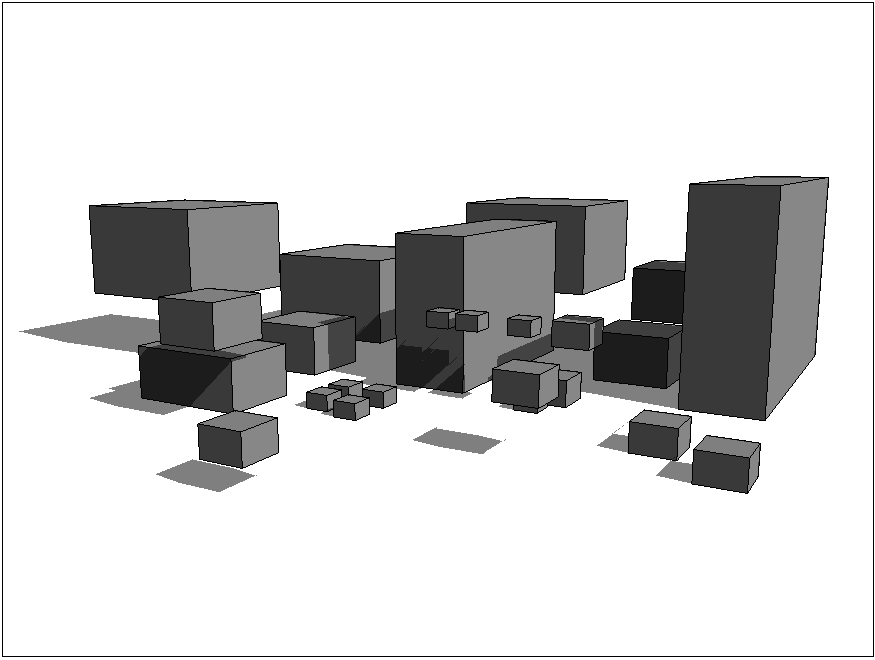
14 - You now have an assembly: different cube sizes, at different heights, in various locations
15 - Finally, place the camera on the plan, add shadows, and choose a point of view
Here is my final project for the instrcution 1 :


