SECONDA CONSEGNA - LE BRAZIDEC
1 - Use the base to create a cube from last week's instructions. You can create a new reference plane
2 - Go to the Properties of the settings. Change the family parameters from Family Parameter to Shared Parameter and from Type to Instance

3 - Create new parameters for height, width, and length dimensions, and name them "S_Name". Add a text parameter so that you can name the different types of objects in the composition

4 - In the View menu, select Schedule, then Schedule/Quantities. Choose Generic Models. In the Schedule Properties, select the data to display in the table: family, type, level, and comments

5 - In the Schedule Properties, open the Sorting/Grouping tab and click Modify. Choose to group the items by type, adding a blank line. In the Comments field, assign a color name to each type, for example, "blue", to define the colors later
6 - Switch to 3D mode and open the Visibility/Graphics window (you can press VG)
7 - Go to the Filters section, then add a filter by clicking New. Name the filter (for example, "Blue"), and then choose the category Generic Models

8 - Set the filtering rules so that the Comments field matches the chosen color by using "Comments equals" and the color name (e.g., Comments equals "blue")

9 - Repeat this step for each color you want to apply; in my case, 8 different shades of blue
10 - In the Projection/Surface section, go to Patterns. Choose the solid pattern and set the background color according to the filter

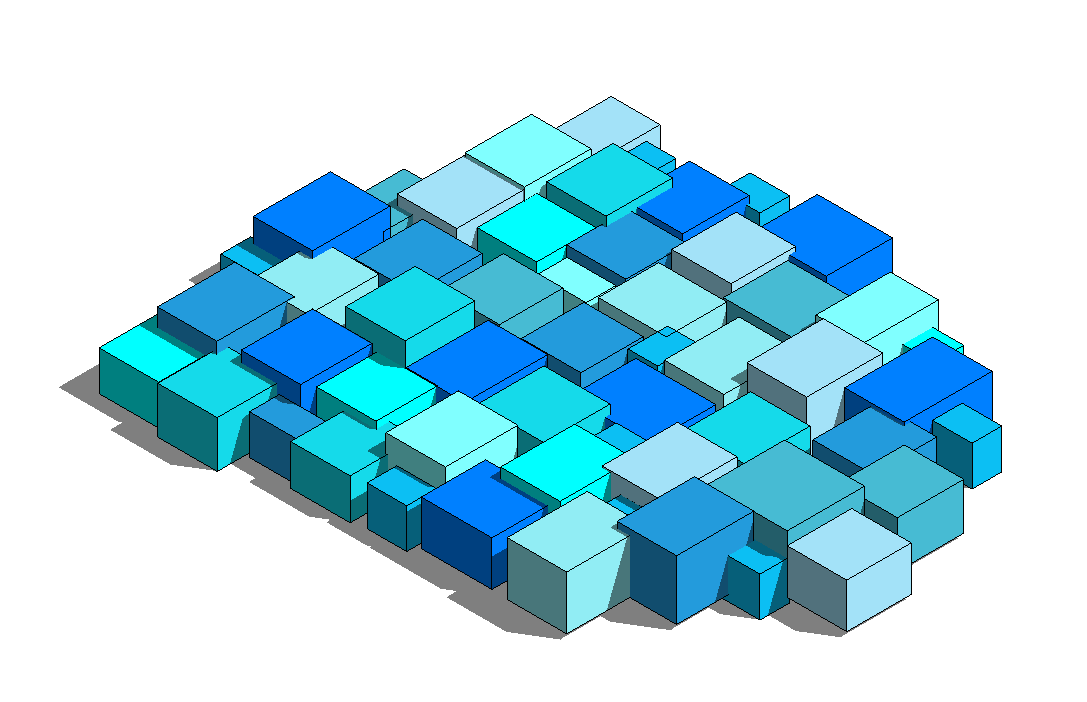
11 - Return to the 3D view. Adjust the perspective using the Camera tool in the 3D view to achieve the desired view.
Here is my final project for step 2 :


