TERZA CONSEGNA - LE BRAZIDEC
1- Create a Family:
Go to Create → Family → Select Curtain Wall Panel Metric as the template

2- Configure shared parameters via family type:
Add the following shared parameters:
S_Length
S_Width
S_Height

3- Import and position an existing family:
Open an existing family (square-shaped family)
Load this family into the newly created family
Position the imported element correctly

4 - Configure instance parameters:
Go to the family type of the square shape
Modify the parameters to set them as instance parameters

5 - Align the solid with the reference planes:
Align the solid with the reference lines (on the right and at the top)
Ensure that when the "EQ" distance changes, the right side of the solid moves, while the left side remains stationary

6- Create a type parameter:
Go to the family type of the new family
Add a new parameter named S_L.
Set the value of S_L to 2 m and confirm
7- Assign the parameter to the solid:
Select the solid
In the toolbar on the left, click on the square icon to the right of S_Length
Replace S_Length with S_L


8- Create a new project:
Go to Create → Project → Select Construction Template

9 - Create a curtain wall:
Create a reference plane
Create a wall of type Curtain Wall
In its properties, set the following options:
Layout → Fixed Distance with a spacing of 3000 mm


10 - Align the wall with a level:
Go to the South Elevation view
Keep only the Base T.O. Level visible
Move the wall to align it with the Base T.O. Level


11 - Load and apply the panel family:
Load the curtain wall panel family into the project
Select the wall in the project
In the type properties, set the family in the Curtain Wall Panel option

12 - Create a model line in the family:
Go to the Exterior view of the family
Go to Create → Model Line
Align the line with the left reference plane and the top and bottom points

13 - Add a visibility parameter:
Add a new parameter in the type properties:
Name: Line
Data Type: Yes/No
Click on the line you created and, in the toolbar, check the square icon next to Visible
Load the family into the project


14 -Control the visibility in the project:
In the project, when the element is selected, uncheck Line in the properties to make the line invisible

15 -Load a face-based family:
Open a face-based family type
Load this family into the curtain wall panel family
16 -Position a face-based element:
In the 3D view, position a face-based element
Align this element with the reference lines
Load the family into the project
17 -Add a reference plane and align an element:
In the curtain panel family, go to the Exterior view
Add a horizontal reference plane
Place a face-based element and align it with this reference plane.
18 - Annotate the height:
Annotate this alignment by creating a S_Height tag
Verify that when the reference plane is moved, the solid moves accordingly


19 - Create a schedule:
Go to View → Schedules and Quantities
Select the Curtain Wall Panel category
20 - Add custom fields:
Add S_Height as a field
21 - Test the height variation:
Modify the heights of the panels in the schedule to verify that the elements respond correctly

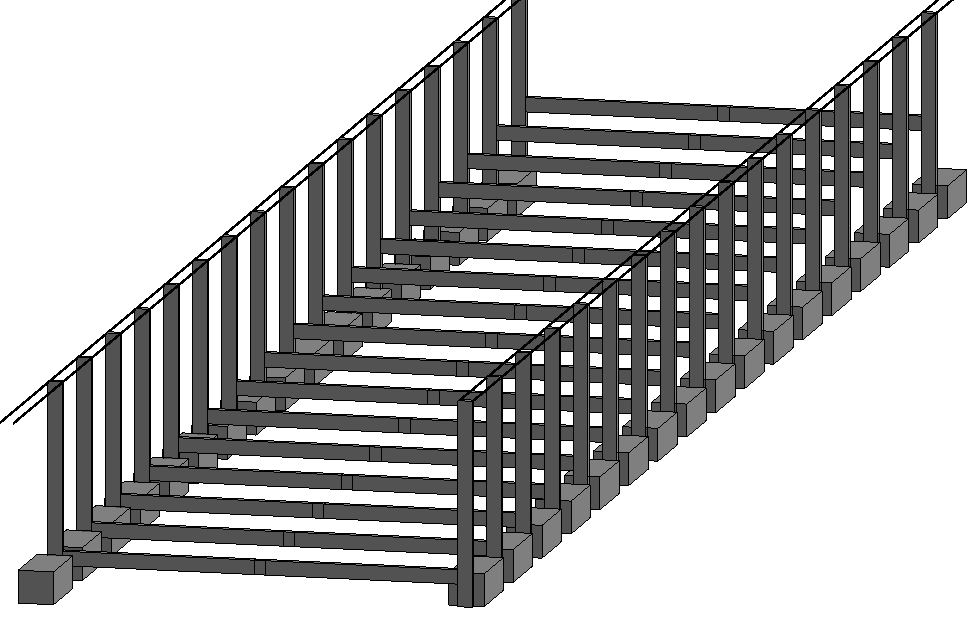
=> Here is my final project, for instruction 3:


