 ChimentiMarini_...
Mer, 20/05/2015 - 17:43
ChimentiMarini_...
Mer, 20/05/2015 - 17:43
In the previous tutorial we saw how to create masses starting to identify a complex of buildings and later as study the progress of the sun. Now we are going to improve those volumes characterizing prospects and their surroundings, to be able to analyze solar radiation.
1. Modeling
we shape our building drawing on prospectuses: after the mass exploded du we click "Edit in Plce", we select "Set" and the area is covered with the "line" all the features such as windows, doors and patio doors, to change later in below the depth.

Upon completion of the facade to create the openings and the depth we use the command "Void Mass" in the window "Create Mass": the selected object with this option you can change the third dimension of our characterization, and also creating recesses of the balconies and lodges. In the image below you will be brought the building modeled.

3. Solar Radiation
We can now move on to the analysis of solar radiation and of the surroundings of our building with the "Solar Radiation". The latter is located in the control bar under the vove "Analyze": it will open a window in which you can change the default settings, such as setting of the sun, the unit of measurement (2) and the style of radiation (3 ). In step 3 you can create via the "style" a style of customized radiation.

It 'important to change the setting of the new style, under "color", the default colors (red generalemnte is the coldest and the hottest blue). If you want you can also add other colors to increase the range of radiadione (it was added to yellow).

Finish customizing our settings, we report the analysis of the radiation of the surrounding area.
The analysis of the solar radiation was Carried out on Mainly for three different periods:
1- ONE YEAR SOLAR RADIATION
2- SUMMER SOLAR RADIATION
3- WINTER SOLAR RADIATION


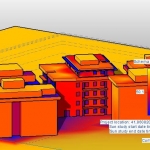
The first 3 images bring the study of the facade NORTH-WEST and we can see that throughout the year the solar radiation does not present major changes, while remaining low.


 These other 3 images bring the study of the facade NORTH-EAST and we also note here, throughout the year the solar radiation does not present major changes, apart from the projections of the balconies and the top floor and winter are more irradiated compared to the rest of the facade.


These other 3 images bring the study of the facade SOUTHEAST that compared to the other two is more exposed to solar radiation during the whole year, it presents values clearly superior to the other facades.


Next we analyzed the radiation windows during winter and summer; The first 2 images show the facade NORTHWEST. In summer the facade has values that come to a max of 40.91 kWh / m ^ 2, while in winter comes to a max of 100.1 kWh / m ^ 2


These 2 images show the facade SOUTHEAST. In summer the facade has values that come to a max of 63.4 kWh / m ^ 2, while in winter come to a maximum of 48 kWh / m ^ 2.
Mer, 20/05/2015 - 18:21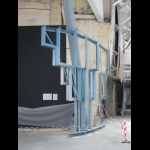 StefanoConverso
Mer, 20/05/2015 - 15:04
StefanoConverso
Mer, 20/05/2015 - 15:04
cari ragazzi,
ricordiamo a tutti che Vasari scadrà il 31 Maggio,
entro quella data vanno completate le consegne mancanti, necessarie
a completare i requisiti per essere ammessi all'esame, che sono:
Consegna 1 - Studio delle ombre
Consegna 2 - Solar radiation abitazione e progetto
Consegna 3 - Modellazione Albero - ATTENZIONE QUI VA ALLEGATO IL FILE .RFA
Consegna 4 - Modellazione e riflessioni progetto di laboratorio - post aggiornabile fino al 30 Maggio con tutte le evoluzioni
Nota: Le consegne con i tag sbagliati, con il nome del gruppo sbagliato o diverso dal foglio elettronico
oppure le consegne di albero in cui non ci sia il file allegato, non potranno essere valutate. Controllate
che i tag siano giusti, e che il nome sia giusto andando alla pagina delle consegne.
Subito dopo il 31 Maggio verranno pubblicate le valutazioni delle consegne 3 e 4,
e saranno comunicate le modalità di integrazione del lavoro che avrete fatto in questo
corso nella presentazione dei progetti d'esame.
State crescendo molto e la qualità dei lavori cresce
a vista d'occhio
Mer, 20/05/2015 - 15:18
 Mariucci_Taiariol
Mer, 20/05/2015 - 14:43
Mariucci_Taiariol
Mer, 20/05/2015 - 14:43
IL PLATANO:
Il platanus acerifolia, comunemente definito platano acerifoglia, è un albero appartenente alla famiglia delle Platanaceae che spesso ha uno scopo ornamentale nei parchi urbani e nelle strade anche delle grandi metropoli, per via della sua particolare resistenza allo smog.
Il suo nome deriva dal greco “platys” ovvero “esteso - largo” in riferimento alle foglie ampie ed alle grandi dimensioni: la sua altezza varia tra i 20 ed i 30metri; la corteccia è a chiazze e presenta rigonfiamenti ed il tronco ha una circonferenza che va dai 5 agli 8metri.
Le foglie, grandi circa 15cm, sono piatte ed ampie e si presentano lungo tutti i grandi rami disordinati.
Si tratta di un albero molto forte ed autonomo che non necessita di particolari cure e si adatta bene al luogo in cui si trova: pur prediligendo le posizioni assolate, se posto in contesti ombrosi e/o freddi non incontra enormi difficoltà. Si adegua al terreno in cui è piantato ma preferisce i substrati profondi e ben drenati: è facile incontrare lungo i viali urbani rotture nell’asfalto, proprio dovute alle enormi radici.
La sua vita è molto lunga e può durare addrittura quindici secoli; il legno ricavato è duro ma allo stesso tempo lavorabile, quindi viene utilizzato per la produzione di mobili che richiedono lavori di intaglio. I tronchi invece sono utilizzati per il riscaldamento, in ragione delle loro elevate potenzialità nel produrre calore e carbone.
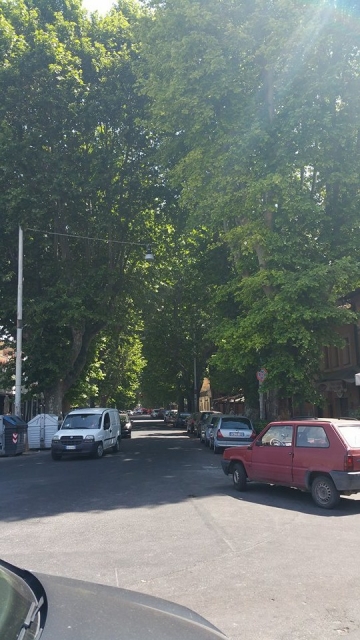
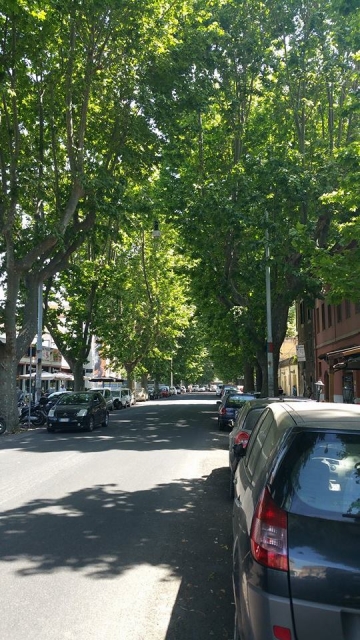
Per questa esercitazione abbiamo quindi esaminato Via Galvani, sita nel quartiere Testaccio; lungo questa strada si ripetono due file di platani, posti ad una distanza di circa 7metri tra loro. Possiamo vedere come l’altezza degli alberi (di circa 25metri) e l’orientamento influiscono sull’ombreggiamento della strada: nel periodo primaverile, alle ore 11.00 e durante il primo pomeriggio, Via Galvani si presenta quasi completamente priva di illuminazione diretta, ritrovo piacevole per studenti e turisti. Durante l’inverno invece si presenta piacevolmente soleggiata a causa della perdita del fogliame.
Vista di via Galvani:
Viste di via Galvani dal piazzale dell'ex-mattatoio di Roma - 19/05/2015 ore 11.30:
RISCONTRO FOTOGRAFICO - foto scattate alle ore 11.30 del giorno 19/05/2015:
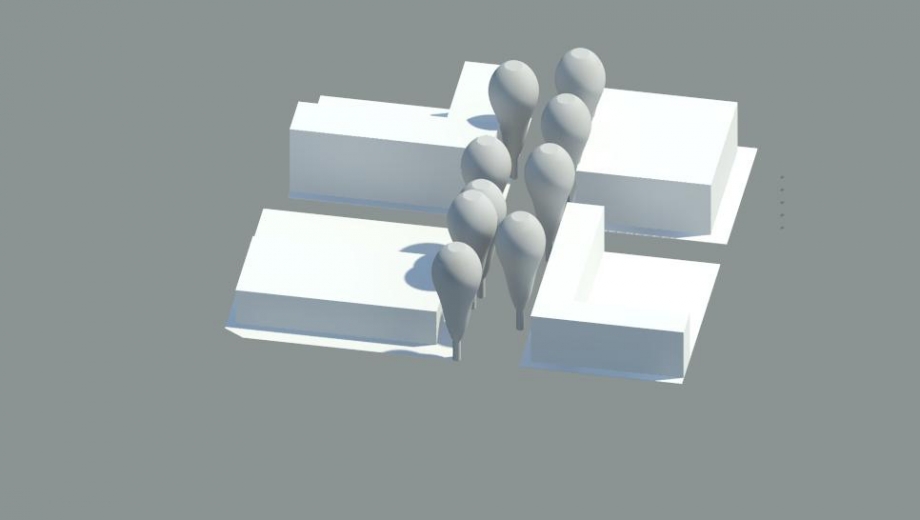
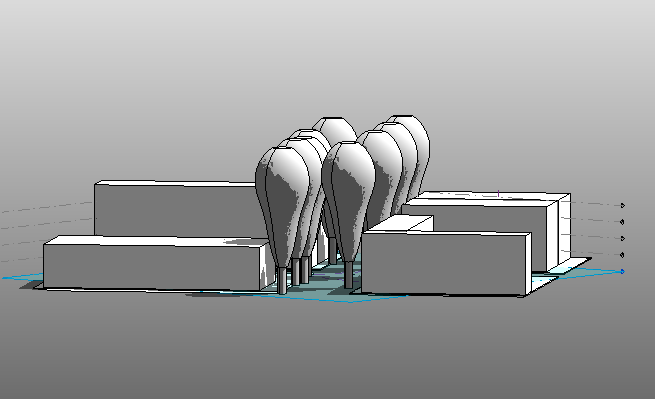
Abbiamo applicato alcune modifiche per quanto riguarda la "struttura" dell'albero: abbiamo ridotto la sezione del tronco e modificato l'altezza e la conformazione della chioma.
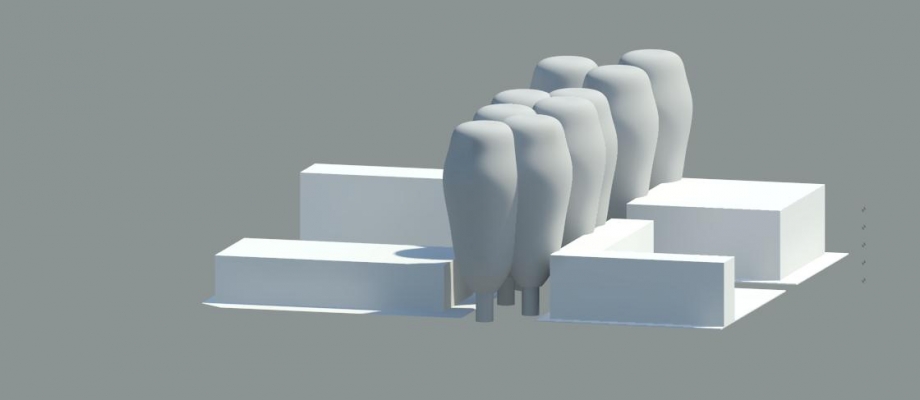
SIMULAZIONE DELLA VISTA AEREA
SIMULAZIONE DELLA VISTA DAL MUSEO MACRO
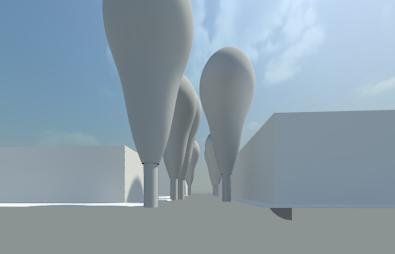
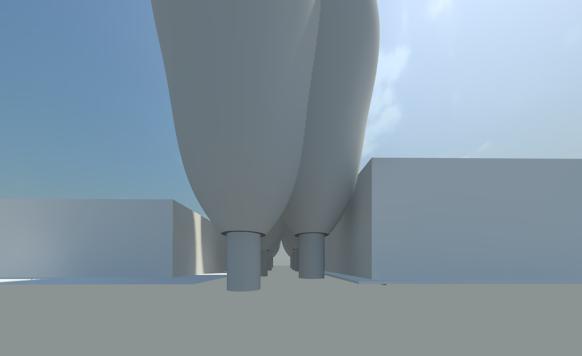
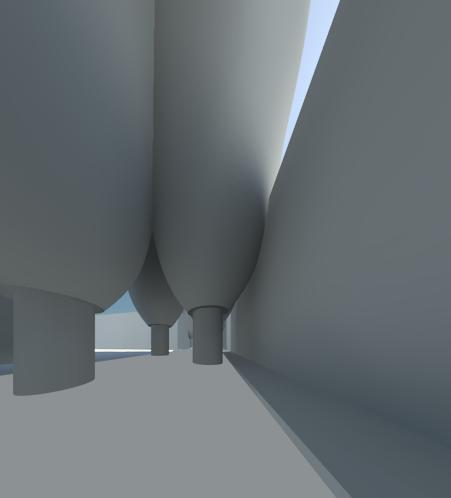
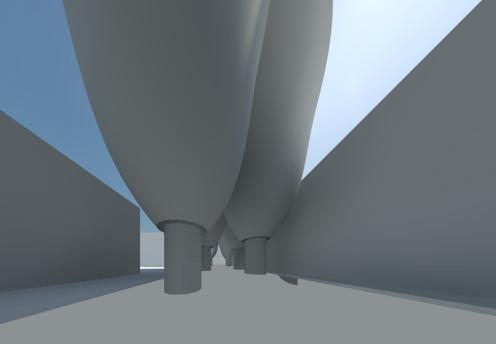
SIMULAZIONE DELLA VISTA PROSPETTICA DA VIA GALVANI
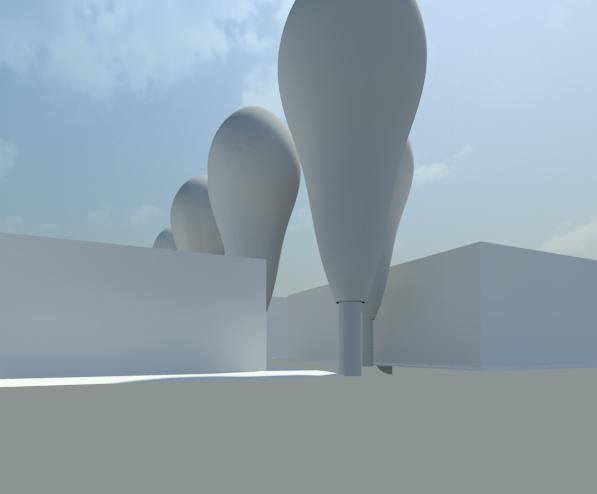
VISTA PROSPETTICA
Mer, 20/05/2015 - 15:01
 Aubourg_Castiglioni
Mer, 20/05/2015 - 11:55
Aubourg_Castiglioni
Mer, 20/05/2015 - 11:55
TREE MODELLING _ PLATANUS (PIAZZA DELLA RADIO)
We had chosen a Platanus tree situated in Piazza della Radio. This sort of tree is typical of urbans areas.
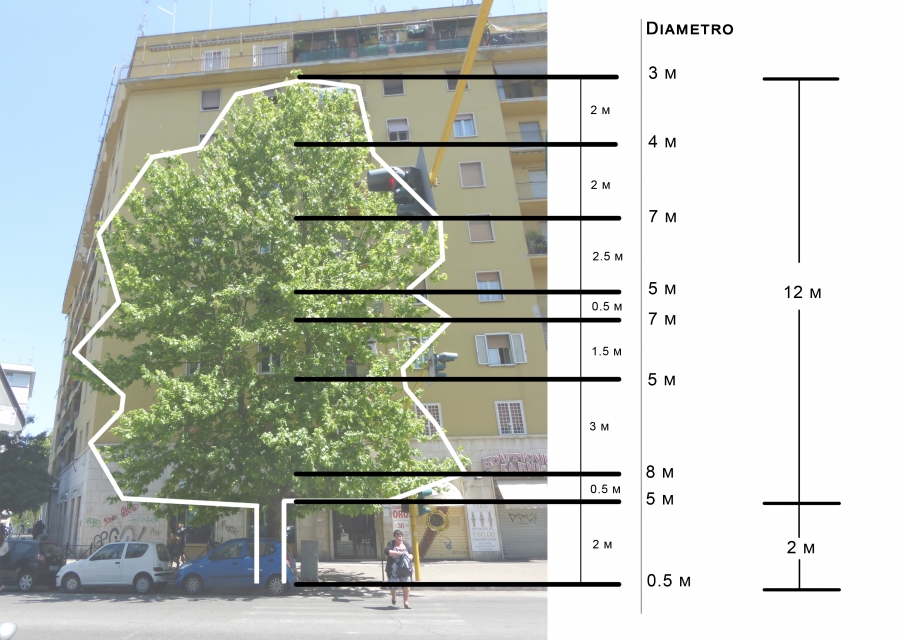
He can be very tall, and this one is 14 meters high. Its trunk make 0,5 meter of diameter and the foliage 12 meters.
Due to its size and to its foliage this tree has a strong impact on facades surrounding. But losing its foliage in winter, its influence is reduced.
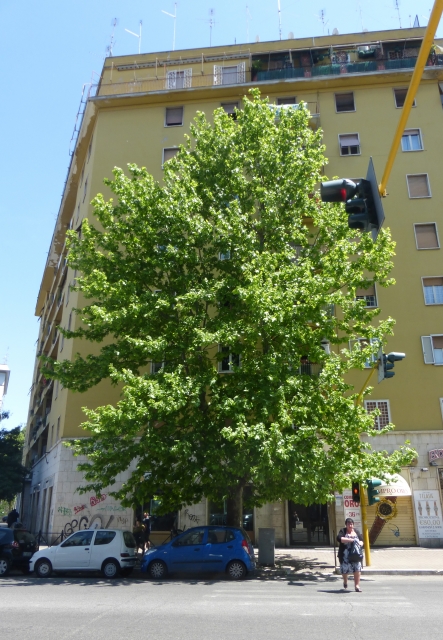
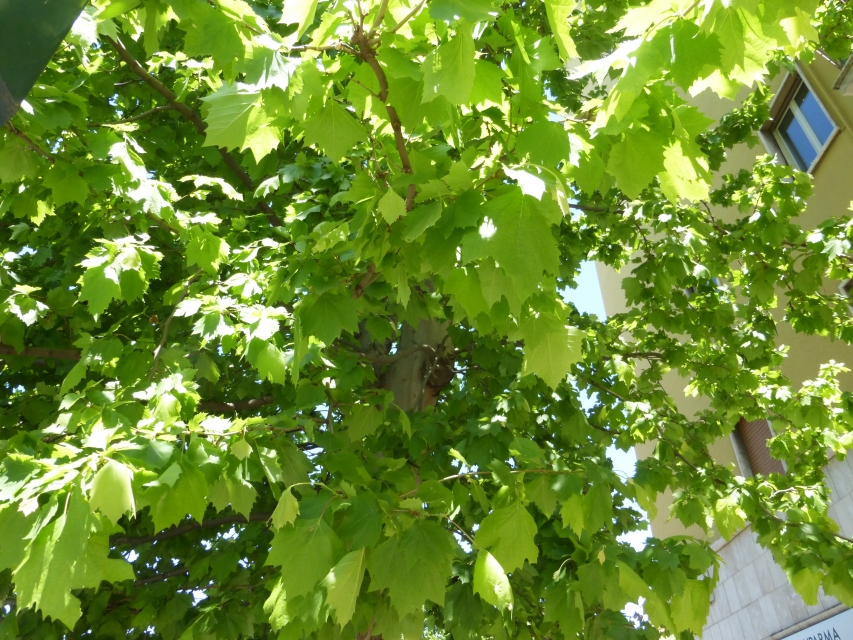
Diagram:
We cut the tree in differents levels, and estimated the various diameters of the trunk and the foliage.
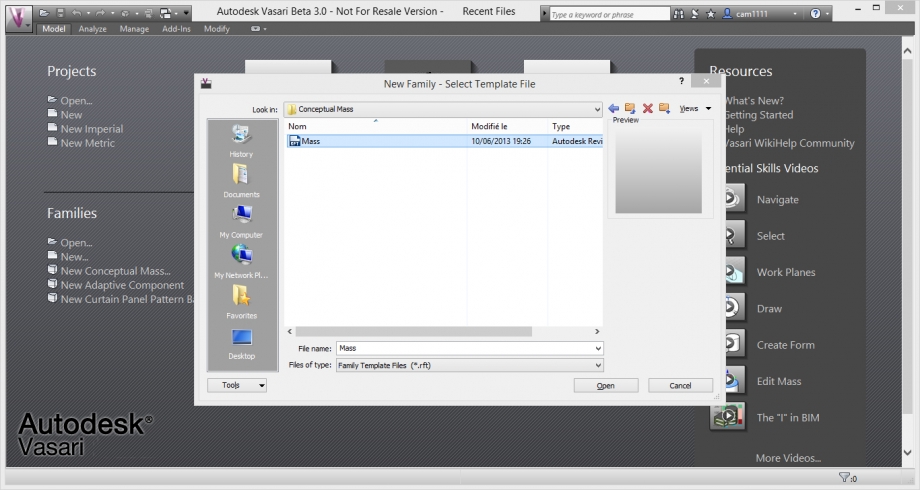
Modelling:
We open a new family file, to create the tree as a new family. We choose the mass file.
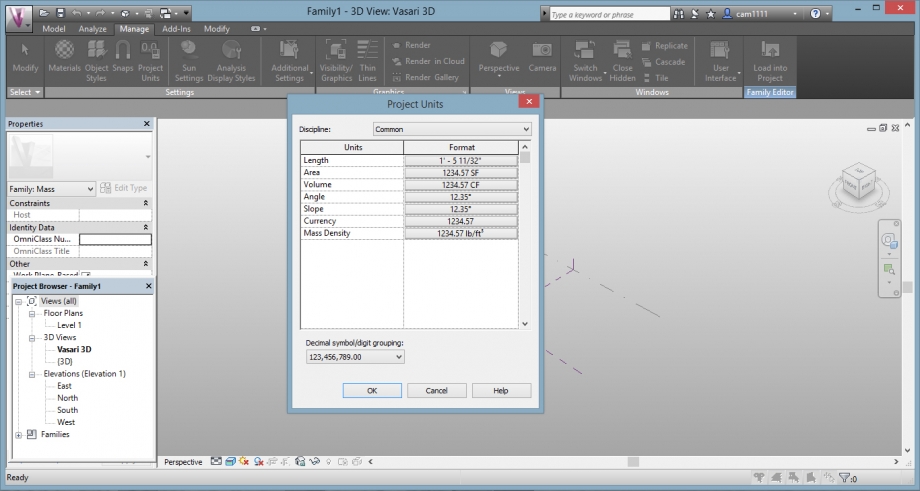
Before modelling, we had to change the units, we opened the "project units" window.
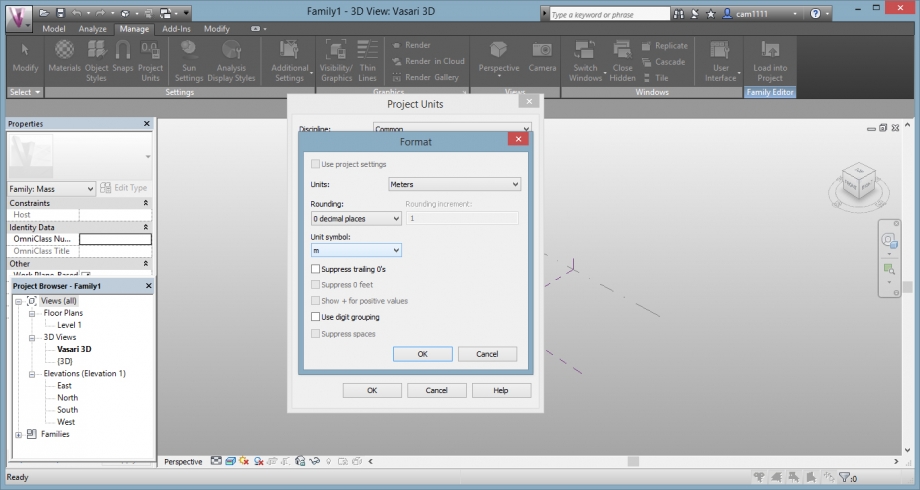
And we changed the units (meters, and unit symbol: m)
Then, we had to create the differents levels of the tree as the figure above.
For that, we put the view in elevations (east), and clicked on Model/Level to create new ones.
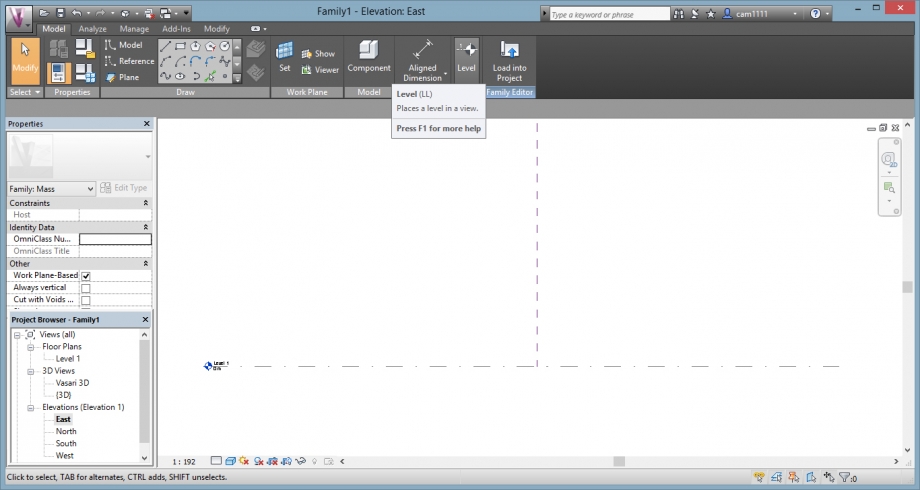
We created 8 différents levels corresponding to the various sections of the tree.
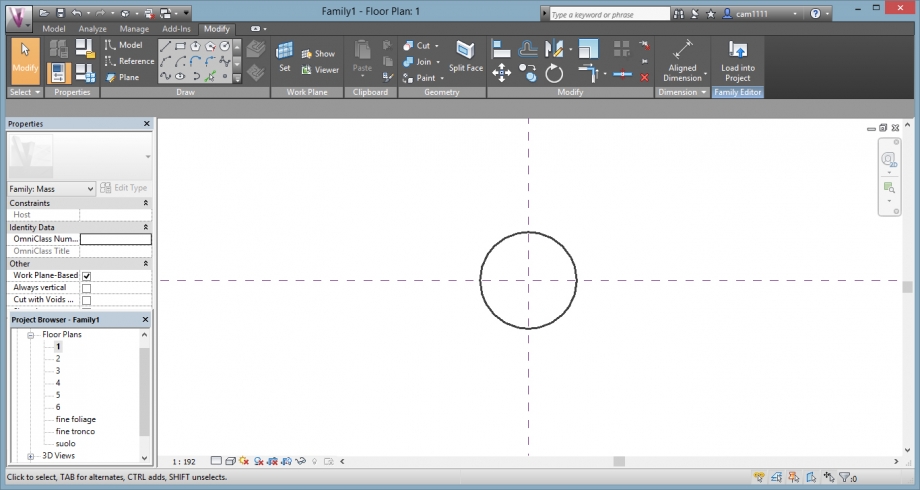
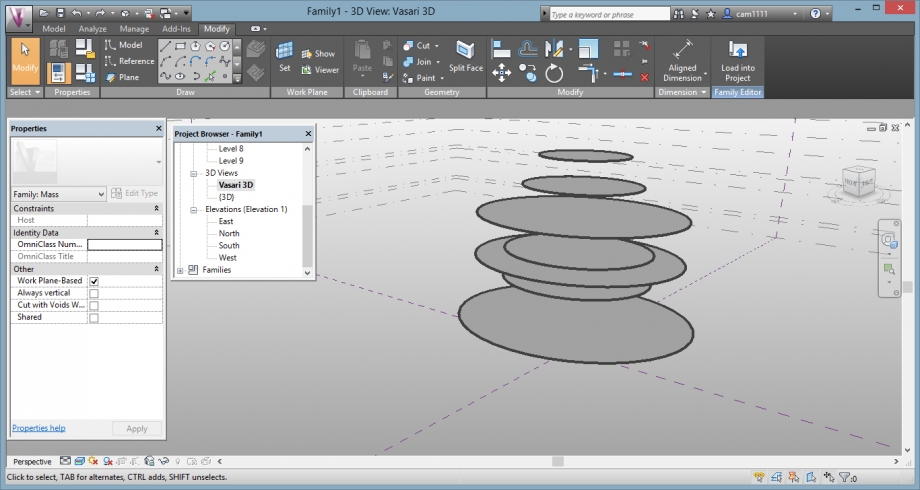
After that, we drew circles in each level, representing the diameter of the foliage for every section. For that we put the view in plan.
We had to be careful drawing it on the good levels.
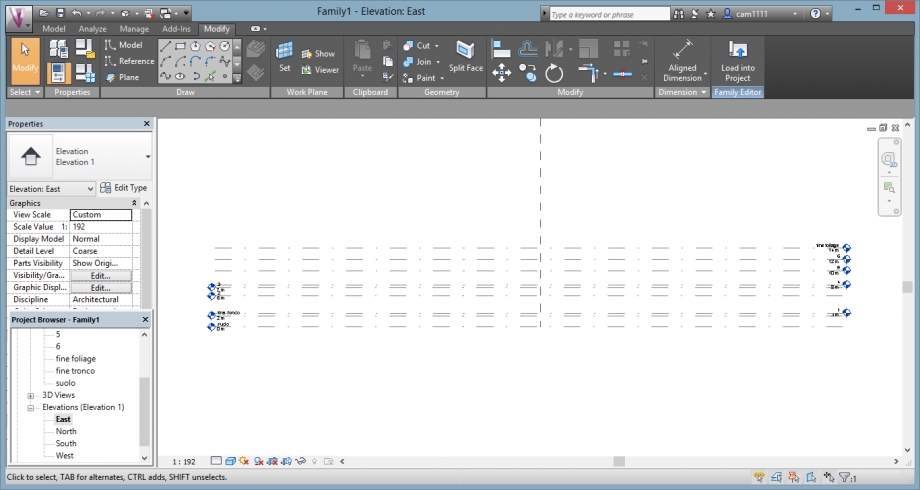
Once completed, we obtained the silhouette of the tree
Elevation view:
3D view:
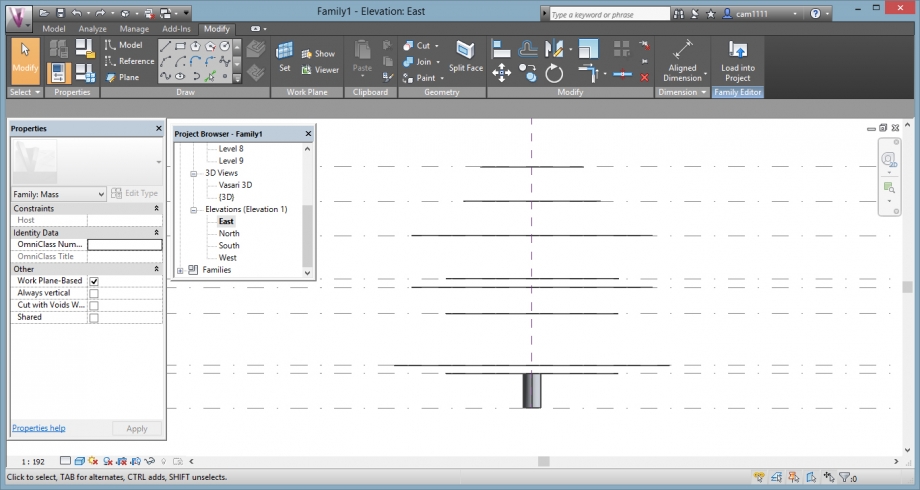
It only remains to create the shape of the tree by connecting the dots circles between them.
For it, we had to select all the circles and clicked on: Create Form / Solid Form.
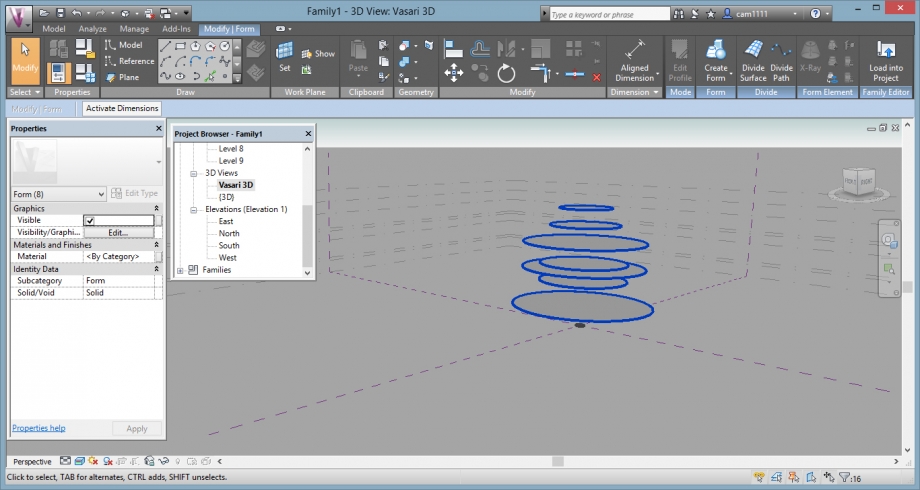
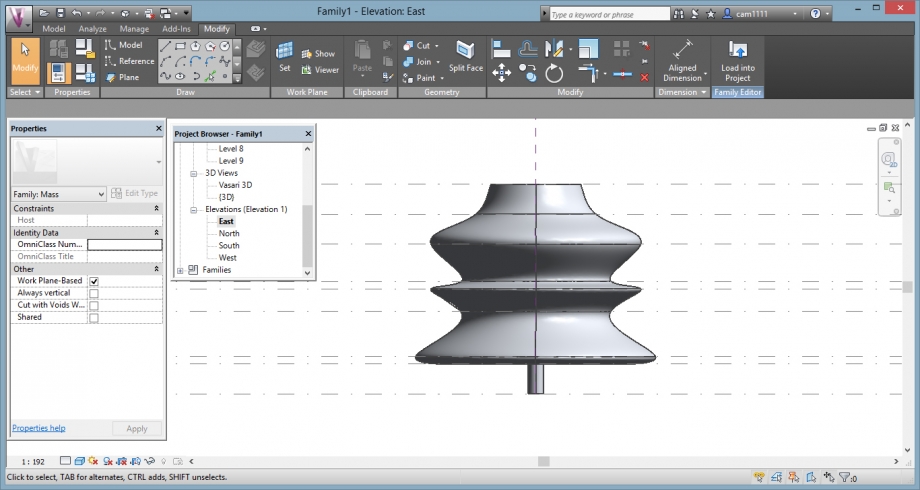
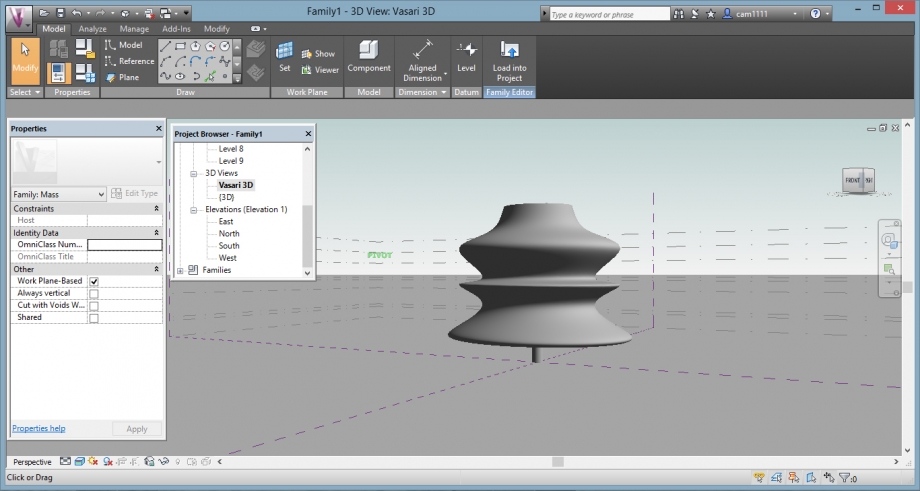
And we obtained a new volume created according to the various elements which we had generated:
Elevations:
3D view:
Mer, 20/05/2015 - 13:01
 Manuel Andrè Bo...
Mar, 19/05/2015 - 19:37
Manuel Andrè Bo...
Mar, 19/05/2015 - 19:37
We finally published our new WebGL index page (Full WebGL & Css3D environment)
Click the Button on the left menu and try our new navigation experience in WebGL

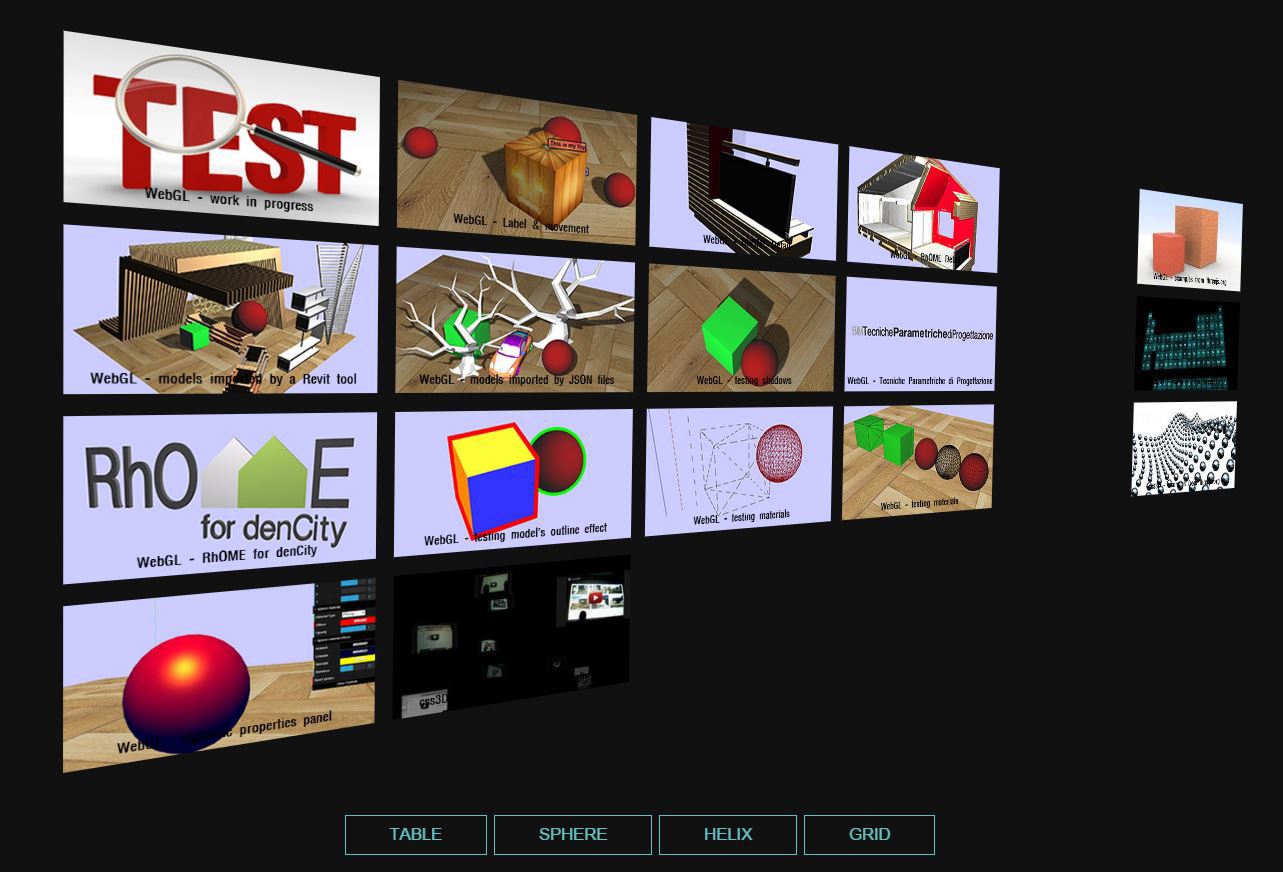
A Bottom menu to let you choose a different way to display informations. (An other little step to the BIM level 3!)
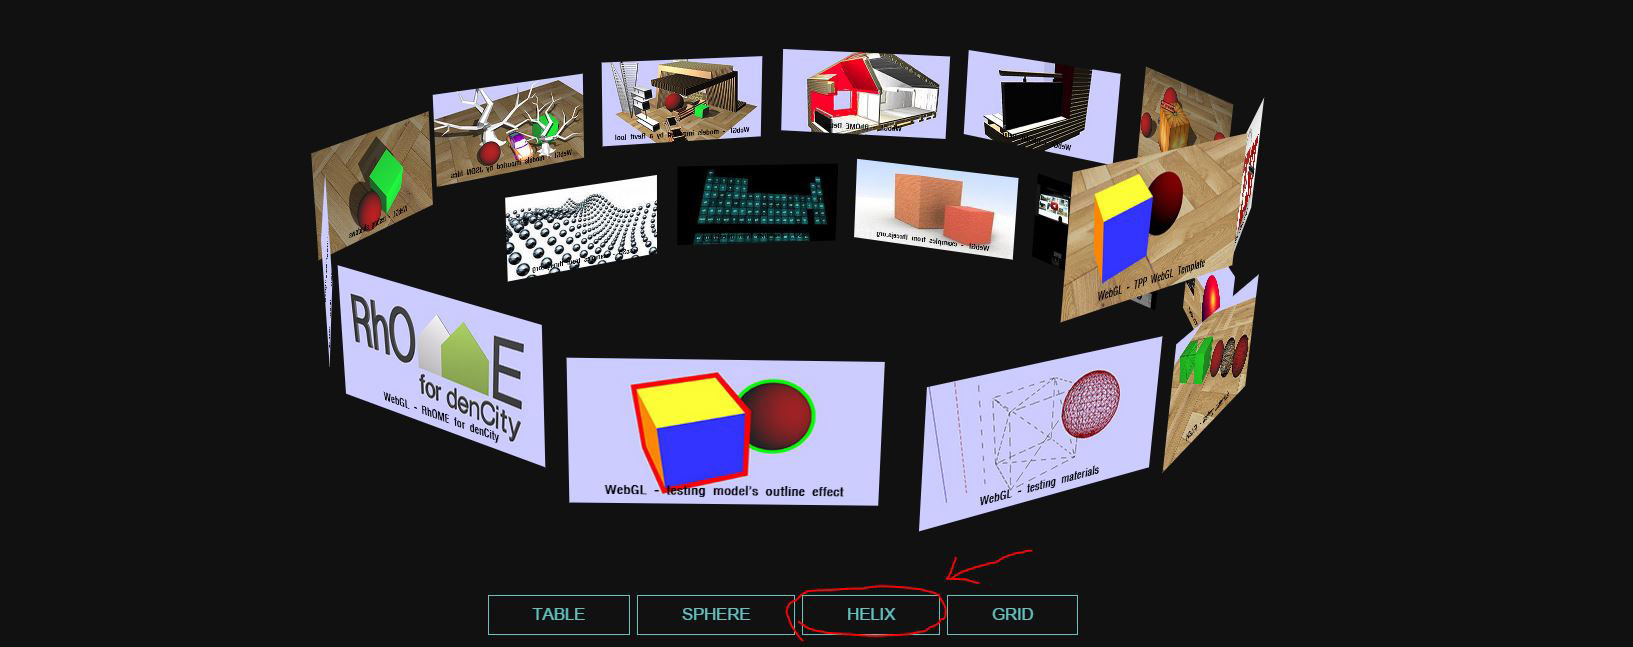
Now in every WebGL page is possible to use a direct link to the Index Page