Consegna Finale
Greetings
For this consegna finale we (me and Alejandro Saldías) decided to work together in the levels 3 and 4 of the “B” tower.
Our Project is thoguht for make a special floor, that works for young people that dont have problems to share the service spaces, (kitchen, bathroom, etc.) like students or young professionals. Therefore people that is flexible with privacy limits.
To achieve this we wanted to create a flexible type of room, so the users can go from a singular camera to a double one.
The most private spaces, which are the bedrooms are disposed on the south facade to take advantage of the sun’s light, therefore the other spaces that doesnt need this condition are disposed on the north facade.
The distribution is equal on the 2 levels.


In order to have a good climate condition we created a wall that is 40 cm of thickness.
For this we duplicated a basic wall and then we edited the structure of the wall’s composition.


Then we created a wall that is composed of a double layer of bricks, and in between has the insulation.
And for the bedroom’s division we made an modular panel that can be opened, and this way turn the single camera in a double one.

The furniture for the bedrooms its a module made of Wood and metal joints, this furniture holds all the utilities that are on the room.


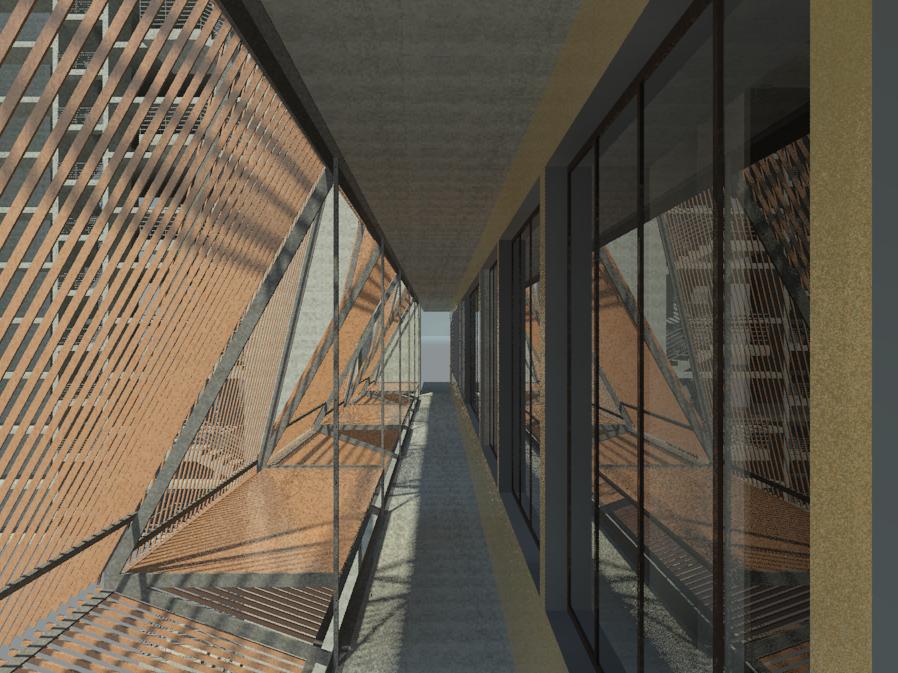
For the terrace we wanted to create a semi exterior space, therefore we created a facade system that is semi permeable.
The facade system is made with elements of Steel that serve of structural purpose, and elements of Wood that create a brise soleil.
This facade system has two types, one is divided into two spaces (level 4 and level 3) and the other takes advantage of the two levels (double height).
First we opened an Metric Generic Model, and then went to the Left Elevation.

We traced the reference planes in order to have an order.

Then we created the extrusions that will be the steel elements of the facade.

In order to have a arranged group of elements, we aligned all the extrusions to the reference planes, and clicked on the “Dissociate Work Plane” button.


Then when the module of Steel was finished, we clicked on “load into Project” and loaded the module on the Main Family.


Now in the Main Family (FFAS – FachadaVentilada) we also loaded the “Wood” elements that works as a diferent family, this way when we us the “array” comand is more efficient.


Then we created two material paramters, one of Steel (FFAS – Acero) and (FFAS – Madera) this paramters are shared, this way its more easy to work with all the families that compose the main family.


Then we clicked on the "Load into Project" button and selected the main project (TPP - Ligini's Towers) and placed the models on the axis.


FFAS
Felipe Figueroa + Alejandro Saldías.