Vasi per piante
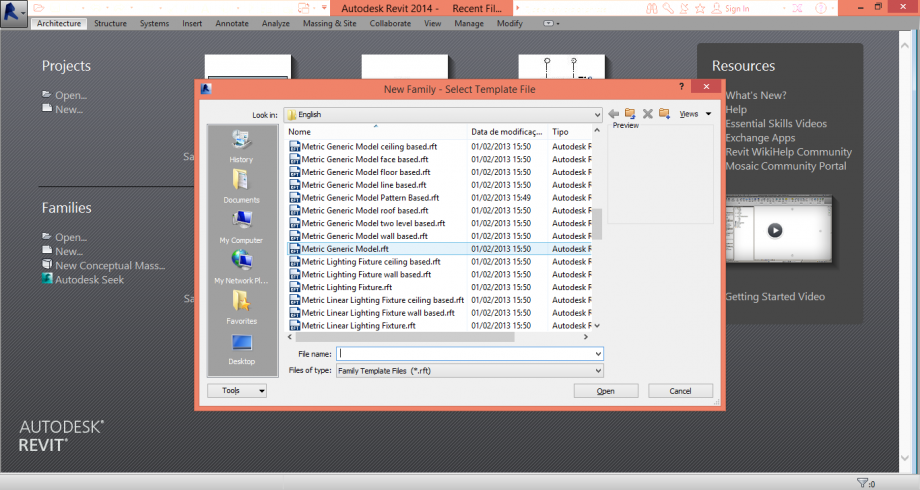 1. open a new family as generic model
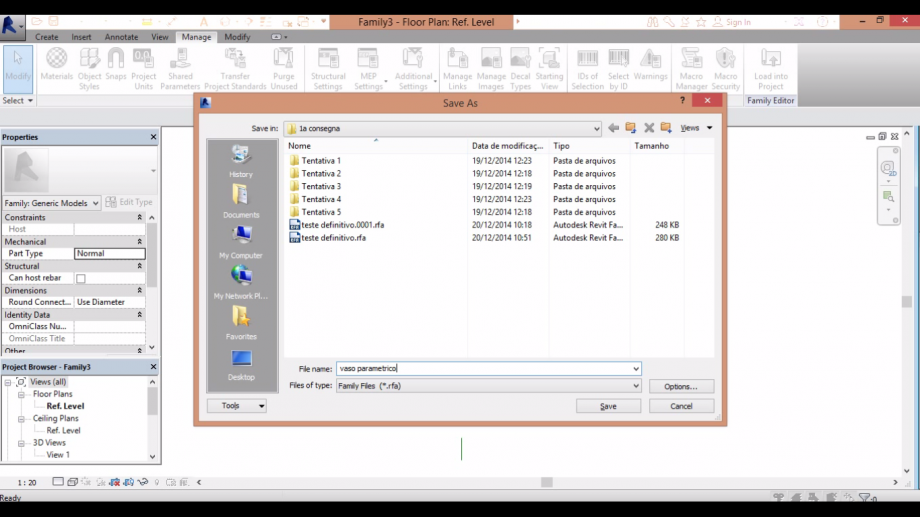 2. save the family
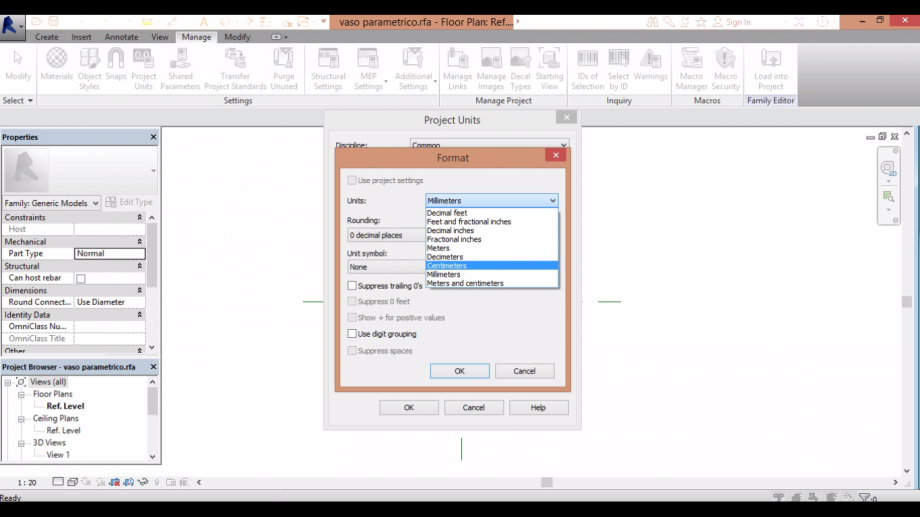 3. go to manage and change the units to centimeter
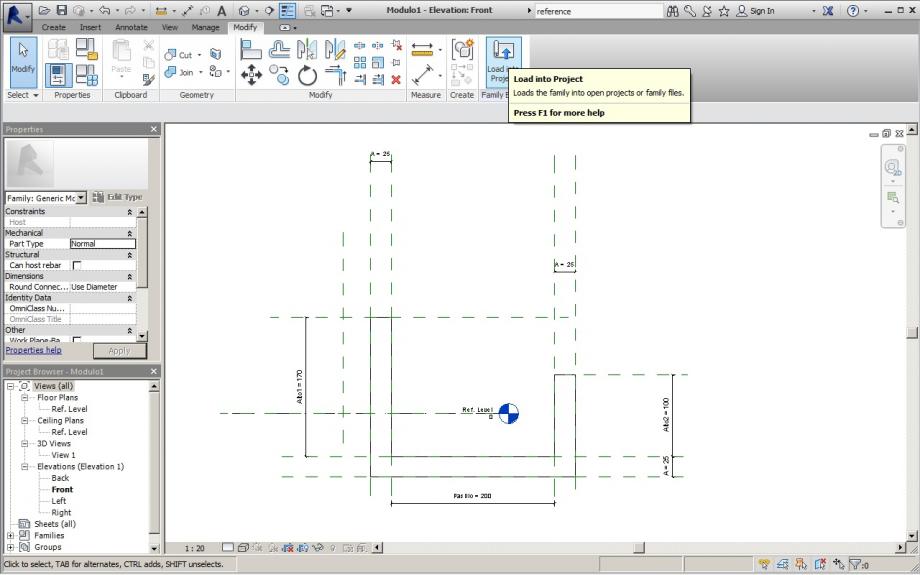
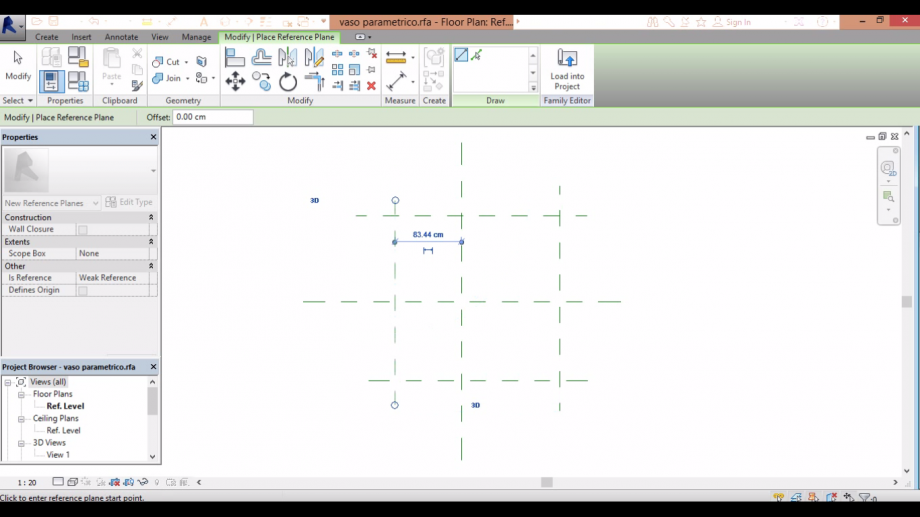 4. make 4 reference planes (comand rp) as the picture above
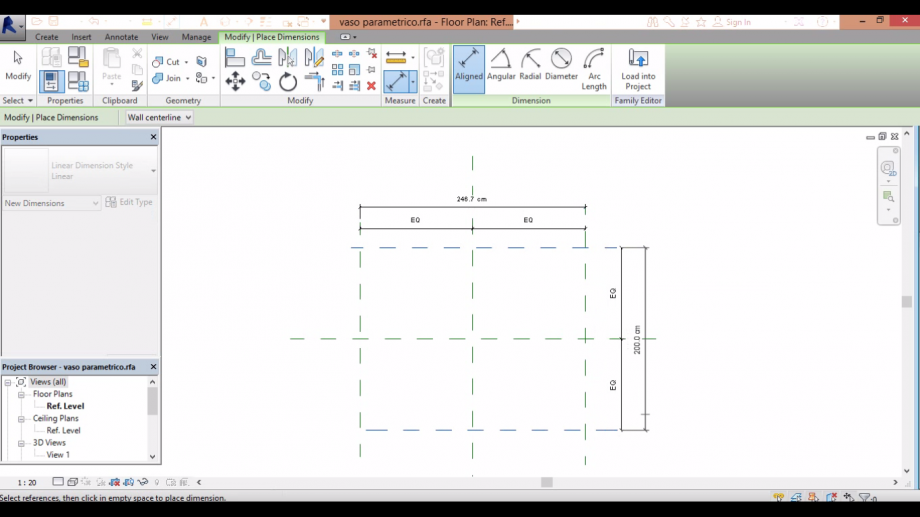 5.
5.


Attualmente ci sono 0 utenti collegati.
1. open a new family as generic model2. save the family3. go to manage and change the units to centimeter4. make 4 reference planes (comand rp) as the picture above5.
Per questa consegna, ho provato da fare una facciada "cobogó" baseada nell'opera di Mondrian.
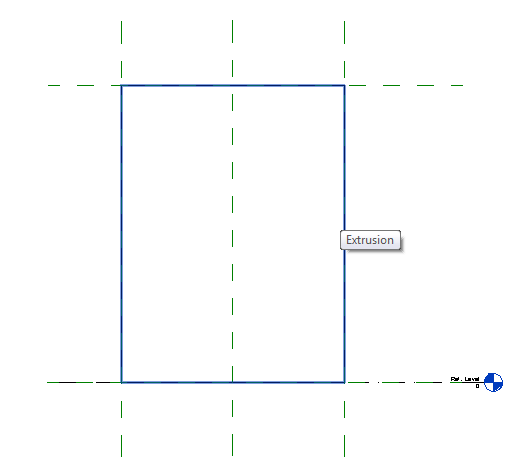
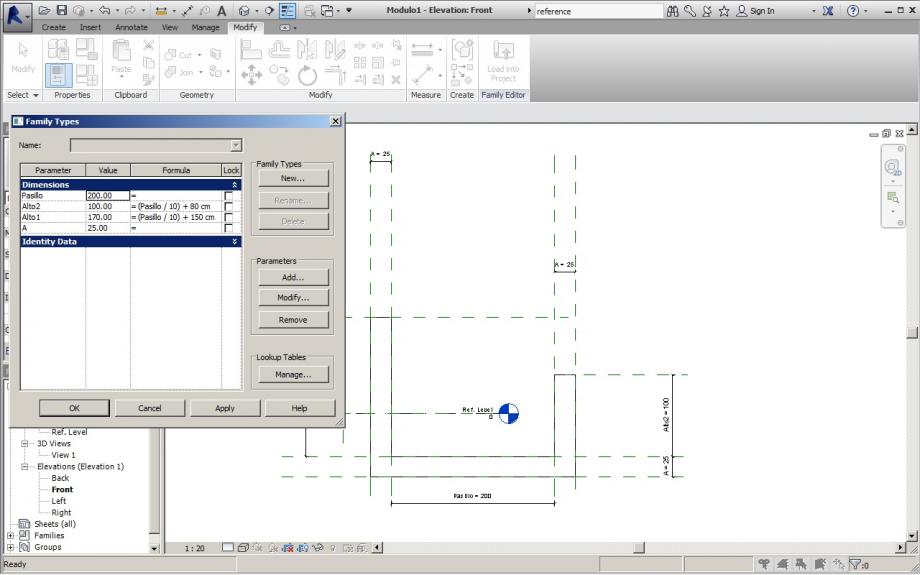
1. Prima ho creato una nuova famiglia con il template "Metric Curtain Wall Panel". Ho fato una estrusione e alignato tutti con i piani di riferimento.
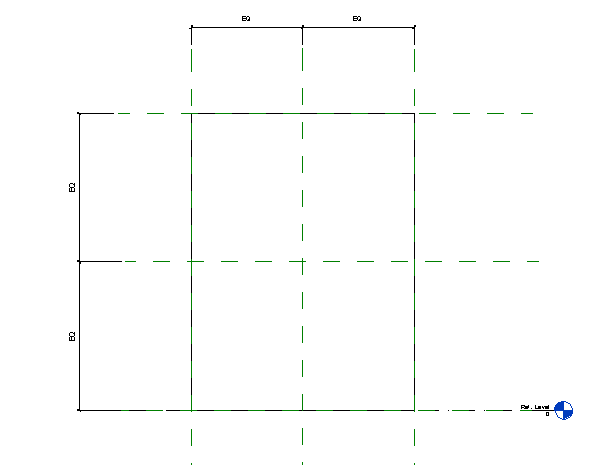
2. Ho creato diversi piani di riferimenti per potere fare quello che volevo.
This is the consegna 2, where i wanted to add more modules to join the old ones, and add the material i choosed (wood).
First i created a new family type with the same form, but more regular. Because i wanted the project to be of wood, so there are prefabricated modules.