 laura.vellucci
Mer, 24/12/2014 - 17:23
TANTI AUGURI DI BUON NATALE E FELICE 2015 A TUTTI.
Merry Christmas and a Happy New Year!
Mer, 24/12/2014 - 17:28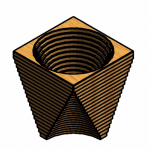 Vinicius Scofano
Mar, 23/12/2014 - 00:26
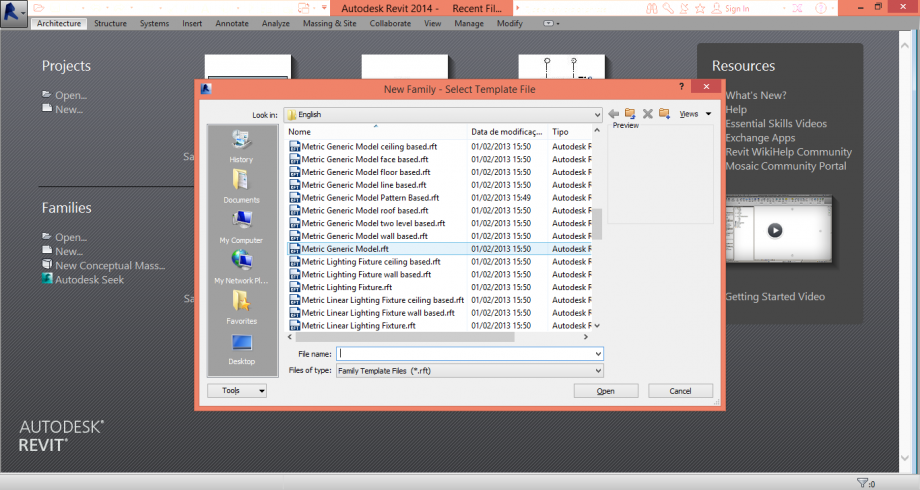 1. open a new family as generic model
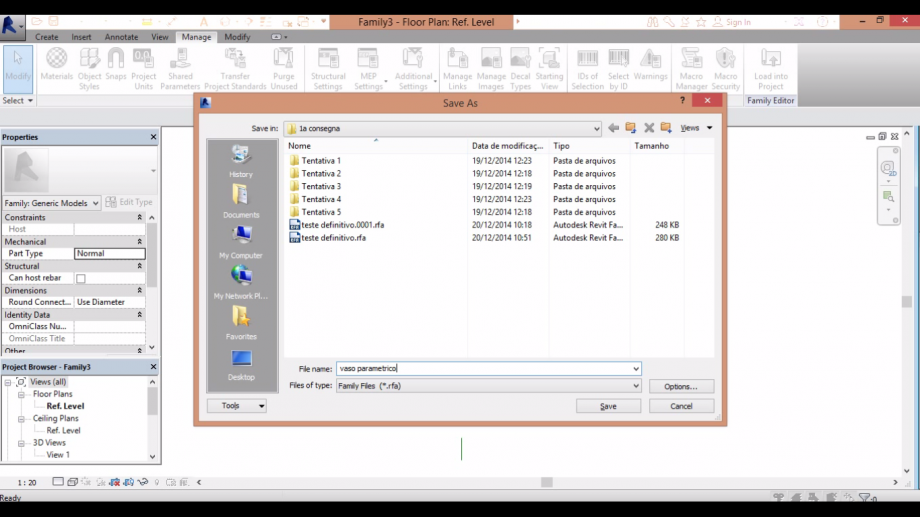 2. save the family
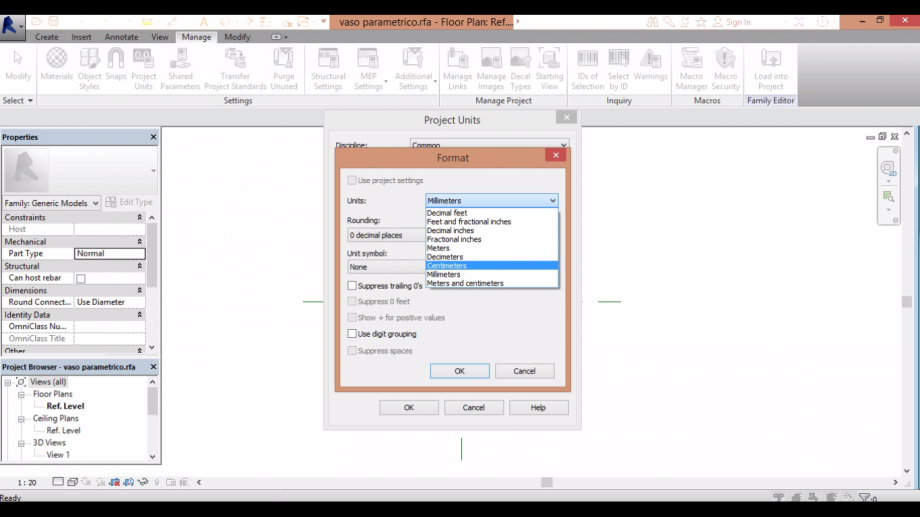 3. go to manage and change the units to centimeter
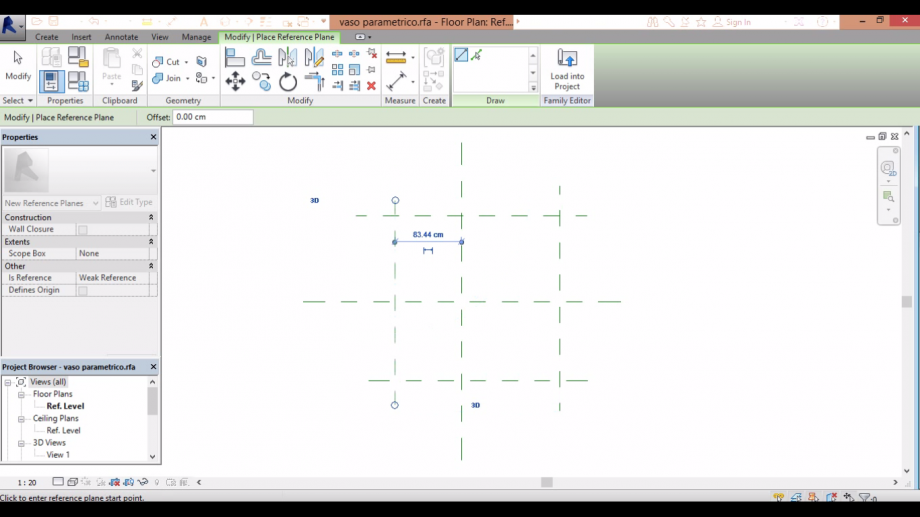 4. make 4 reference planes (comand rp) as the picture above
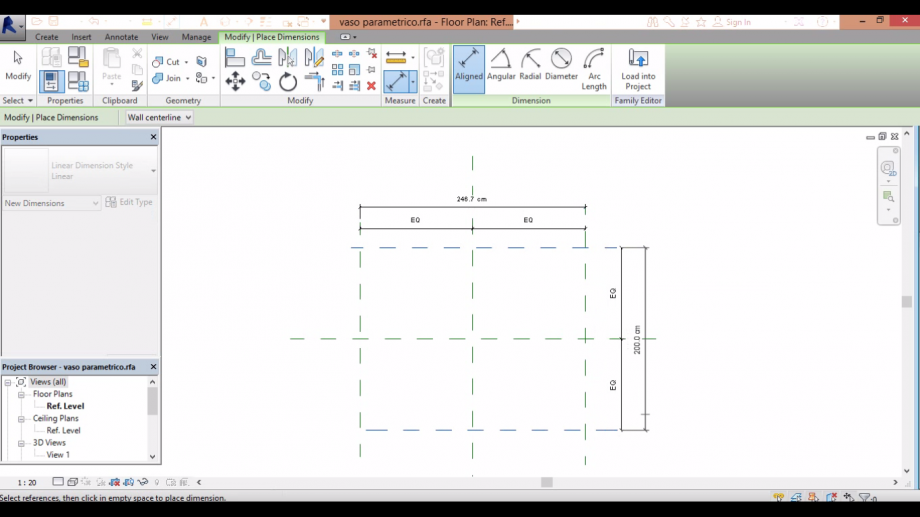 5. make the dimensions to your family and then press EQ
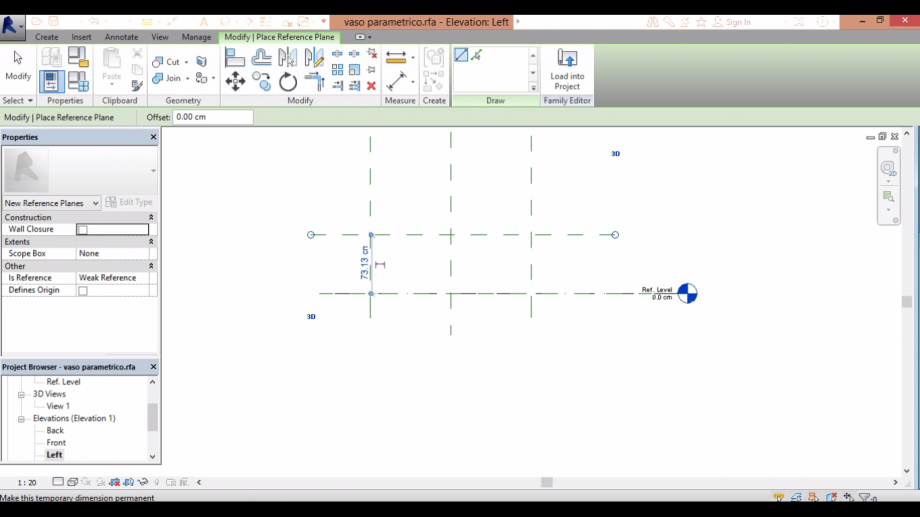 6. go to the left view and make a reference plane parallel to the reference level
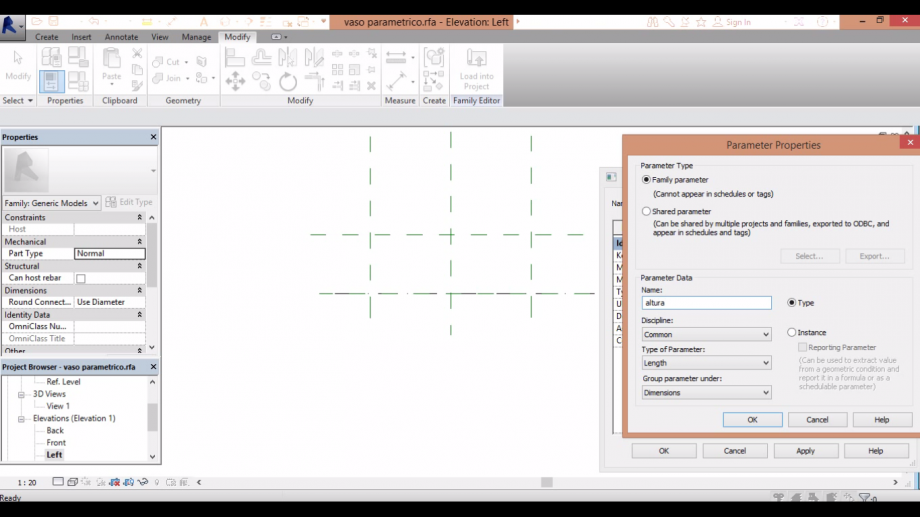
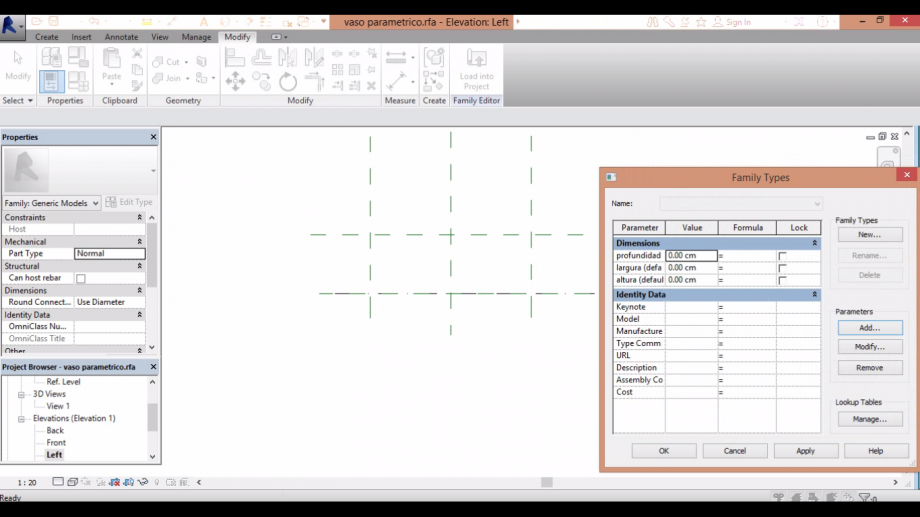
7. on the box family type, go to parameter>add>name the parameter>click on instance>ok. I named then in
portuguese, sorry about that.
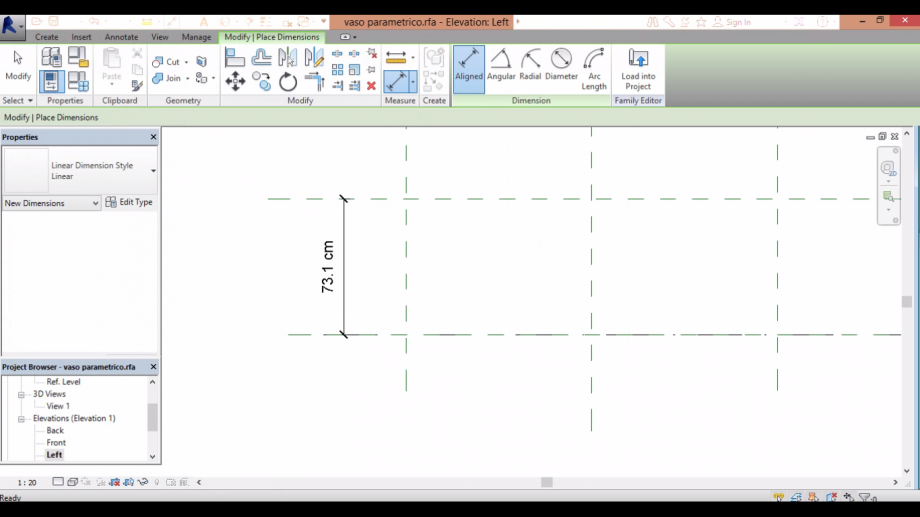 8. comand dimension (di), dimensionate you reference plane to the reference level
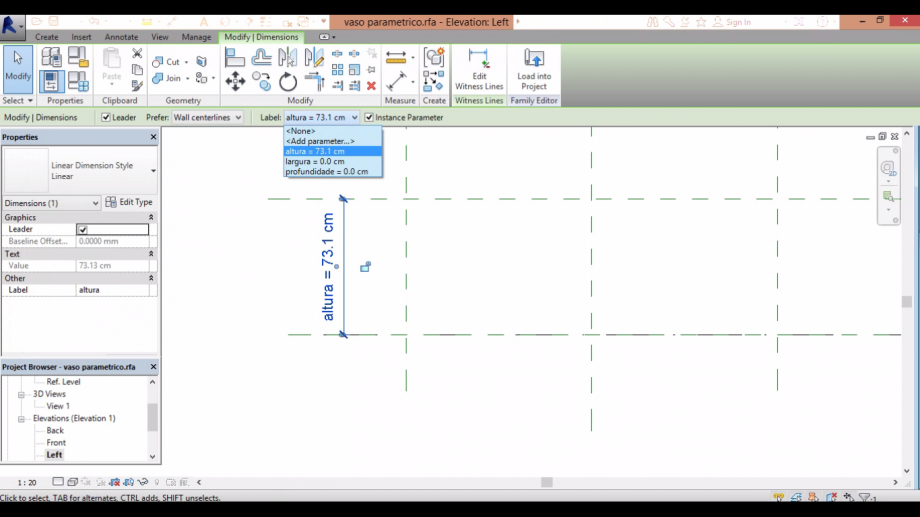 9. click on the cote, and on label choose the parameter that you create for that cote
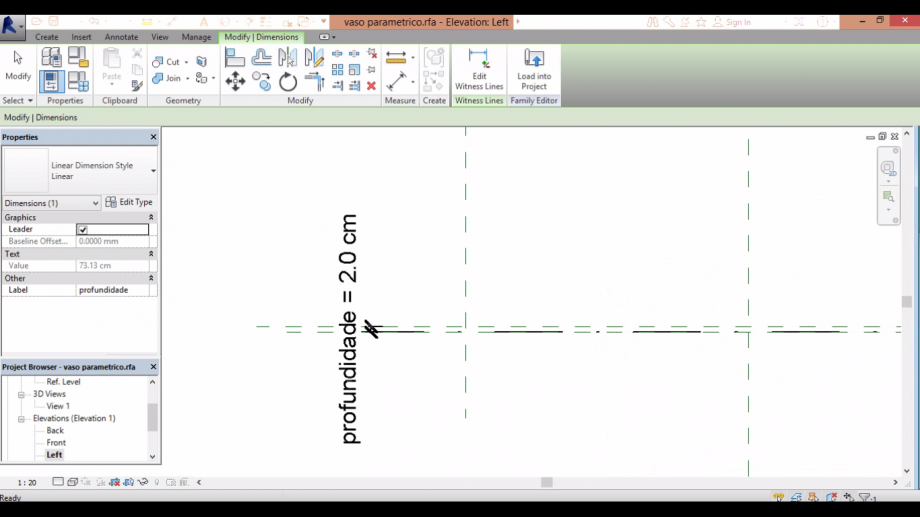 10. check if the parameter works
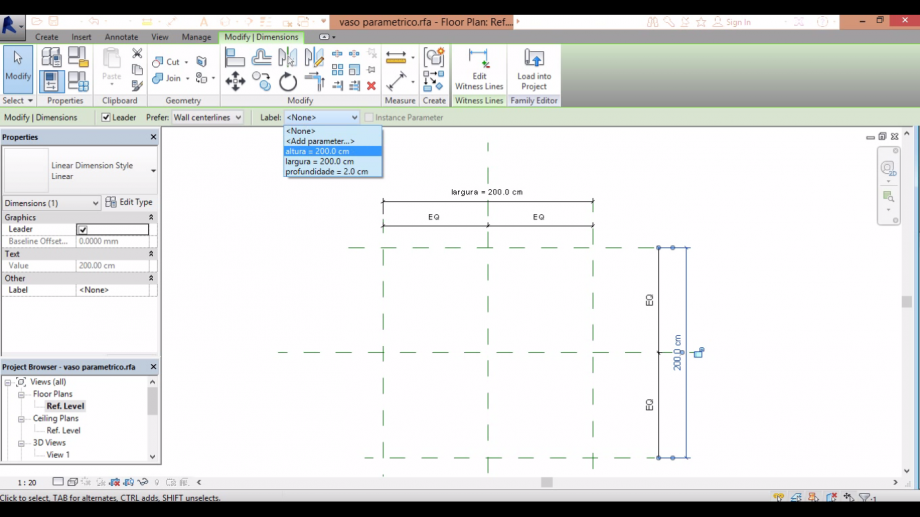 11. on reference level, name the other cotes according to their parameters as well
 12. on extrusion, start drawing the object
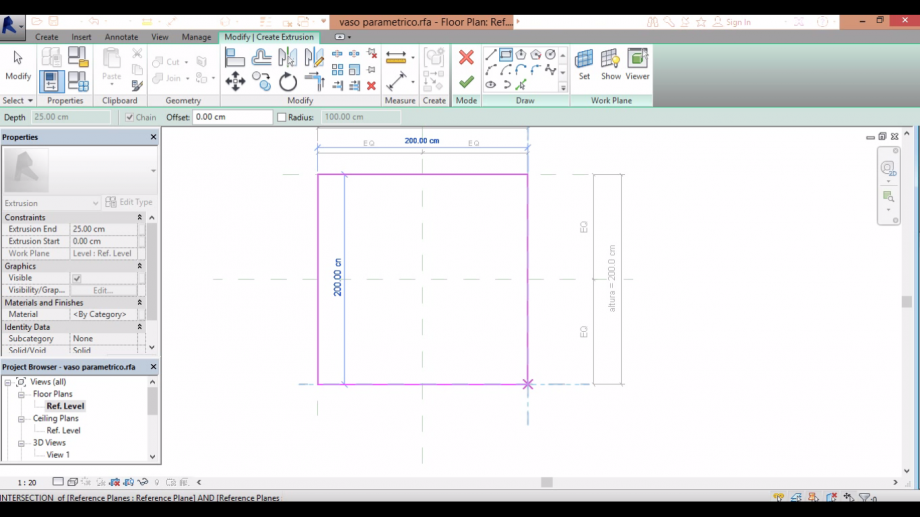
13. modify/create extrusion>align. To every side of the square, align then to the respective reference plane
and click on the locker symbol
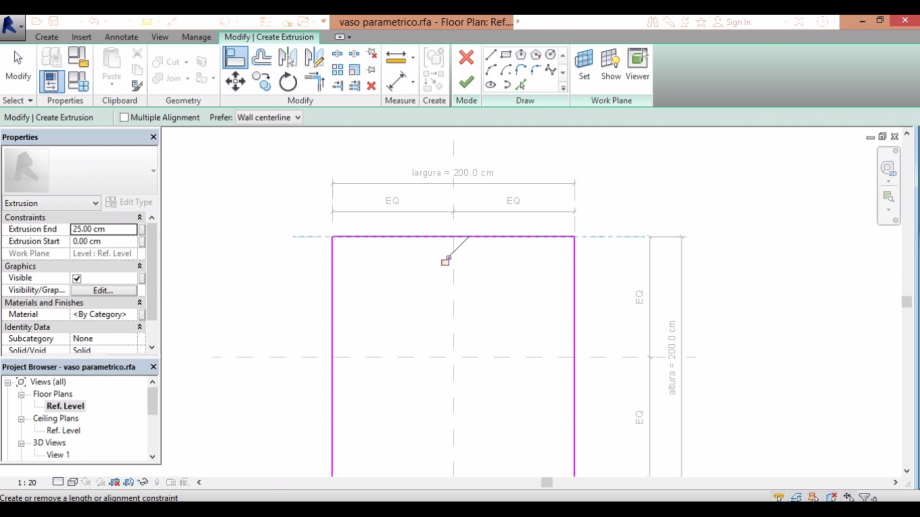
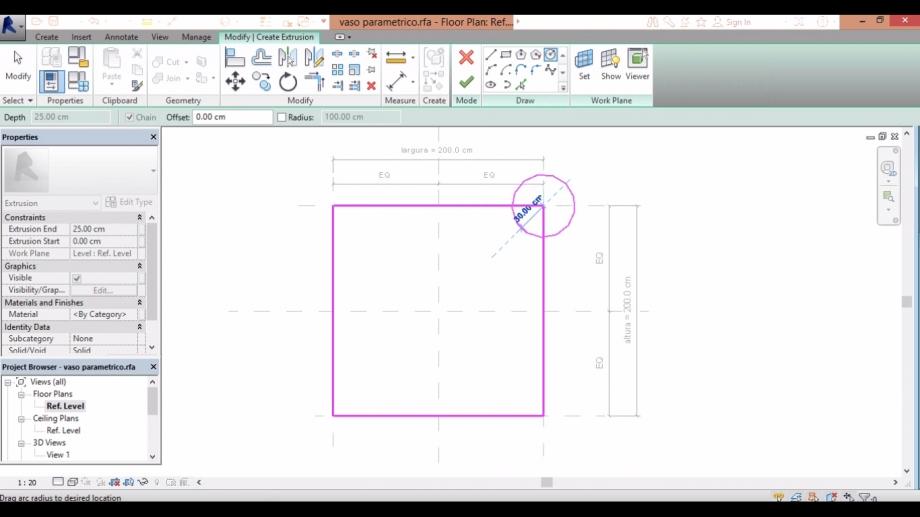 14. draw a circle at some corner
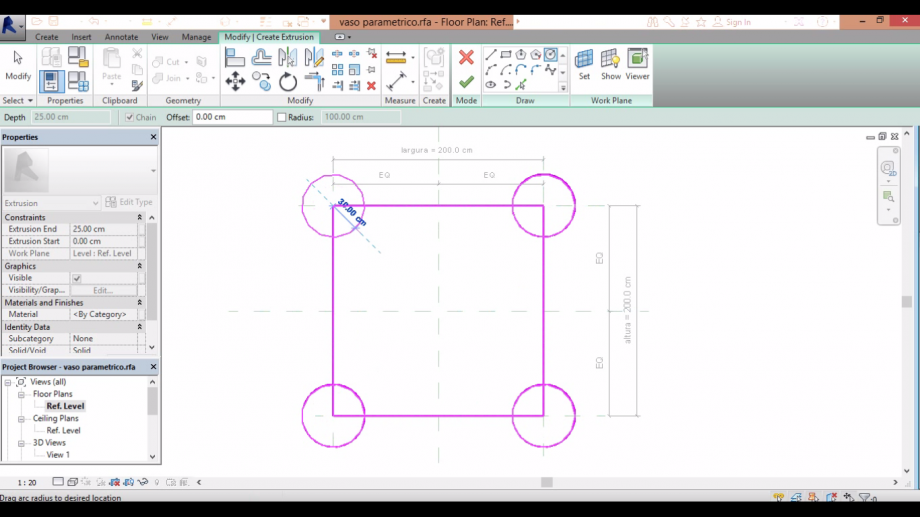 15. copy that circle to the other corners
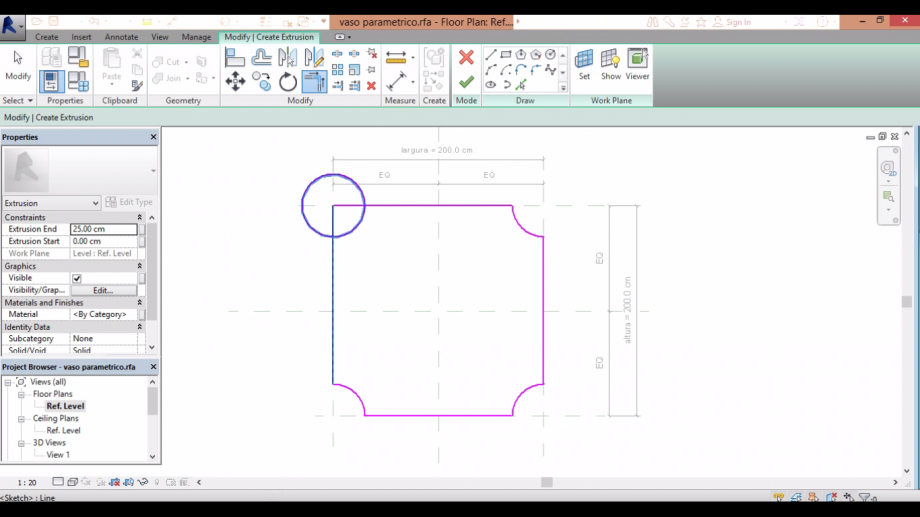 16. comand trim, cut the parts of the circles thata are outside the square
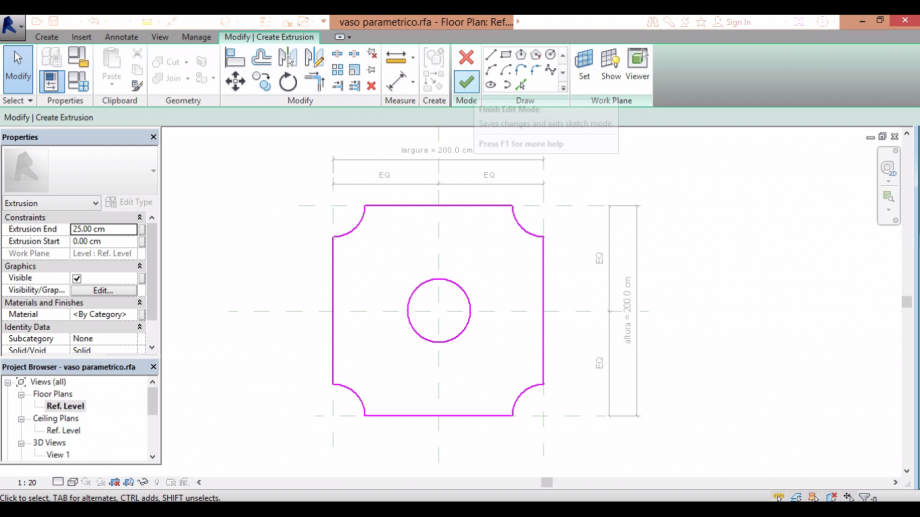 17. then draw a circle in the middle of the square
18. on annotate, make a radial dimension to the circle and a linear one to the "semi-circles" on the corners,
conecting their extrem part to the reference plane
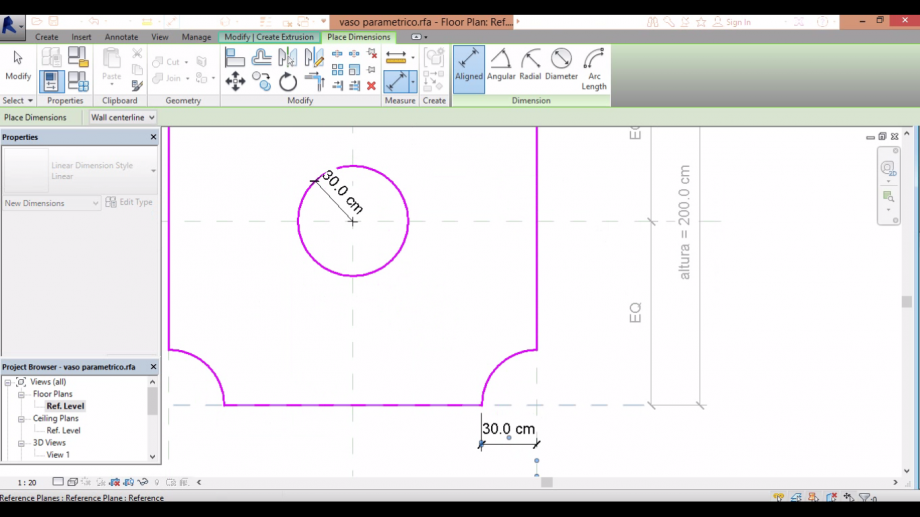
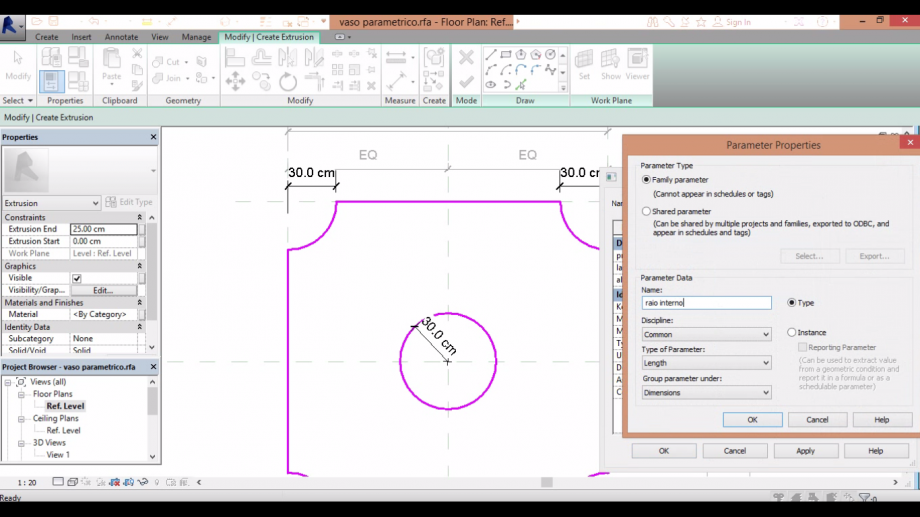 19. add new parameters to the radium and label them
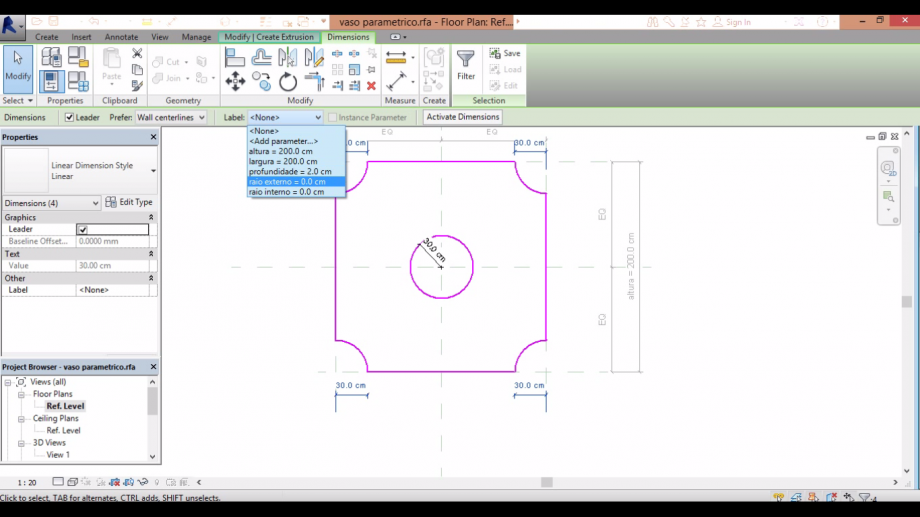
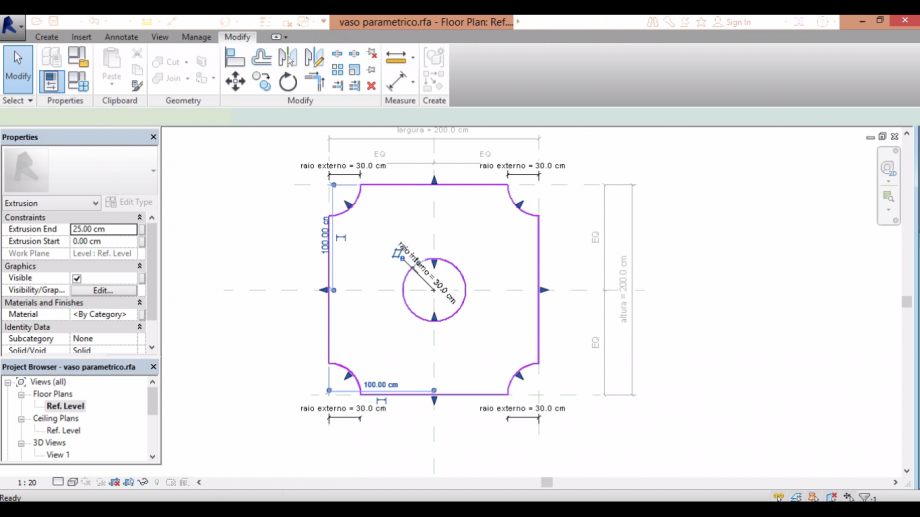 20. click on the check buton
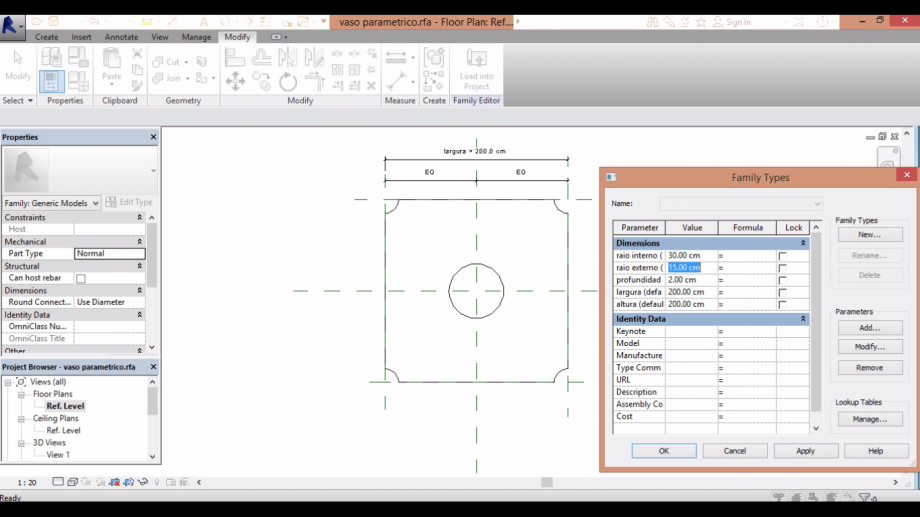 21. test if all the parameters really works
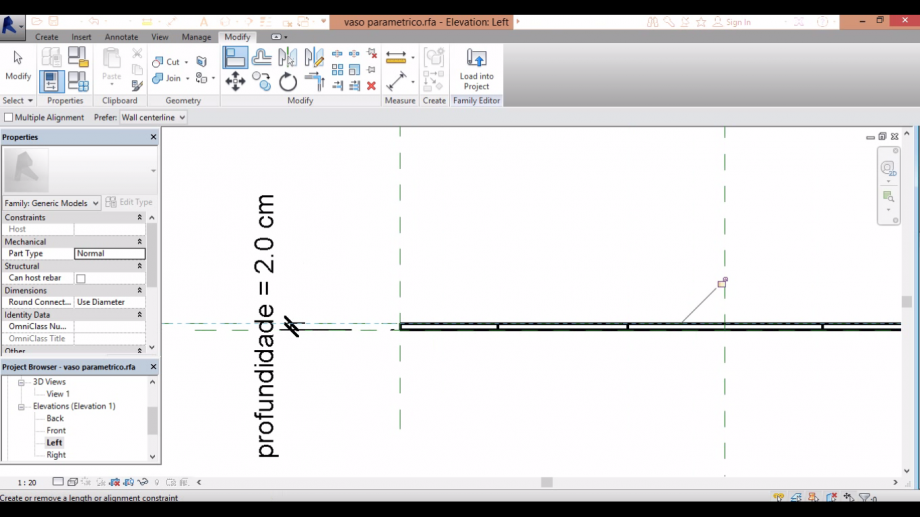 22. on the left side, don't forget to align the reference plane to the object and then click on the locker
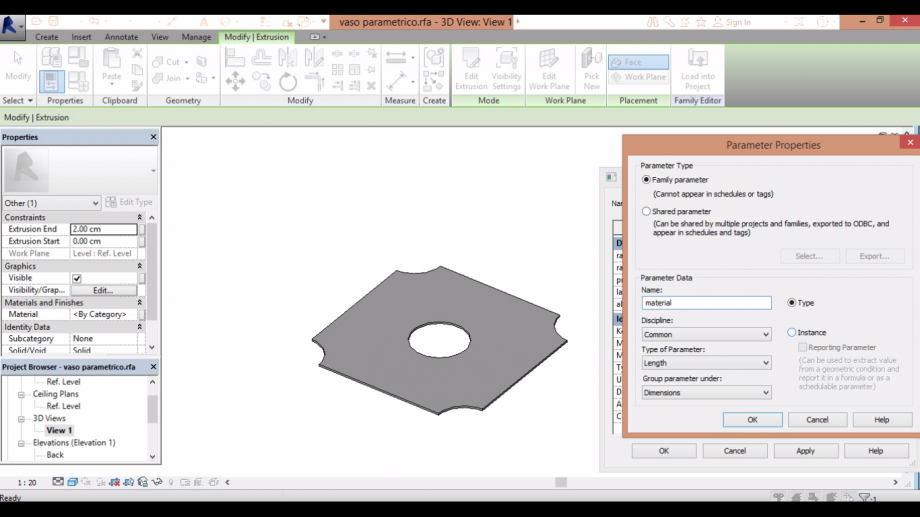 23. create a new "material" parameter, and on the box of type of parameter click on "material"
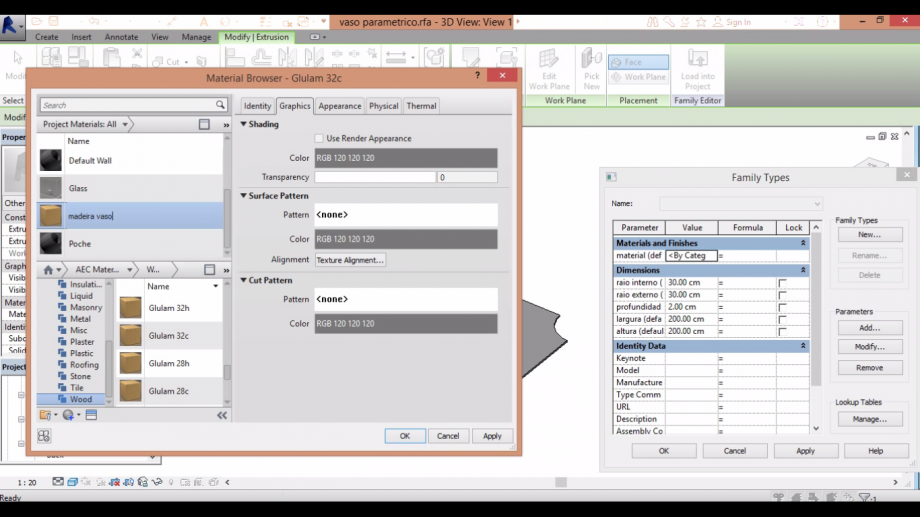 24. on the category, choose the best material that fits your object, upload and rename it
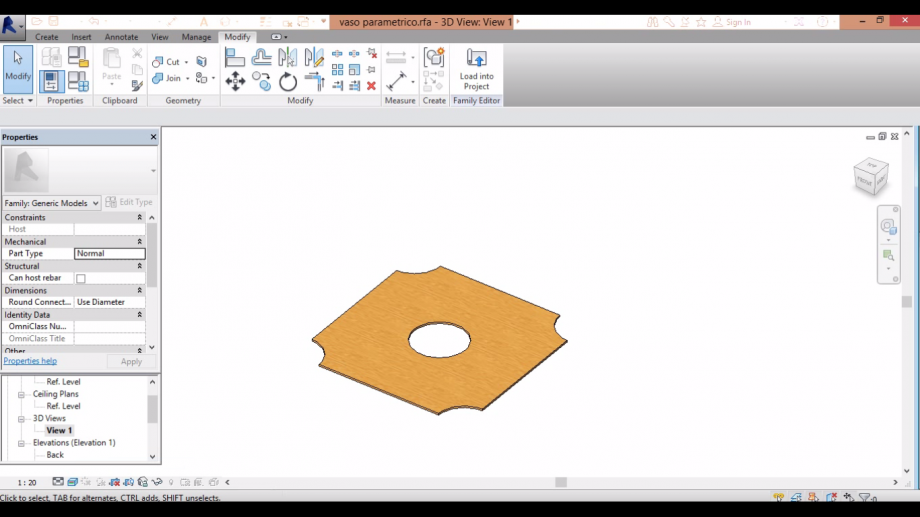 25. click on the realistic vision on the box below to see how your object turned out
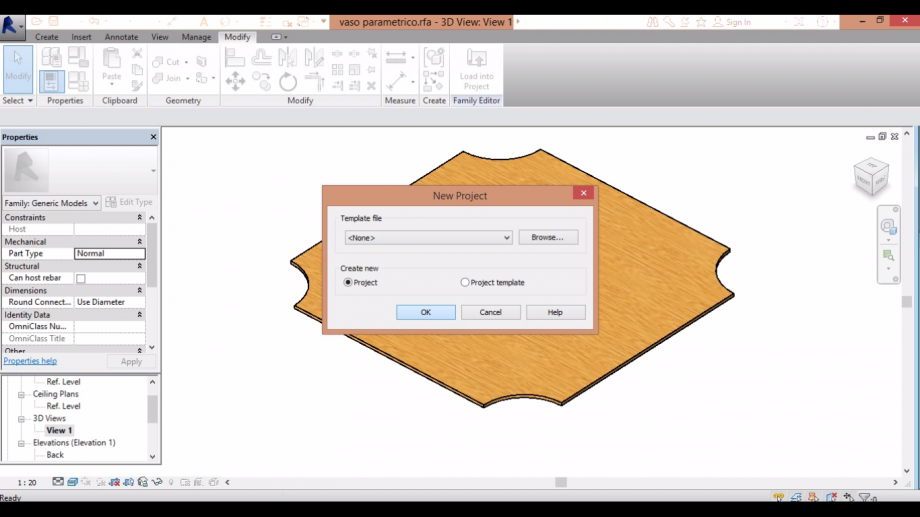 26. create a new project
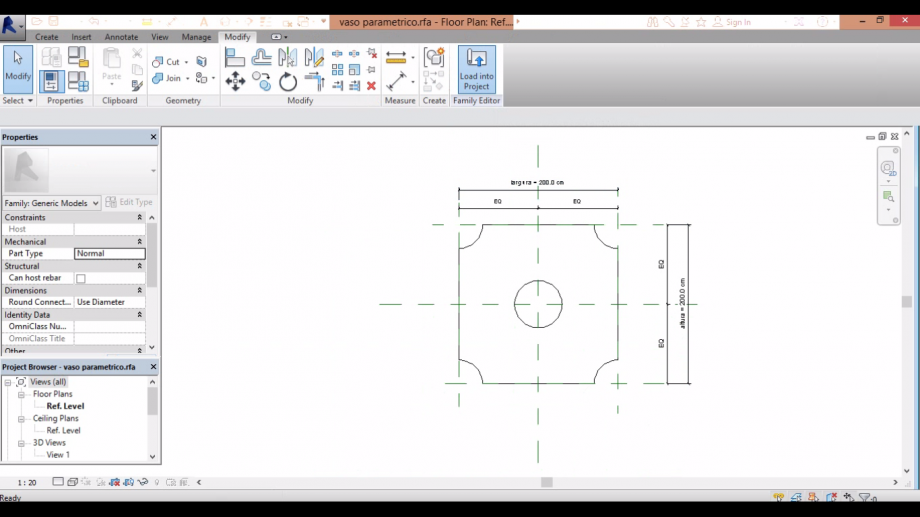 27. load your object into the project
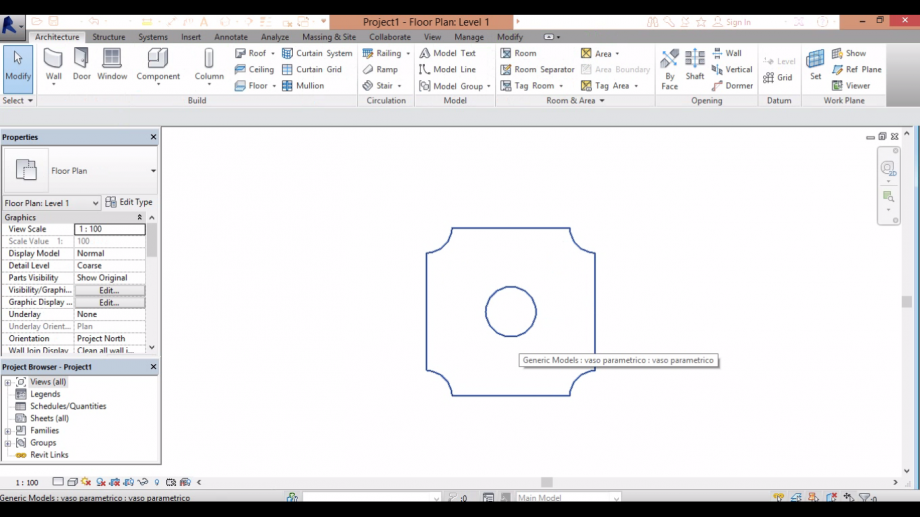 28. change the dimensions of this first object acording to the base of the vase
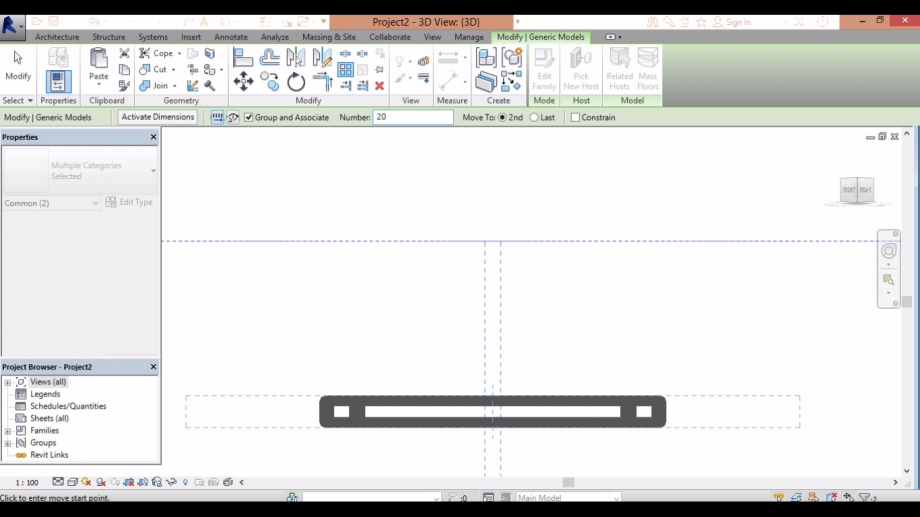
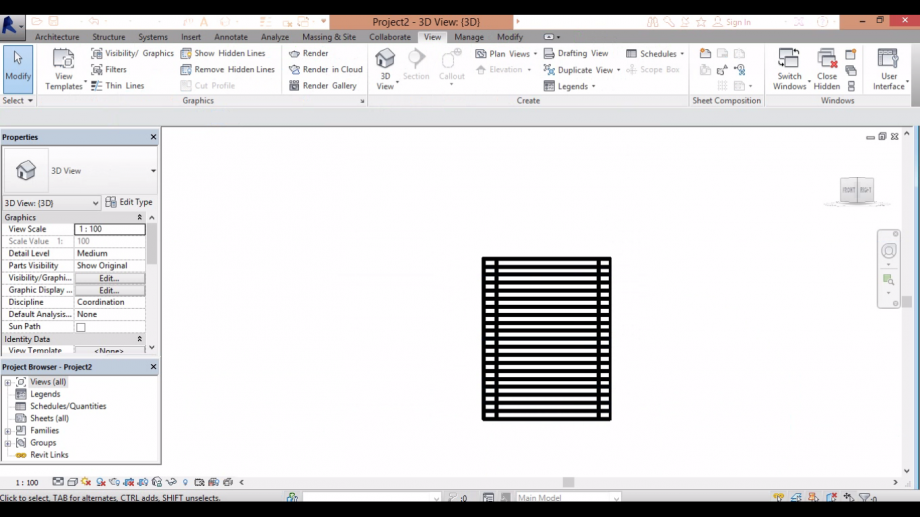
29. on the 3d view, go to the parallel vision and then to the array command. write 20 to the number of
repetitions of the object and uncheck the group and associate box. Then click on on point of the inferior side
then at one on the superior side of the object
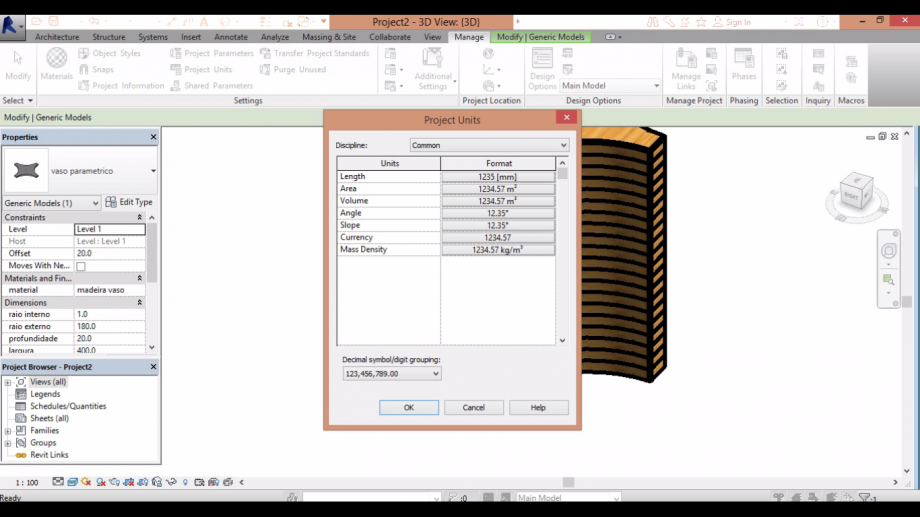 30. at project units, don't forget to change the units to centimeter
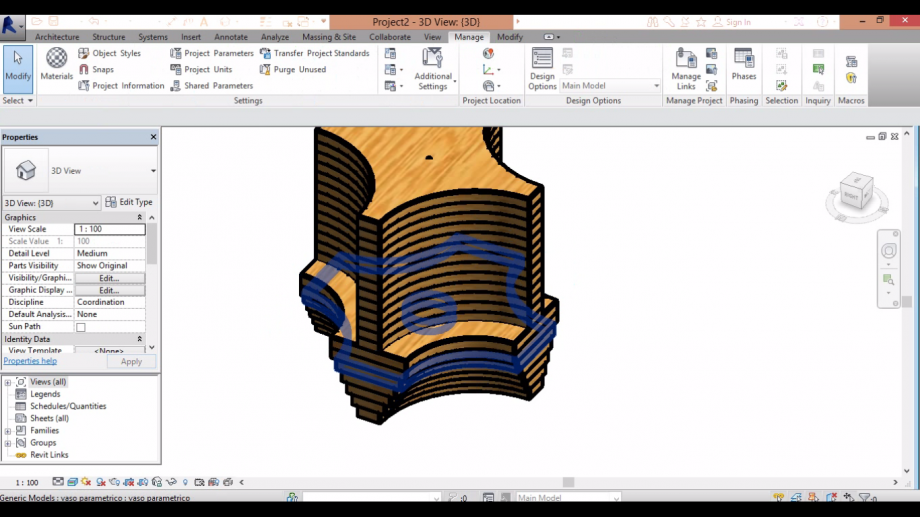
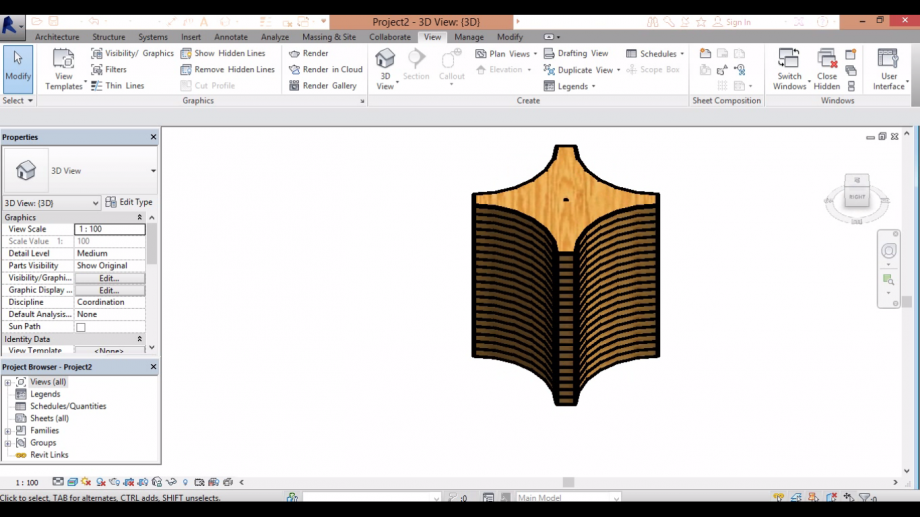
31. start changing the dimension of each one of your objects like these: the extern rays starts at 19cm
decrease at each object until reach 0.1cm at the top, as the inside ray start as 0.1cm and at the top has 19cm.
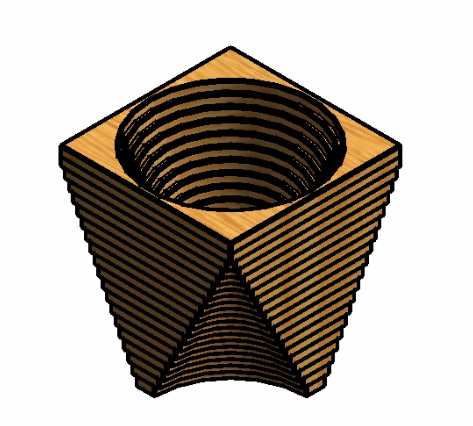
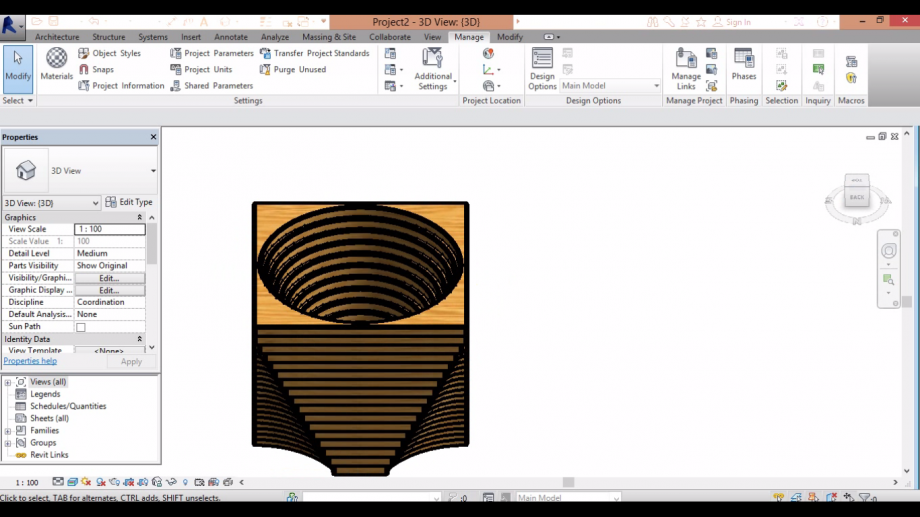 32. the object is ready.
 Stephanie Vanin
Sab, 20/12/2014 - 16:05
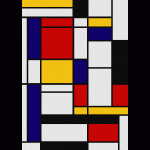
Per questa consegna, ho provato da fare una facciada "cobogó" baseada nell'opera di Mondrian.
1. Prima ho creato una nuova famiglia con il template "Metric Curtain Wall Panel". Ho fato una estrusione e alignato tutti con i piani di riferimento.
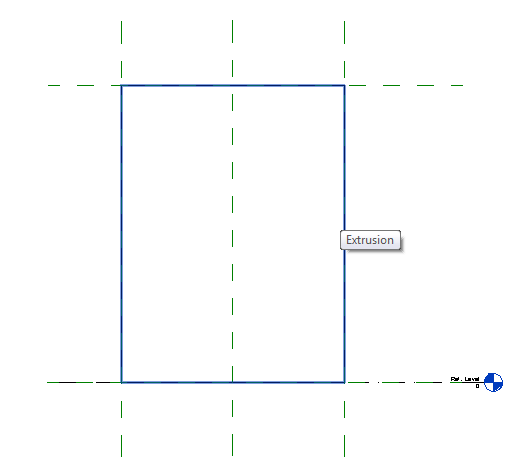
2. Ho creato diversi piani di riferimenti per potere fare quello che volevo.
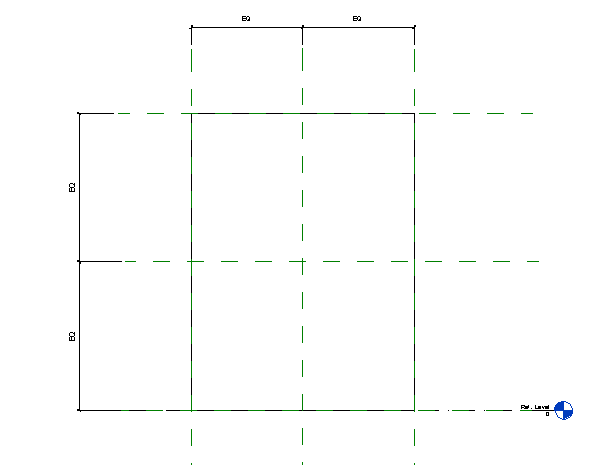
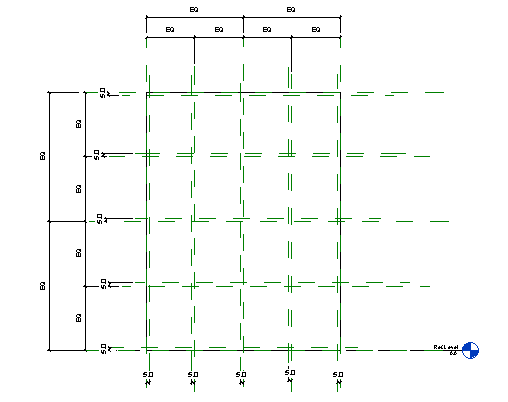
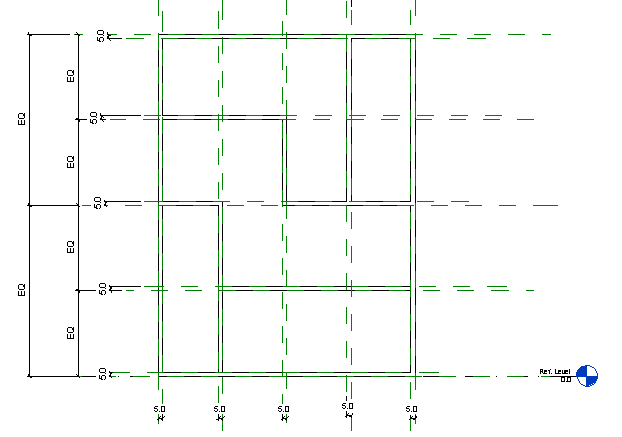
3. Ho creato i parametri e visto se funzionavano. Dopo fato le estrusione come volevo.
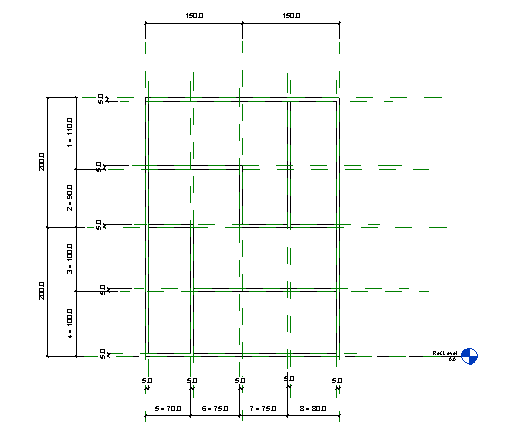
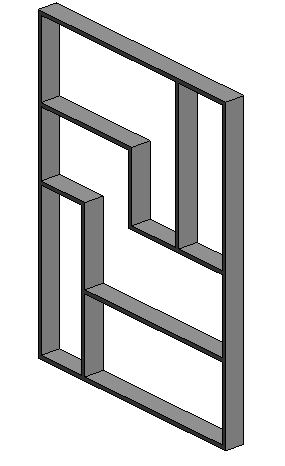
4. Dopo finita la famiglia, ho creato un nuovo progetto in cui ho creato una curtain wall. L'ho duplicata e modificato il nome.
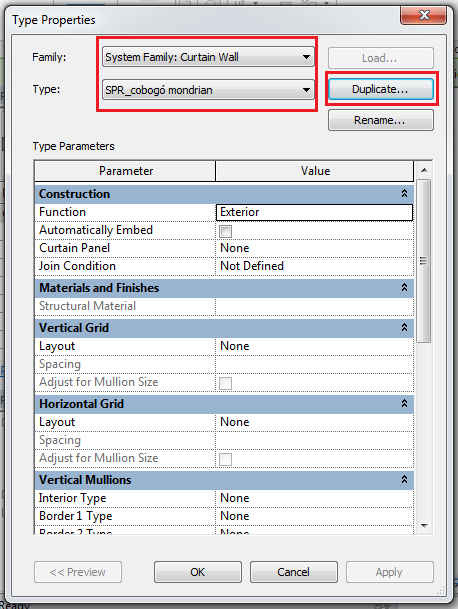
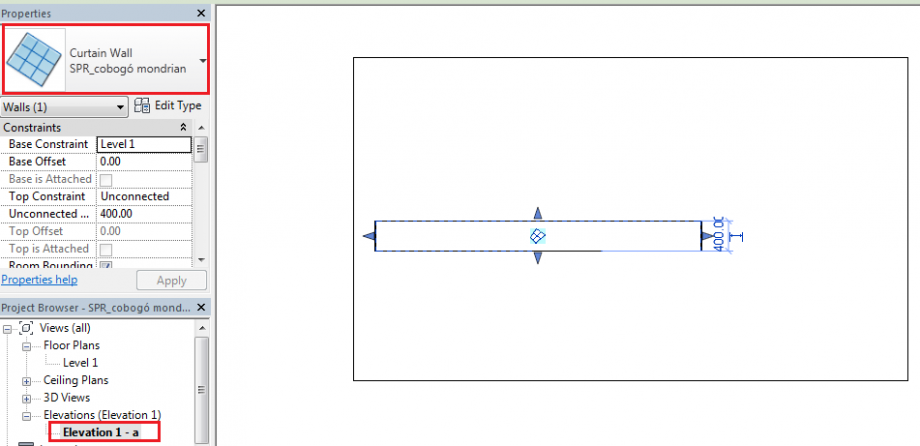
5. Ho creato un'elevazione e fato la curtain wall. Poi non ho riuscito a fare niente di più perché non sapevo come dimensionarla e che cosa veniva dopo. Come fare il grid e metere la mia famiglia in questa curtain wall.
L'ultima lezione non ci sono stata e ho visto il post sul BIM 360. Ho messo la mia mail sull'iscrizioni e parlato con un compagno di classe per sapere quello che è sucesso. Ero imalata e non potevo venire, mi dispiace. Mi hanno detto che devo riccevere una mail con il pavimento che io lavorerò e con un link per finire l'instalazione di BIM 360 glue. Grazie.
Sab, 20/12/2014 - 16:25auguri dal team bim.rootiers
Ven, 19/12/2014 - 18:56

