


 Guegan_de Monserrat
Lun, 23/03/2015 - 17:22
Guegan_de Monserrat
Lun, 23/03/2015 - 17:22
Consegna.1
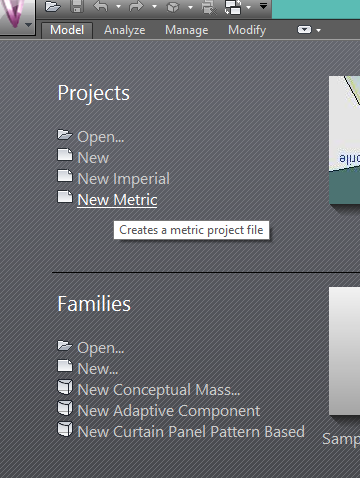
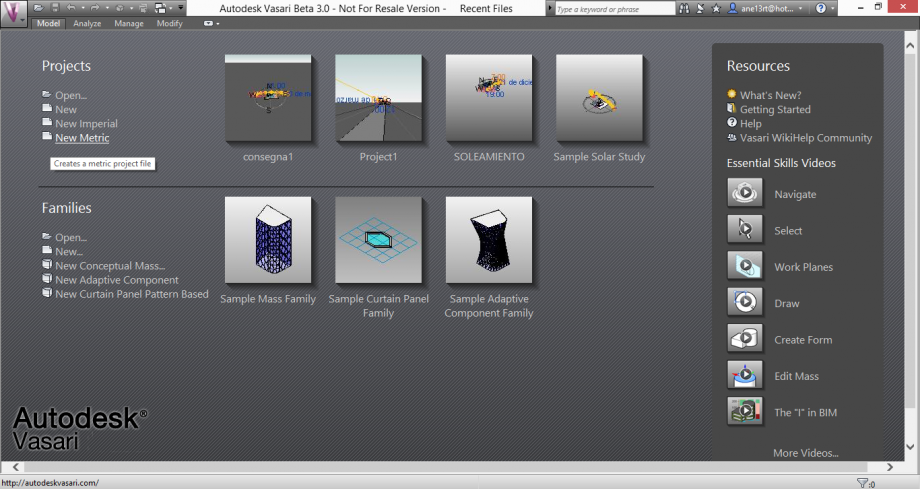
- Punto.1 Iniziare un nuovo progetto
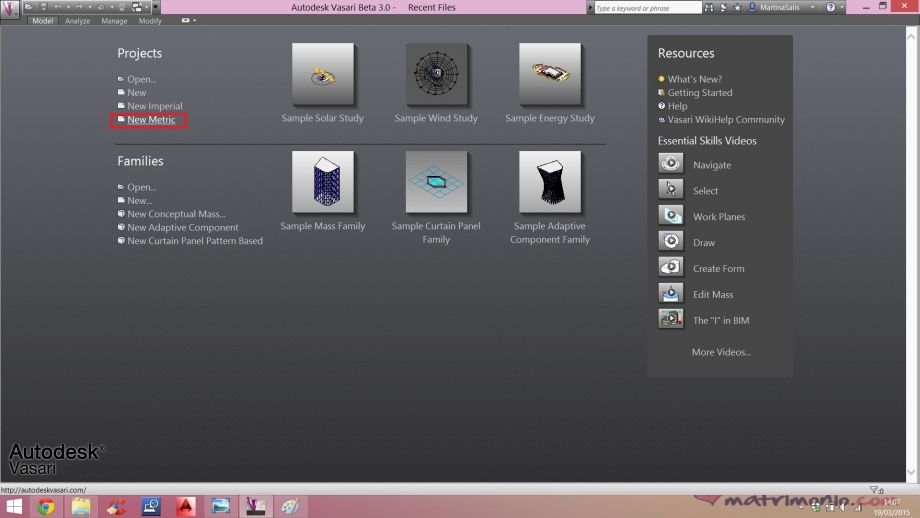
Aprire "New metric" per iniziare
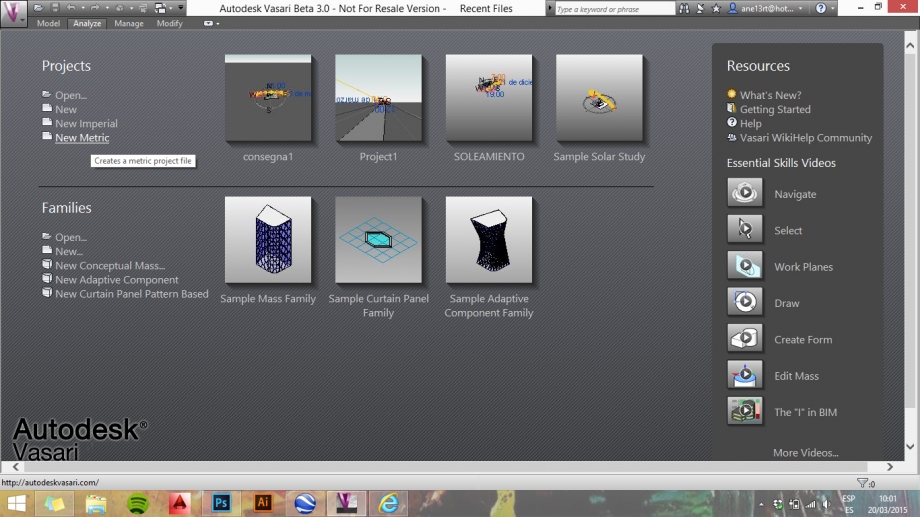
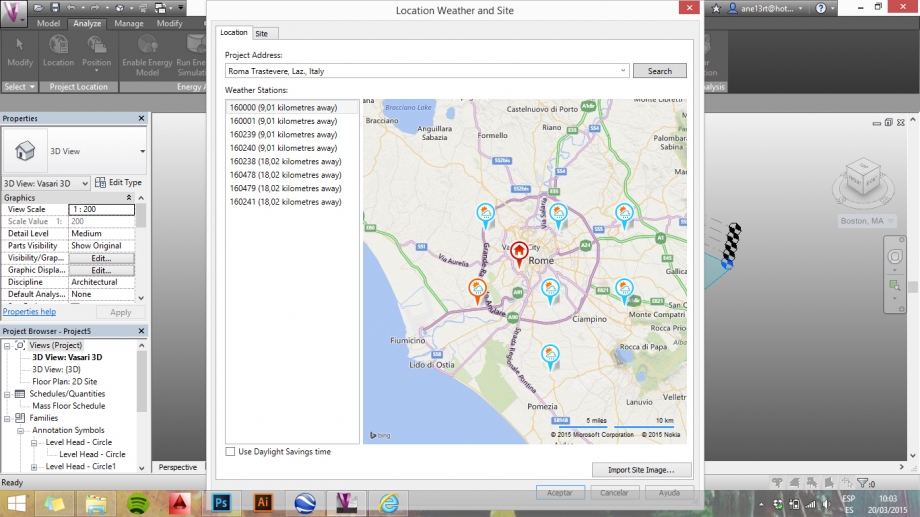
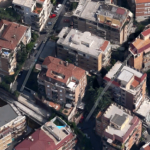
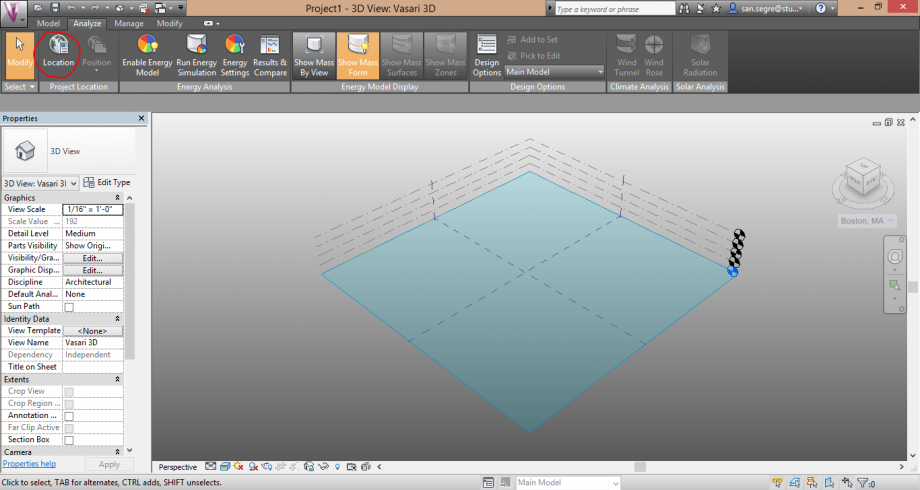
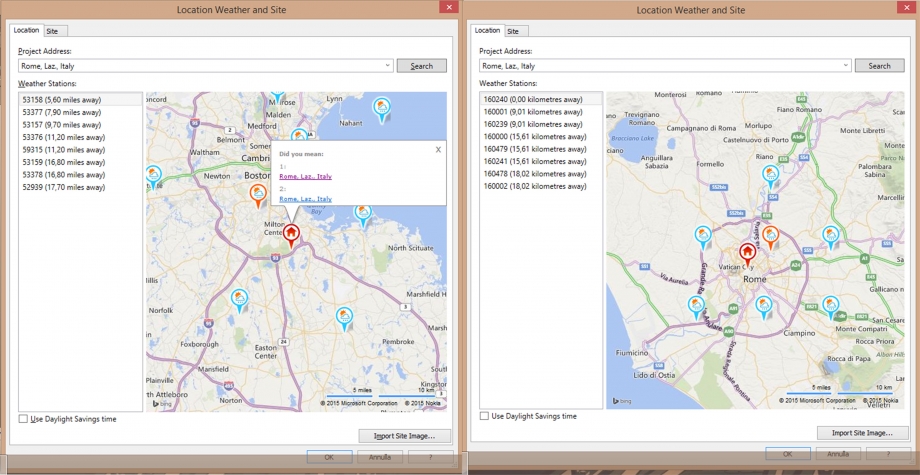
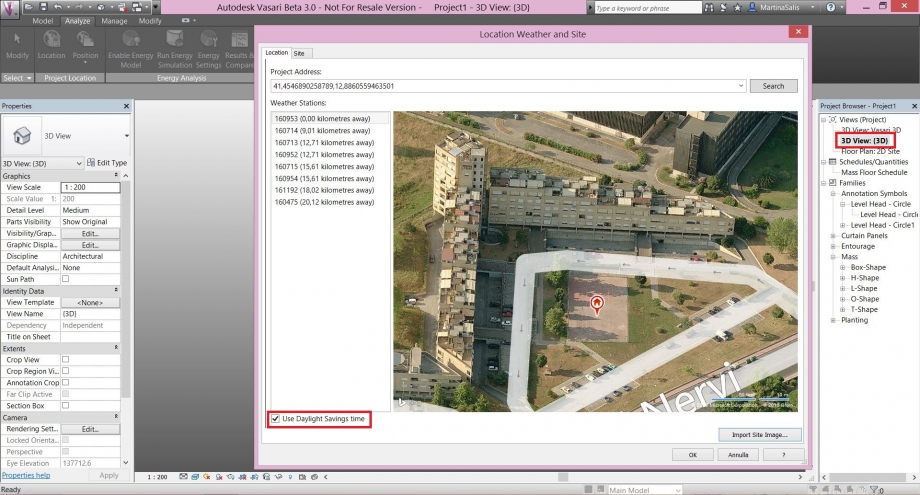
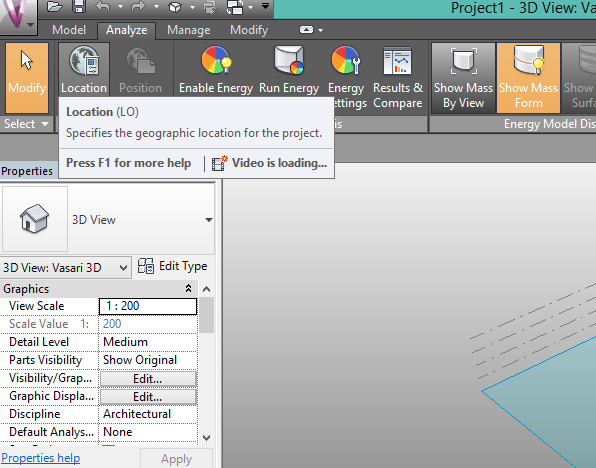
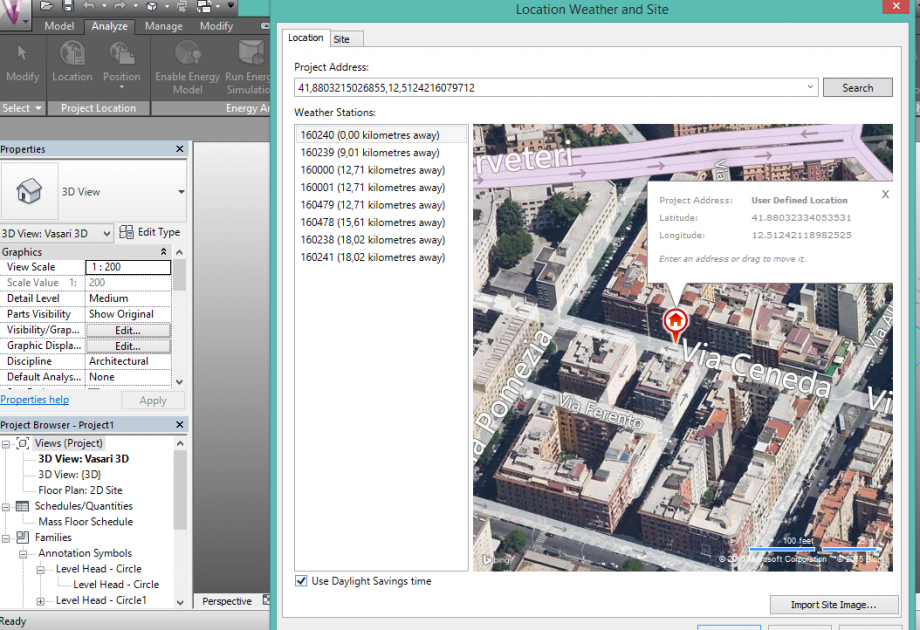
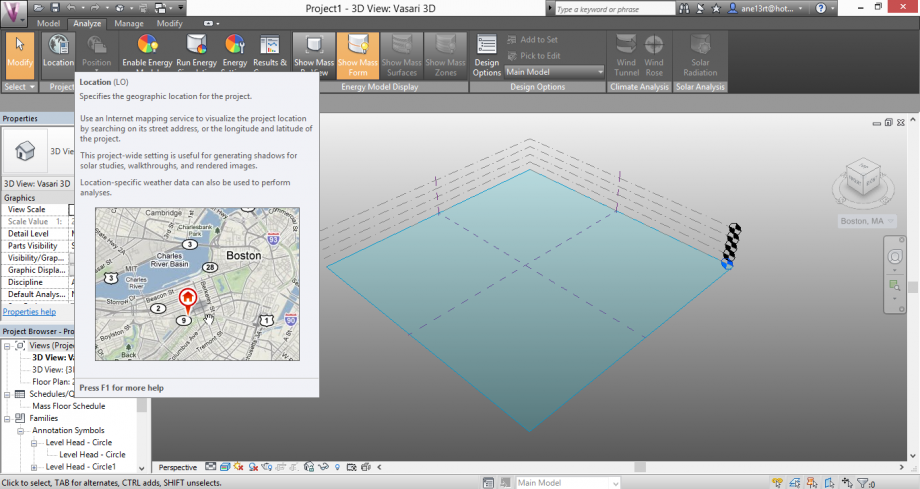
Localizzare l'area del progetto a partire da ANALIZE>LOCATION. Scegliere l'area dove si sviluppa il progetto e anche la stazione meteo più vicina.
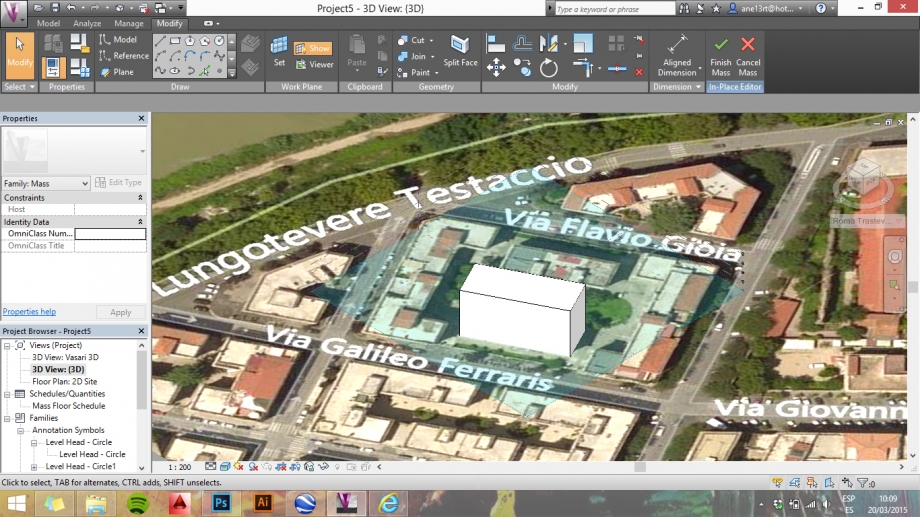
-Punto.2 Modelare
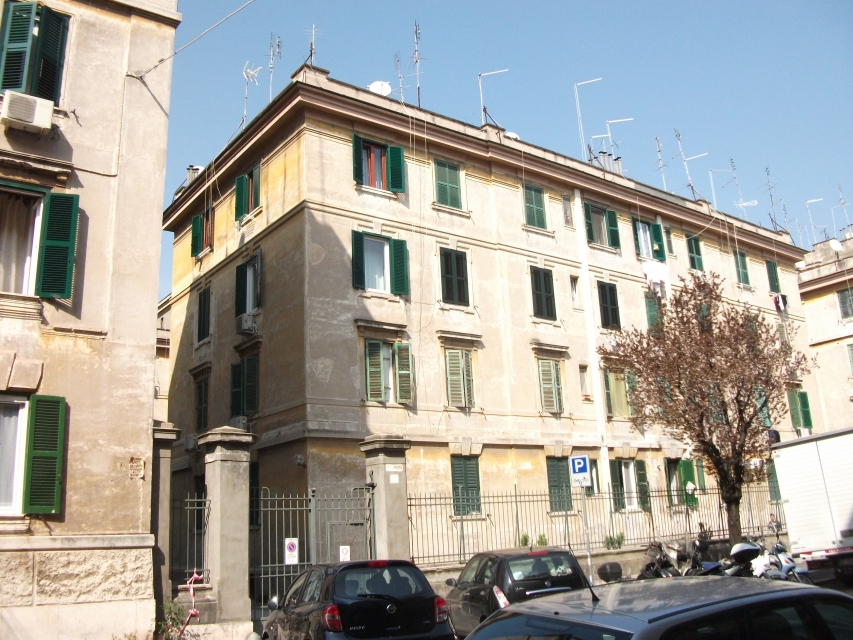
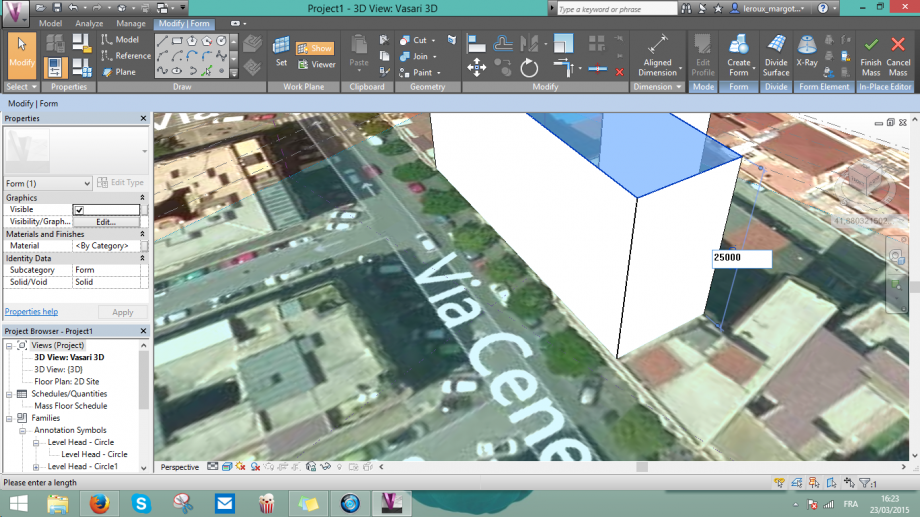
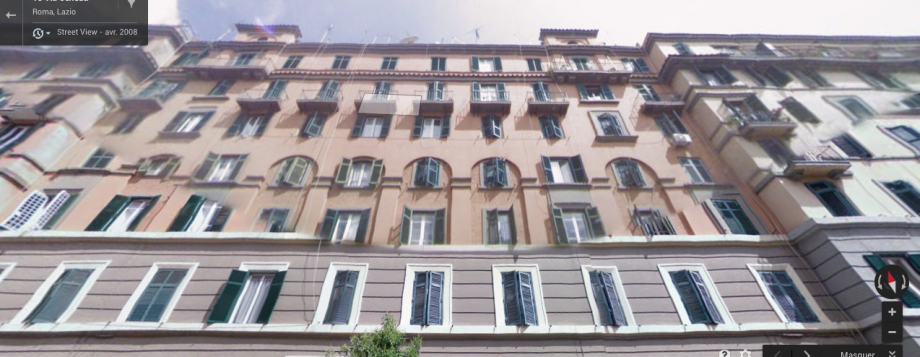
Trovare sulla planimetria l'area esatta dell'edificio. In questo caso, studiamo un edificio della Via Galileo Ferraris nell quartiere di Testaccio.
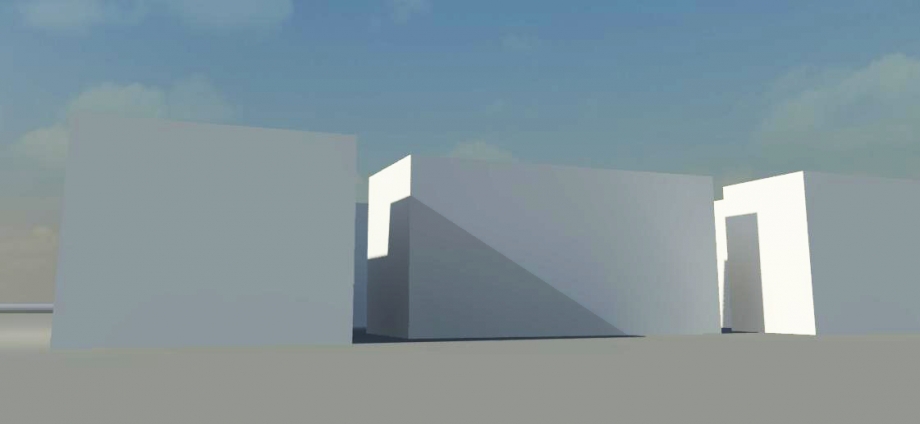
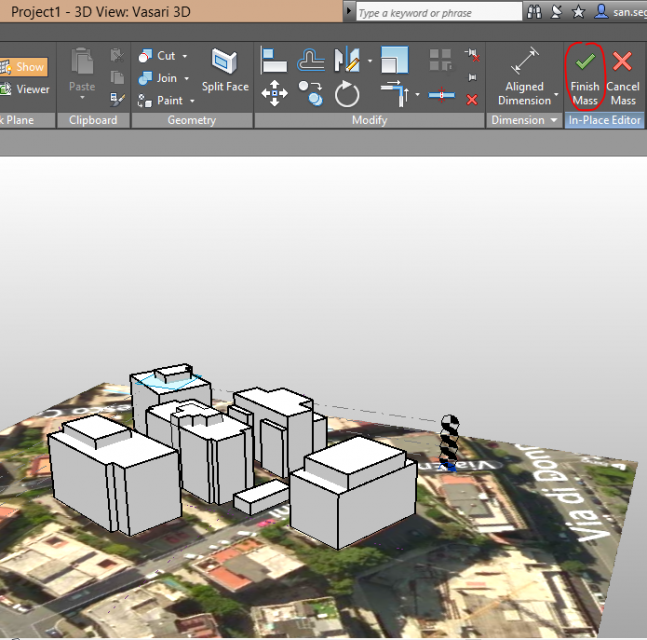
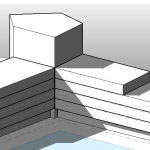
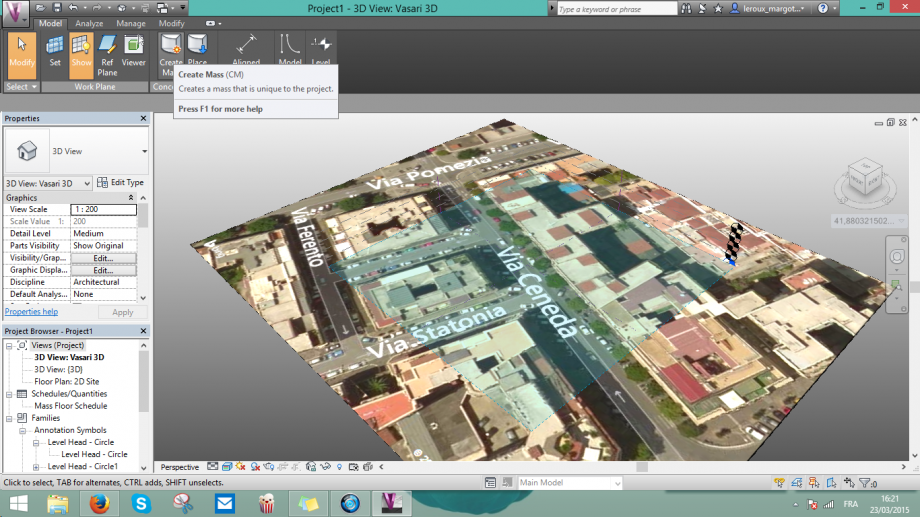
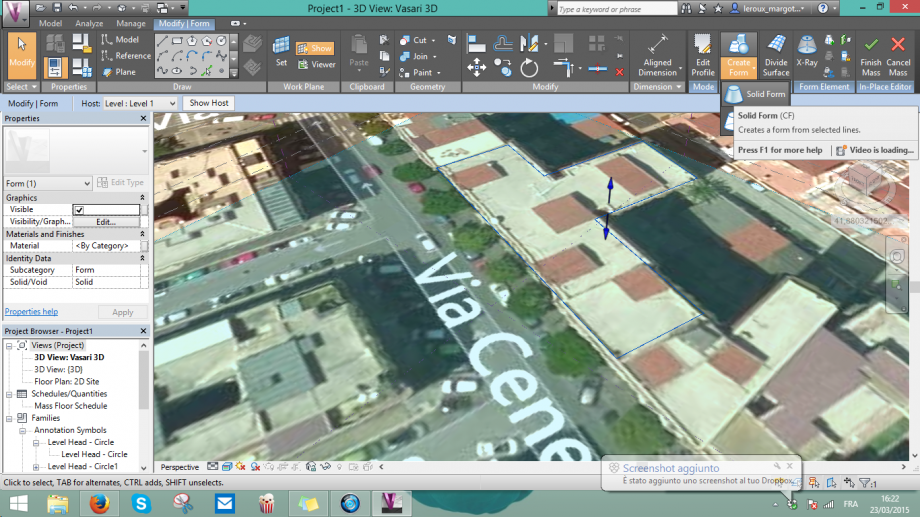
Modelare l'edificio a partire da MODEL>CREATE MASS. Dopo, su MODIFY>MODEL scegliere la linea per iniziare il disegno. Per fare il volume, scegliere CREATE FORM>SOLID FORM. Disegnare anche il contesto più vicino per vedere le ombre.
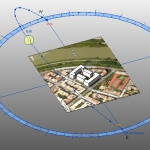
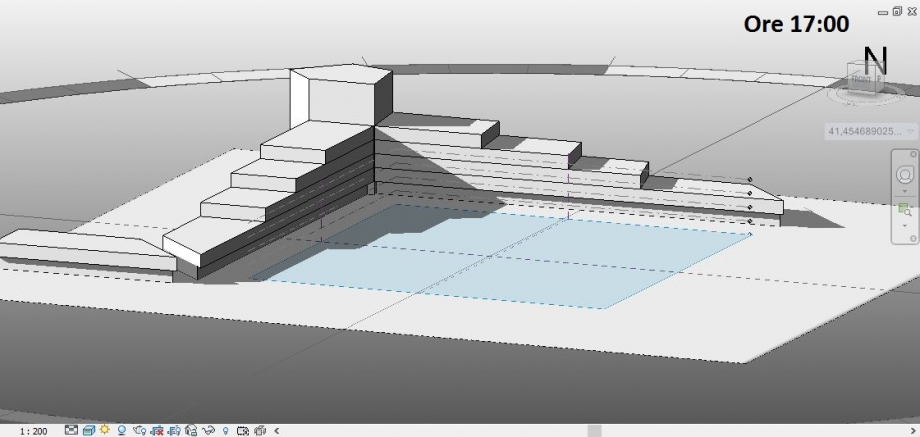
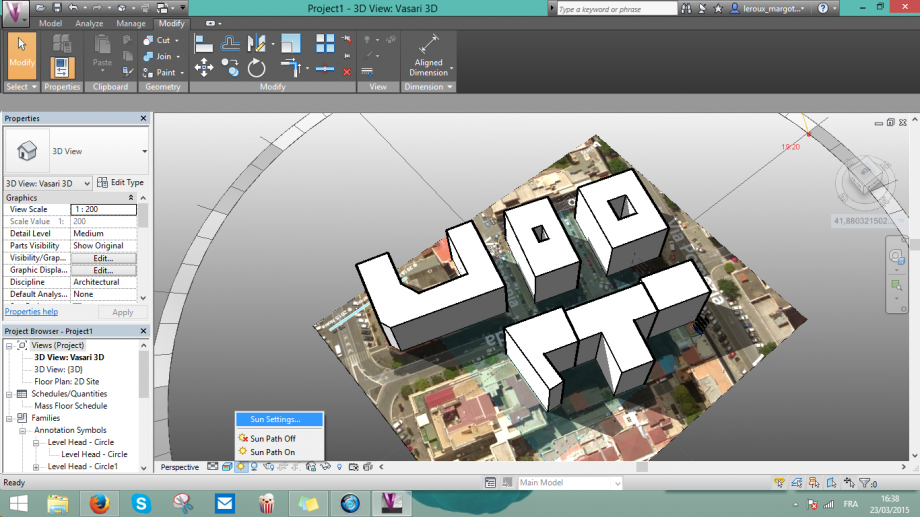
- Punto.3 Studio solare
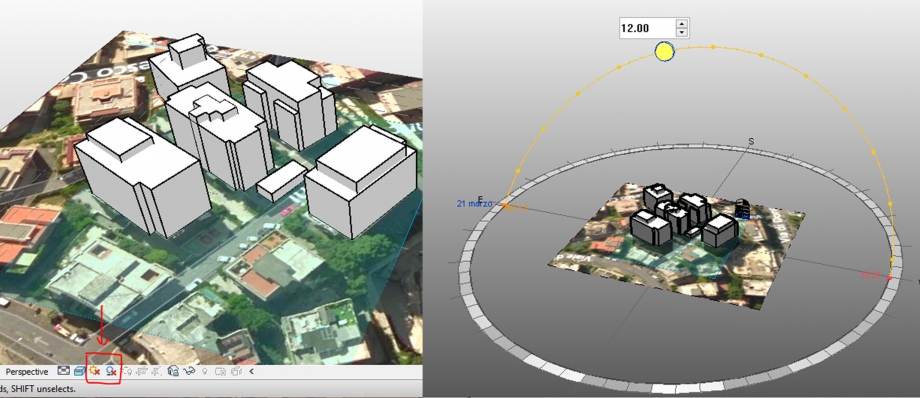
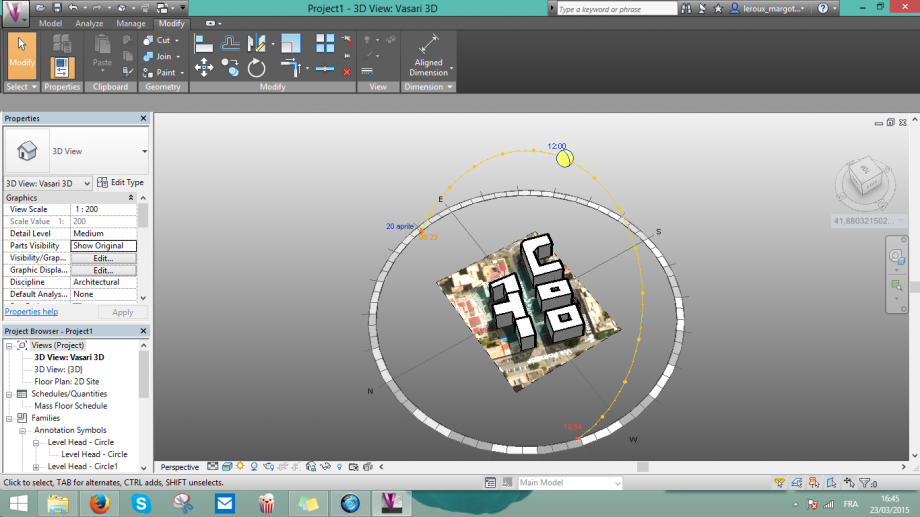
Clicare su SUN PATH ON per iniziare l'analisi solare basato sulla posizione scelta nell Punto.1. Scegliere SHADOWS ON per vedere le ombre nell modelo.
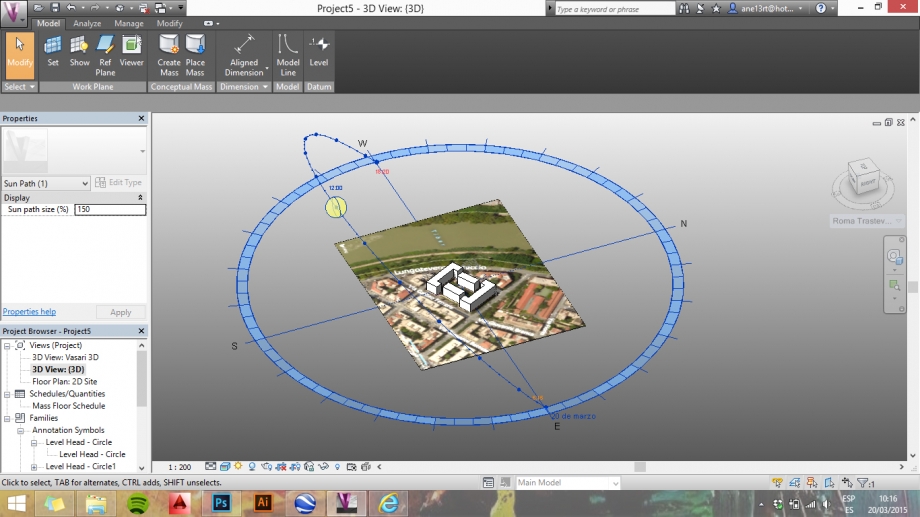
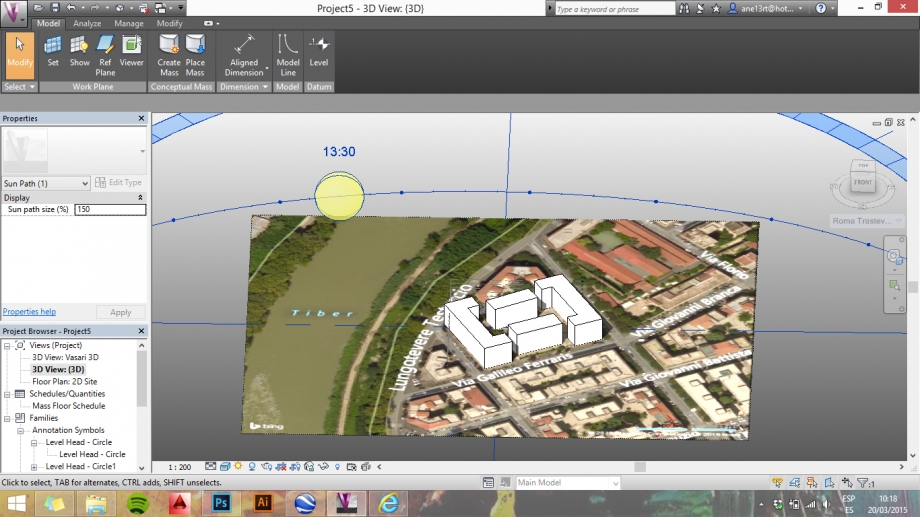
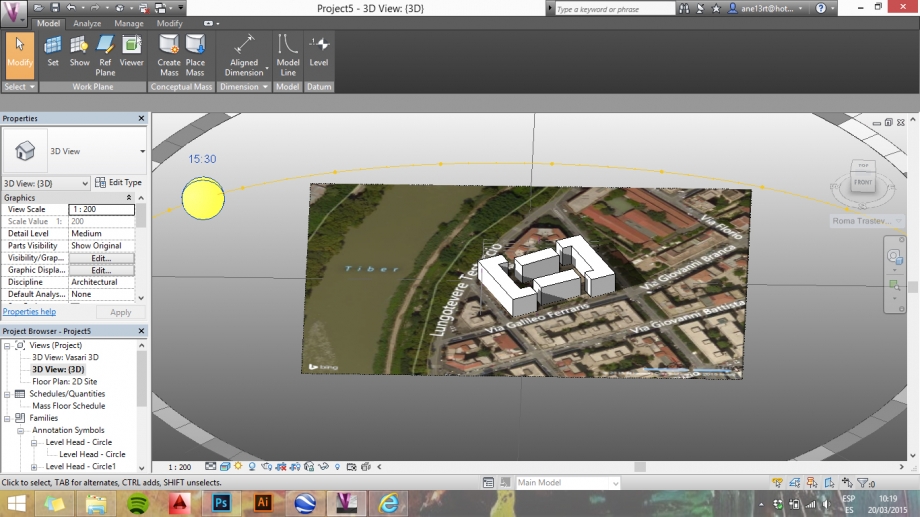
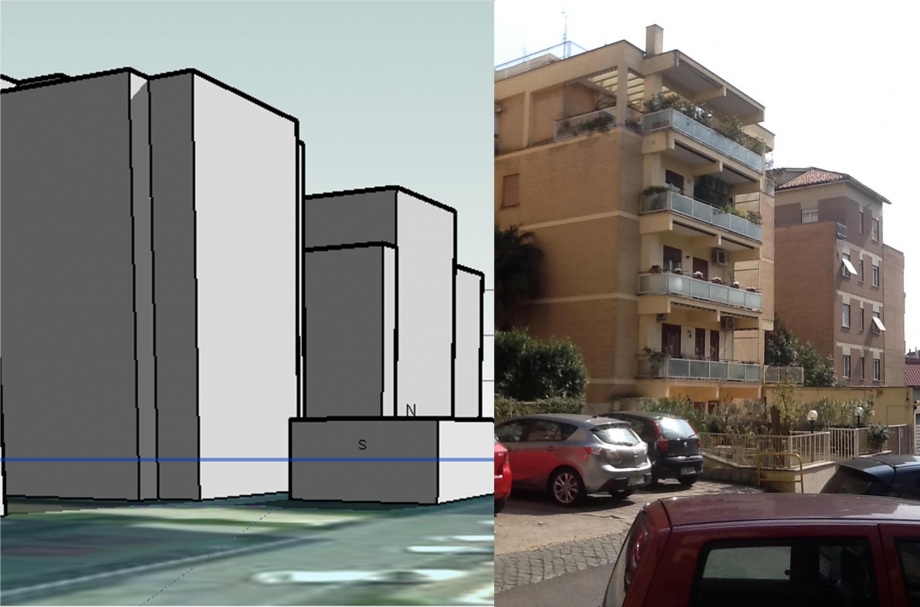
Scegliere l'ora che vogliamo analizzare. In questo caso abbiamo scelto le 13:30h e le 15:30h.
Analisi 15:30h
- Punto.4 Immagini
13:30h
13:30h
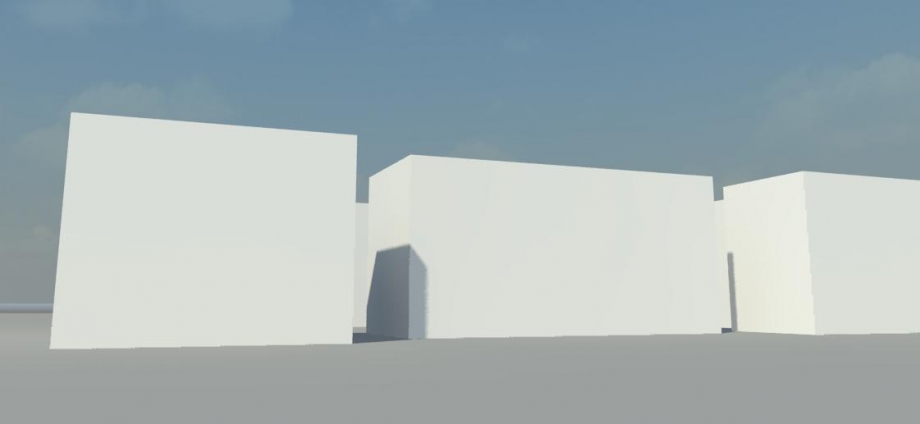
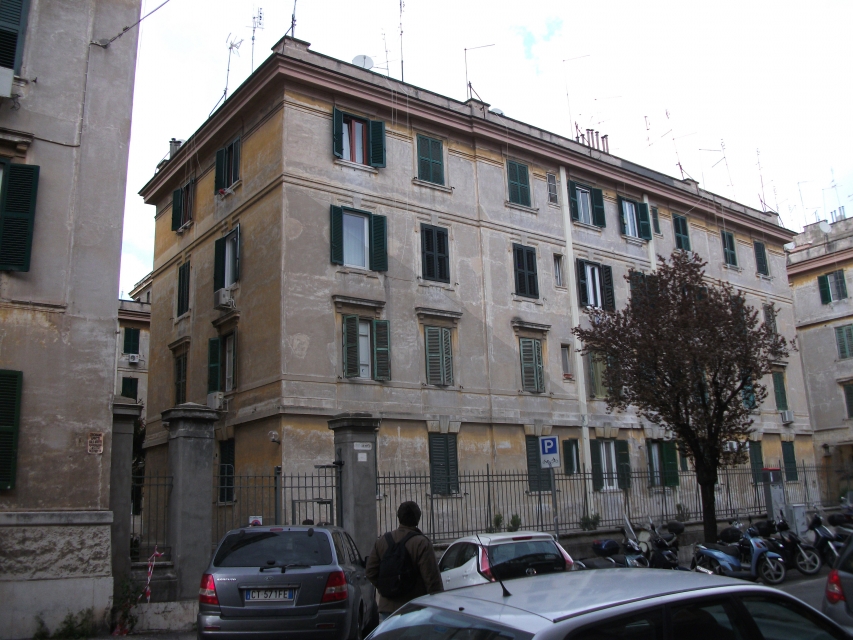
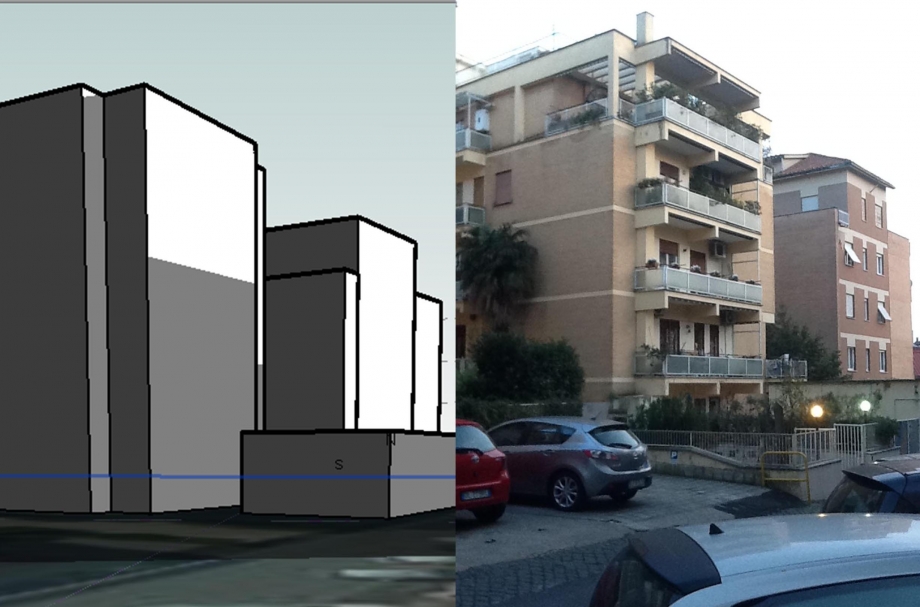
15:30h
15:30h (abbiamo lavorato un po su questa foto perché non siamo riuscite a fare una foto con le ombre abbastanza chiare, non c'era abbastanza sole. Quindi le ombre sono un po accentuate sull Photoshop)
 Ortolani_Segrè
Lun, 23/03/2015 - 17:00
Ortolani_Segrè
Lun, 23/03/2015 - 17:00
Location: Via Enrico Cernuschi 9, ROME, IT.
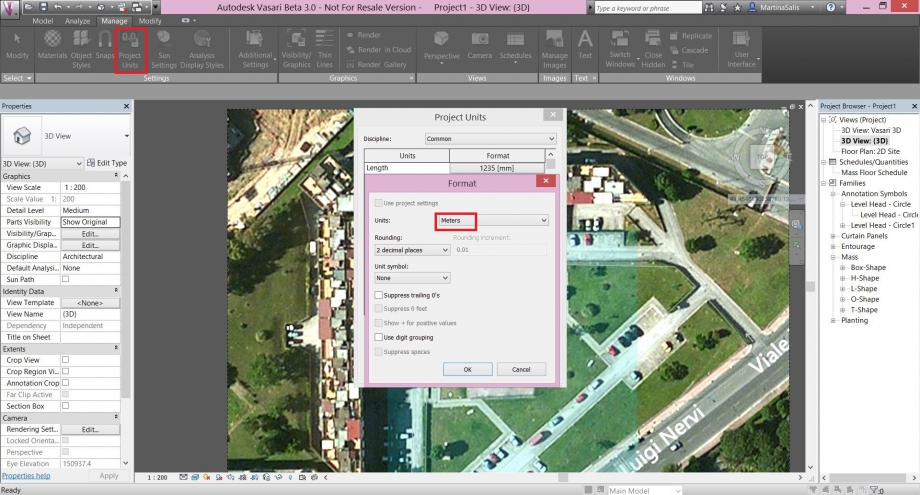
Once started Vasari and opened a new file, you can change misure’s unite(“Project unite” command) under the Manage menu and set the location by clicking on “Location” in the Analyze tools.
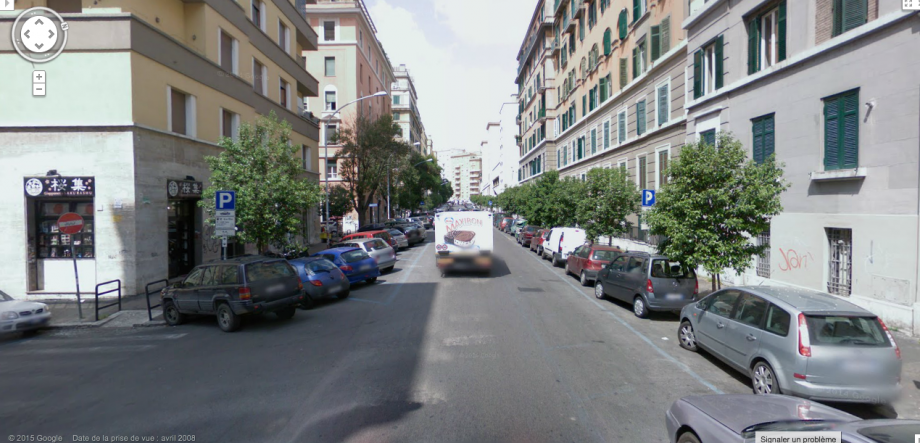
Then you have to choice the area you want to study by typing the city name and, once found the exact location, clicking on “Import site image”
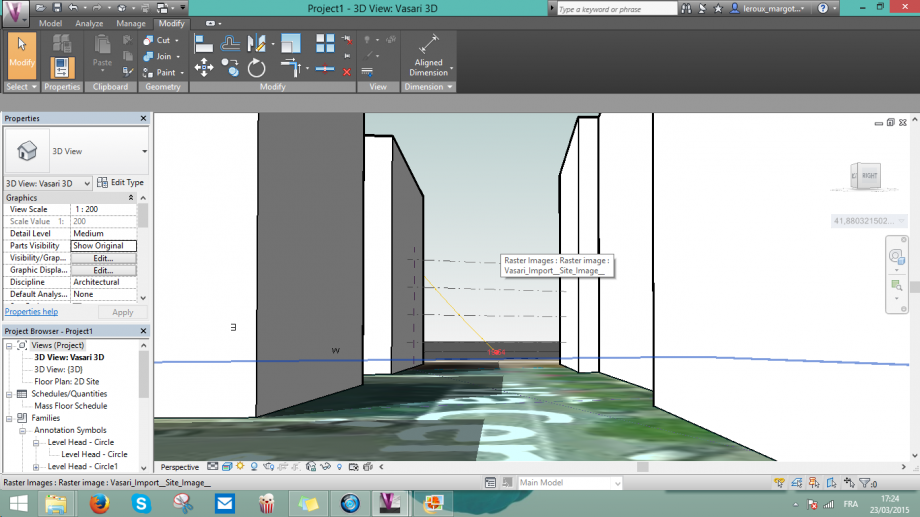
After you have imported the area, you can start modelling using the “Creat Mass” command and start drawing the perimeters of the building and extruding them. Once you finished to create and modified the volumes needed, you can click on the “Finish Mass” command.
Now, in order to study the shadings, we’ve to show the Sun path, activating it by clicking on the sun icon. Once the sun is switched on, we can activate the shading by clicking on the respective icon. We can now set the hour and the day of the sun so we can see the differents shadings generated by the daily light in different times.
Setting views
In order to get the needed views you have to click on the floor plan 2D site view in the Project browser menu; then by clicking on the Camera command you can place it as you wish, orienting the sight and choosing the deepness as requested.
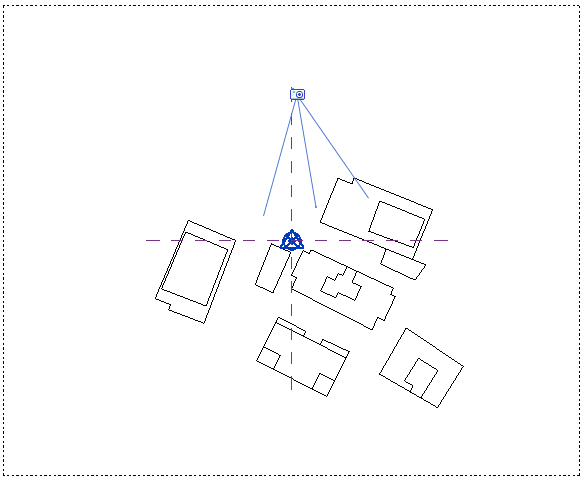
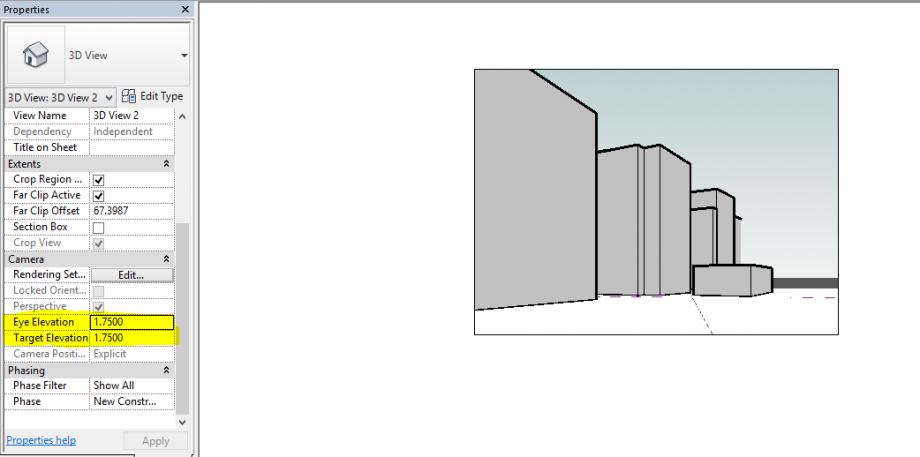
After having placed the camera you can set the eye and target elevation by clicking on corresponding command in properties menu of the corrent view.
Chosen date: 21 March 2015
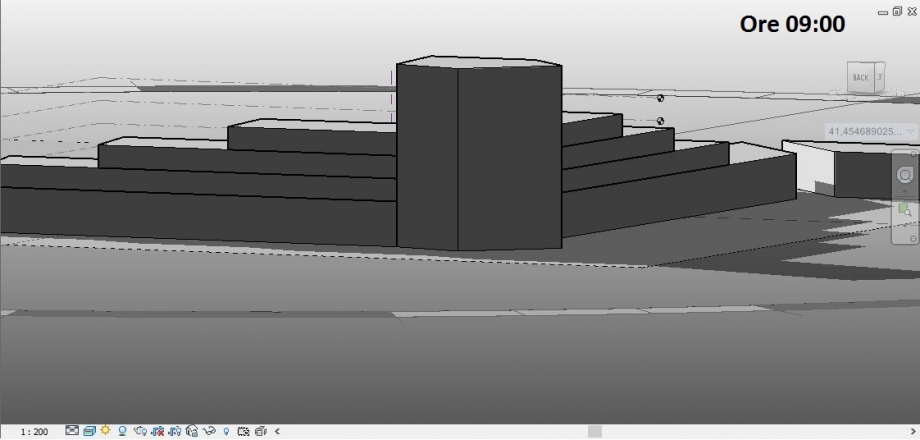
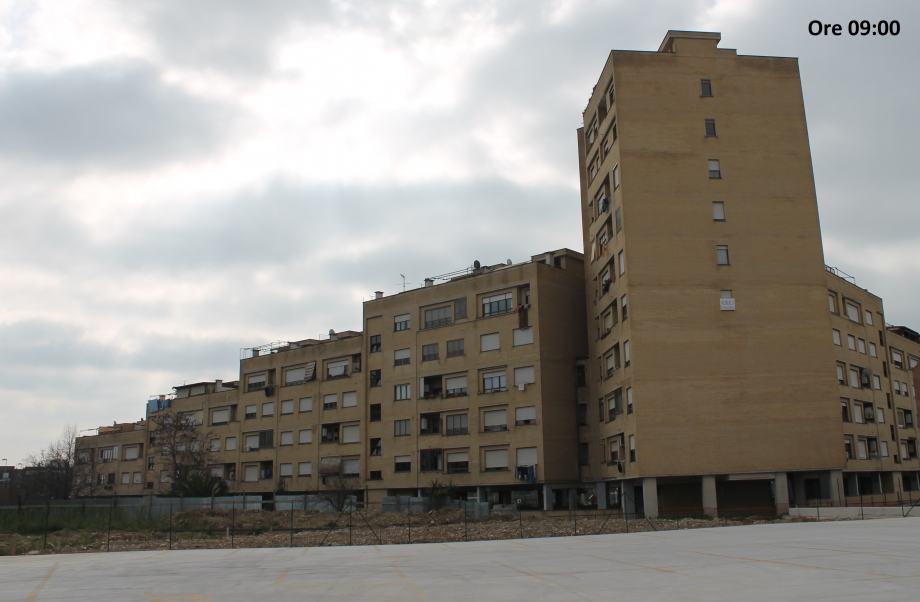
9:00 AM
12:00 AM
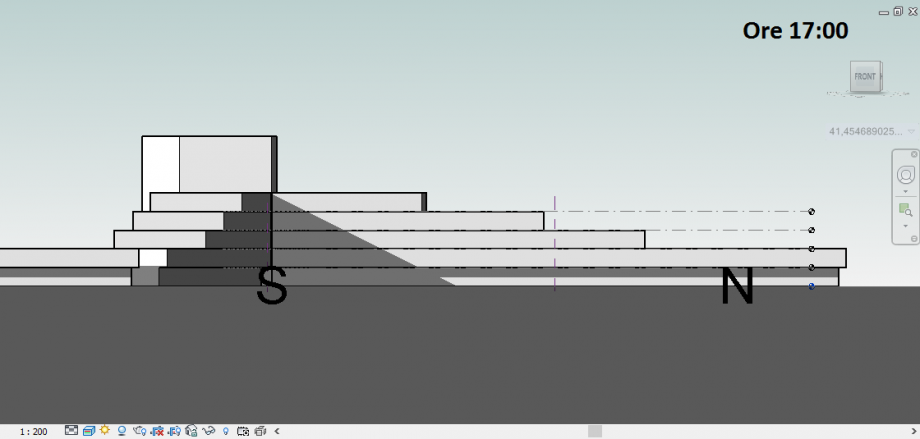
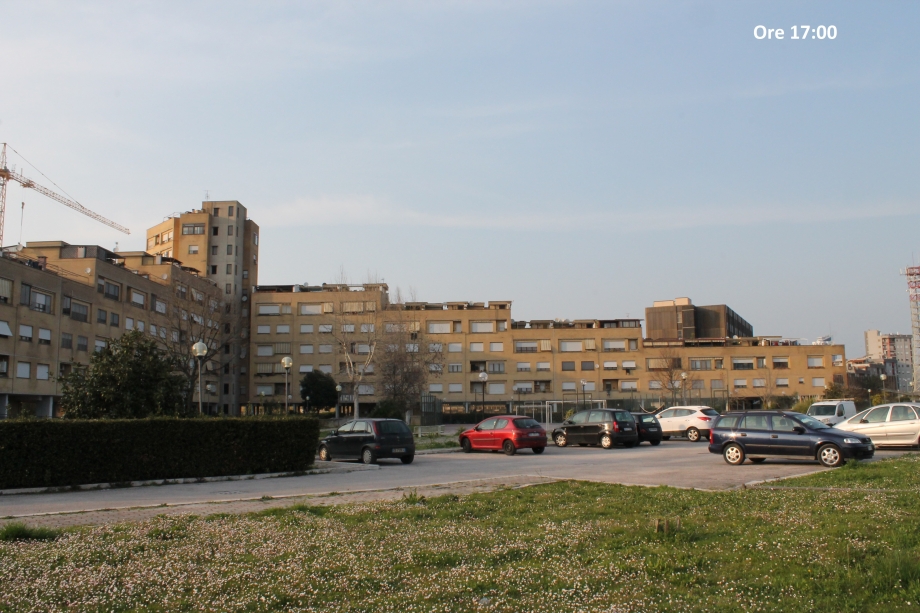
3:00 PM
6:00 PM
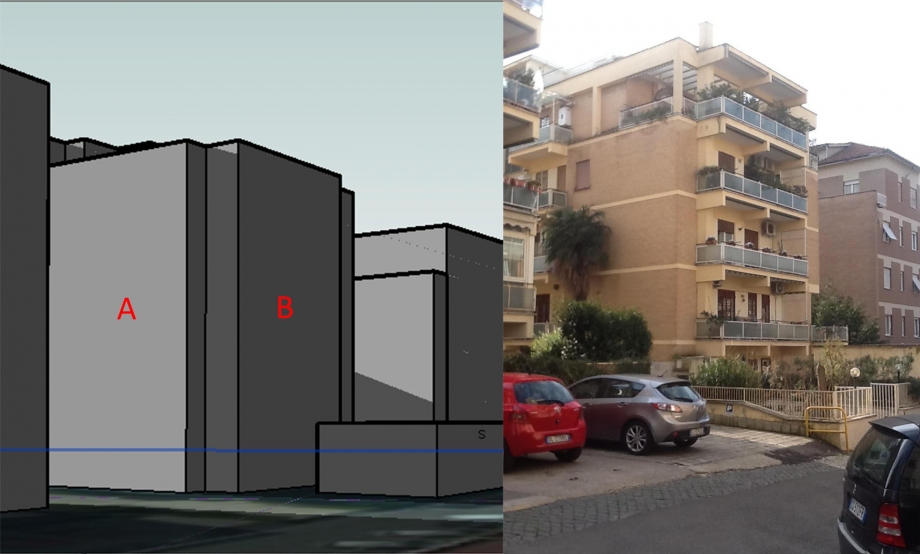
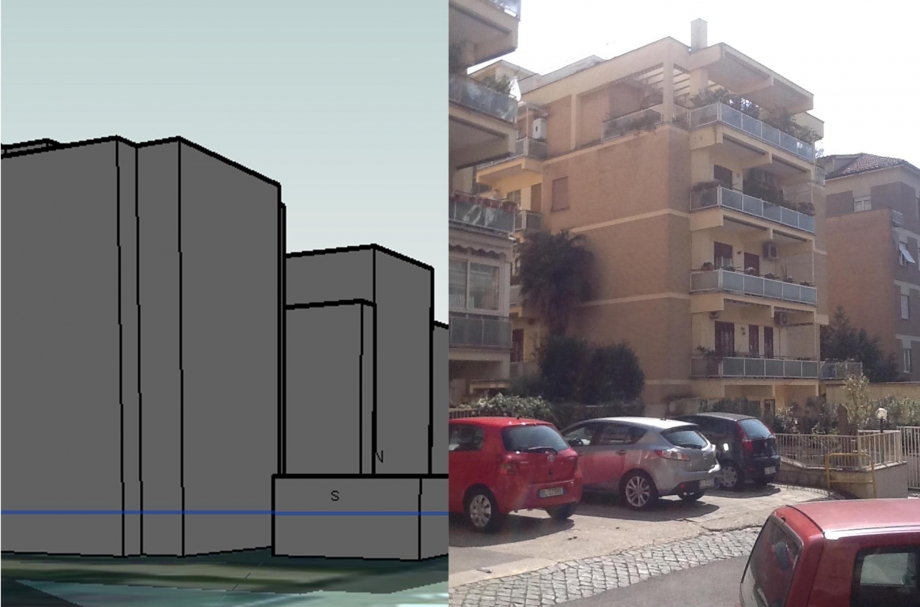
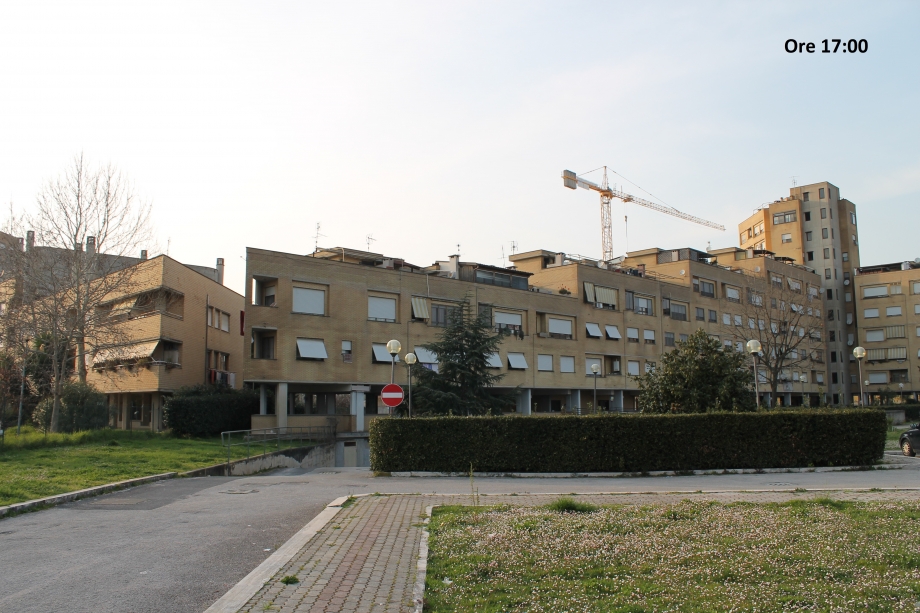
OBSERVATIONS
The lighting proposed by Vasari reflected quite accurately the real shadows projected on the N/E (A Facade) and N/W (B Facade) facades by the sorrounding buildings. We can see that this two facades don’t get sunlight untill 3 pm, when the N/W is almost totally illuminated(excluding the projections from the balconies). At 6 pm the facade is hit mostly on his upper portion. As we could expect for a facade standing northwards, the A facade don’t get light directly all day long, but it gets it only undirectly by the opposite building’s front in morning hours ( 09-12 h).
Lun, 23/03/2015 - 17:04
 Salis_Tipaldi
Lun, 23/03/2015 - 16:48
Salis_Tipaldi
Lun, 23/03/2015 - 16:48
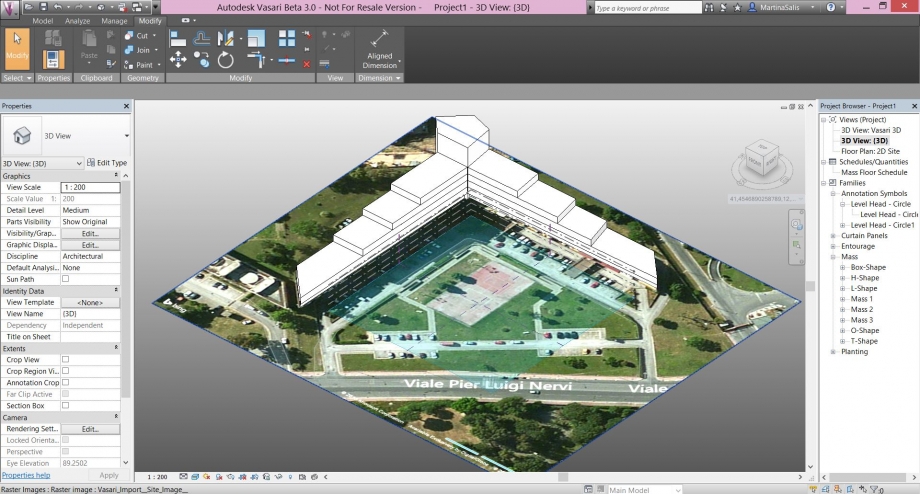
1. Open Vasari and click on New Metric
2. Click on 3D View: 3D that is in the right window Project Browser. Click on Analyze> Location to load the image of Google Maps. It will open a window where you have to write the exact address taken in analysis. Check the box Use Daylight Savings time at the bottom left of the window and click on Import. It will open an additional window in which we will indicate the level (Level 1), then click again on Import.
3. Click on Manage> Project Unites to change the units in which the software works. In the window that opens, click on the bar of millimeters and change it in meters.
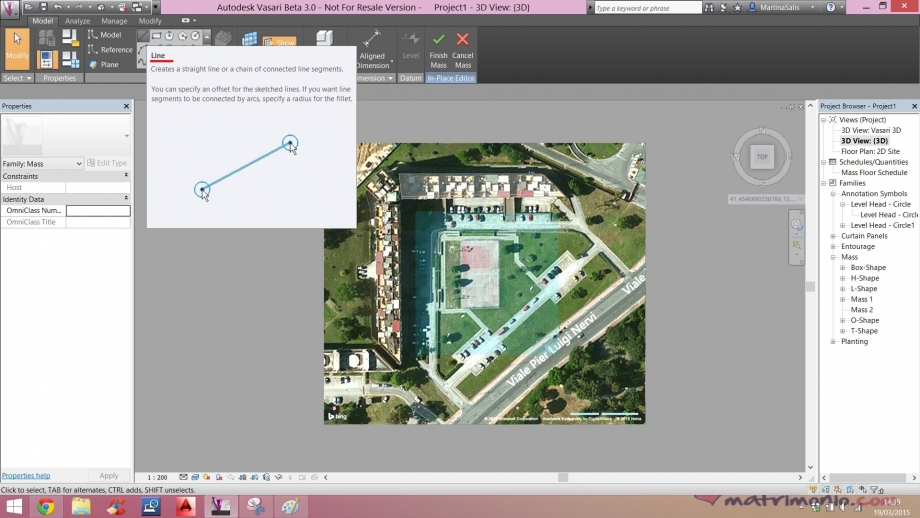
4. Click on Model> Create Mass to begin to draw on the contours of the building considered and use the Line tool.
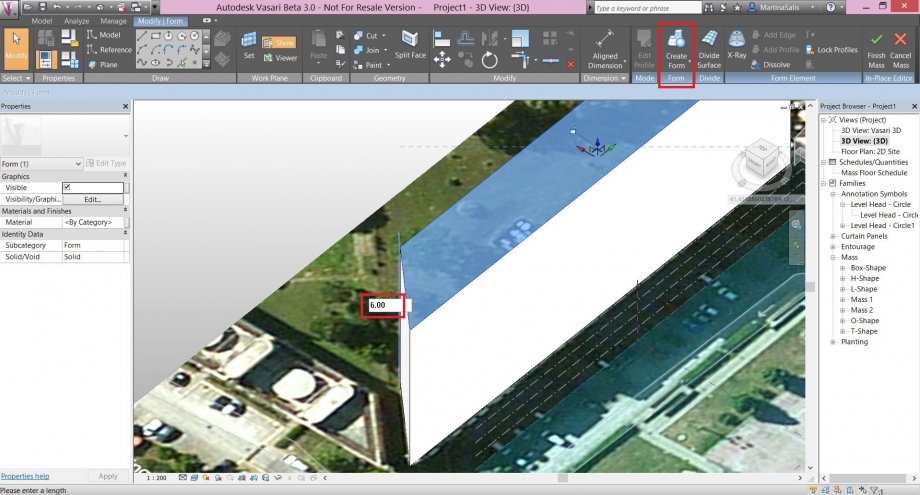
5. After you draw the outline of the building, making sure it is closed, select it with the pointer and click on Create Form. At this point the surface created will take the form of a volume which will bring the measures of height, length and depth, then click on Finish Mass.
6. Repeat this process until you have designed the entire building.
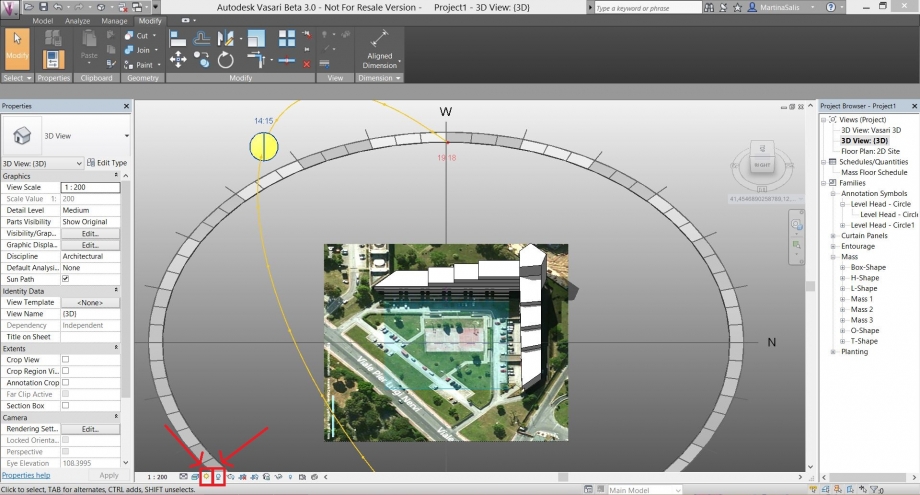
7. Click on the buttons Sunpath On (the symbol of the sun) to recreate the diagram solar and Shadows On to activate the shadows.
Exercise:
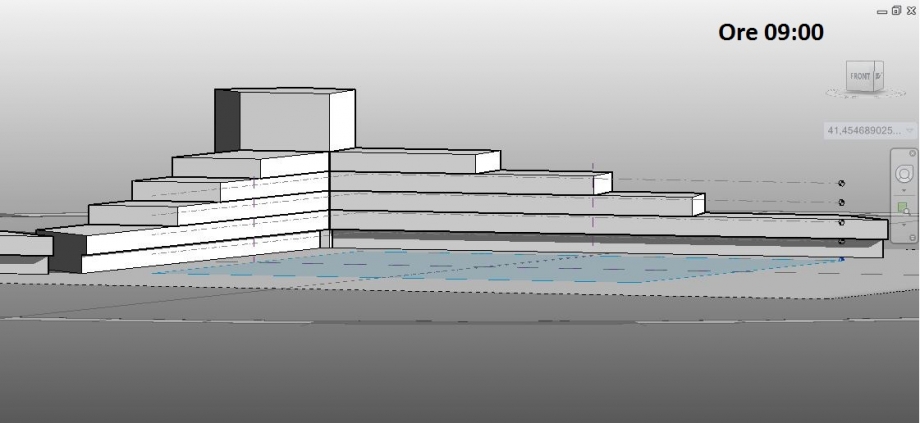
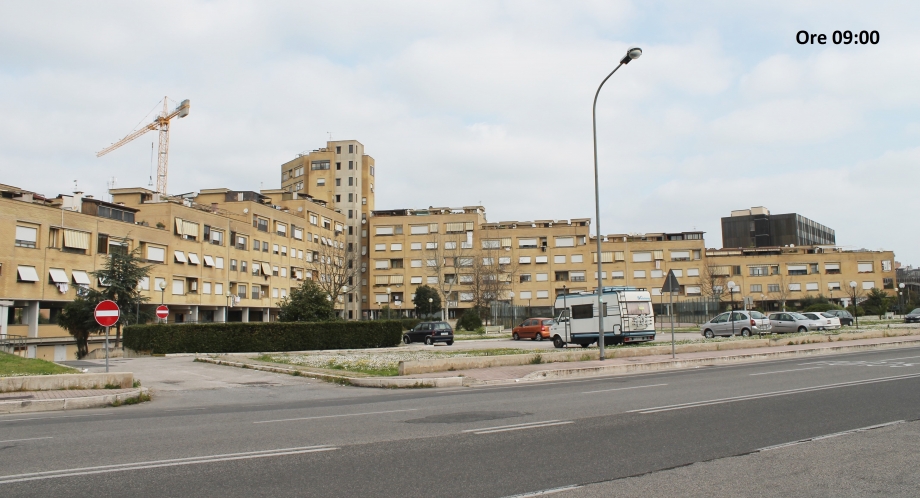
The building is located in Viale Pierluigi Nervi in Latina (LT). It 'a L-shaped building, with the south-east front that includes entrances. The analysis made by Vasari says that in the morning, at 9:00 a.m., the building is fully illuminated at the southeast, and instead in shadow at the northwest, something easily seen from the photos.
The afternoon, at 5:00 pm, instead the east facade is in shadow and projects its shadow on the south facade, and on the court.
Lun, 23/03/2015 - 17:00
 Eng Valentin
Lun, 23/03/2015 - 16:42
Eng Valentin
Lun, 23/03/2015 - 16:42
1) Scelta New Metric per creare un nuovo documento
2) Aggiugia una fotografia del luogo con Location
3) Scrivi l'indirizzo e non dimenticare di selezionare Use daylight savings time (al lato basso sinistra)
4) Per creare un modello, seleziona Create Mass
5) Crea la forma voluta con rettangolo per esempio

6) Per fare un estrusione, utiliza Create Form > Solid Form
7) Clica sulla la quota per scrivera l'altezza del edificio
8) Dopo avere fatto tutti gli altri edifici, clica su Sun Settings > Sun Path On & Shadows On
9) Scegli la data della giornata

Ecco i resultati sulla facciata
Ecco i resultati sulla strada
Lun, 23/03/2015 - 16:59
 MARTIN_REZOLA
Lun, 23/03/2015 - 15:42
MARTIN_REZOLA
Lun, 23/03/2015 - 15:42

At first, open the Vasari program. Select "New Metric" to create a new file.
The firts thing you have to do after open the new file is search the location of the project, you can select this option by opening the "Analyze" flange and selecting "Location".

Select the nearest "Weather Station"

After have selected the "Weather Station" you have to import the area of the project.

For create the you have to seletc "Create Mass" option in the model flange.

Once you have create all the masses near the project you have to select "Finish Mass", and after the option of "Sun Settings" for choose the day and hours of the Solar Study.

On the "Sun Settings" option select the day and the hour tha you want to analyze.

After have done the 3D activate the "Sun Path On" And also the "Shadows"

( 21 / 03 / 2015 )


10:00 15:00 18:00


