 Martinez - Mora
Lun, 23/03/2015 - 22:13
Martinez - Mora
Lun, 23/03/2015 - 22:13
11.45 am
 11.45 am
 11.45 am
 16.00 pm
 16.00 pm
 16.00 pm
Lun, 23/03/2015 - 22:25

 Giacchetti_Mesiti
Lun, 23/03/2015 - 20:44
Giacchetti_Mesiti
Lun, 23/03/2015 - 20:44
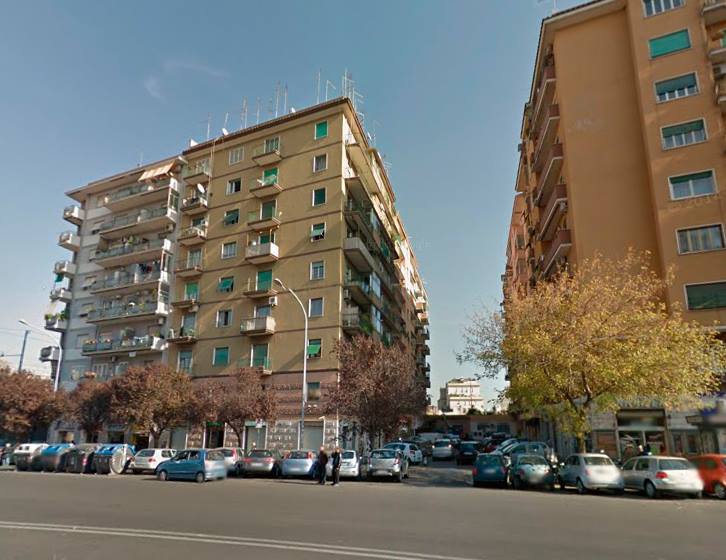
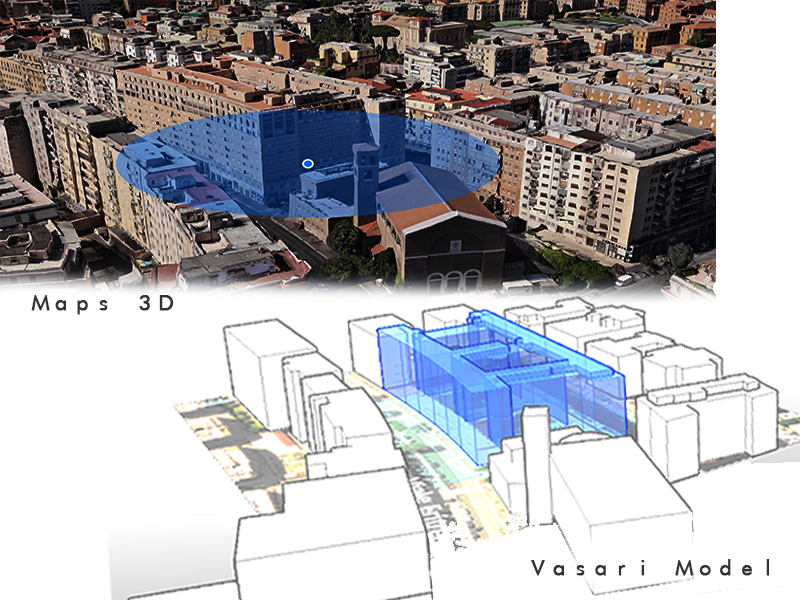
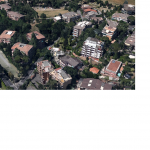
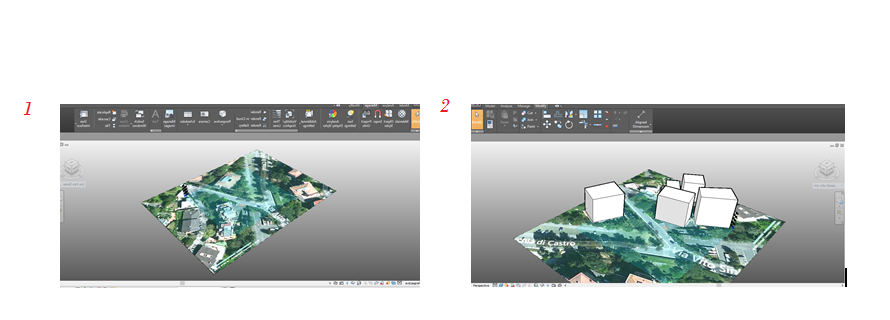
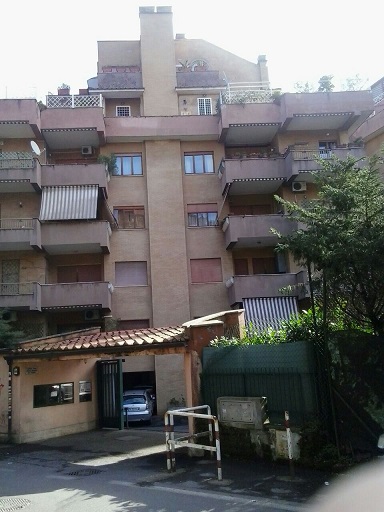
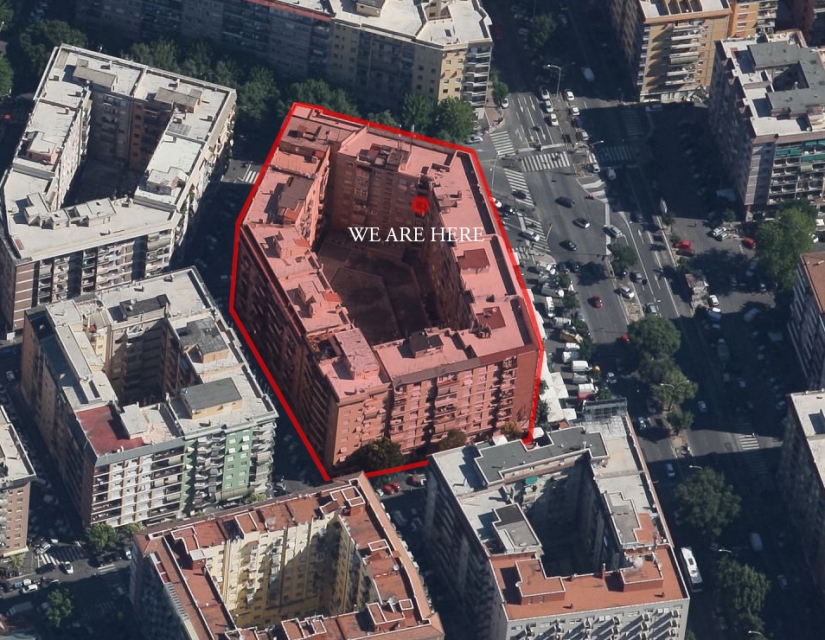
Andremo a spiegare il processo effettutato per riprodurre un modello 3d con annesso studio del sole nel corso di solstizi e degli equinozi.Tre foto,scattate in tre orari differenti,sono associate a tre modelli dello stesso edificio avendo cercato di ricreare le stesse condizioni ambientali. Si è preso in considerazione uno stabile in Via Vito Sinisi a Roma in zona Cassia. L'edificio fa parte di un conprensorio di due palazzine una accanto all'altra.La palazzina che andiamo ad analizzare è la palazzina A. Davanti alla palazzina è presente un ampio spazio libero dall'ingombro di edifici.La palazzina B si accosta alla palazzina A sovrastandola di almeno 4 metri a causa di un dislivello nel terreno, Entrambe sono di 5 piani più super attico.
Si procederà per punti:
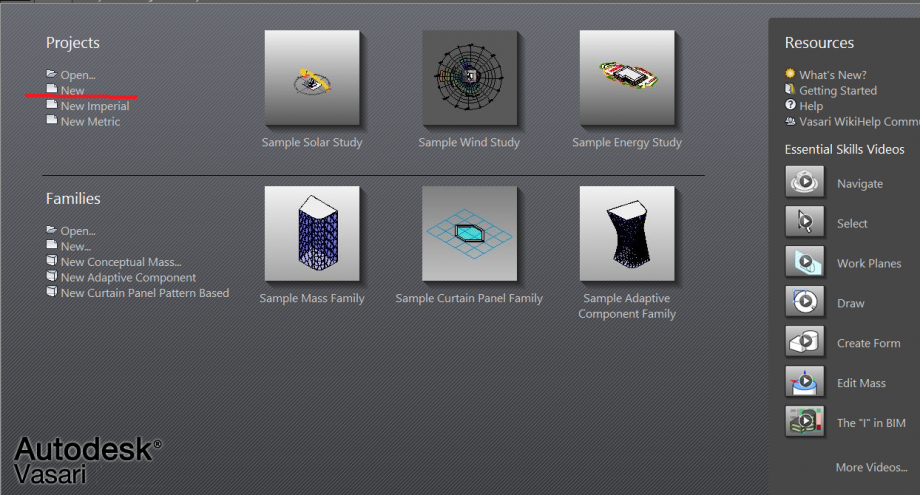
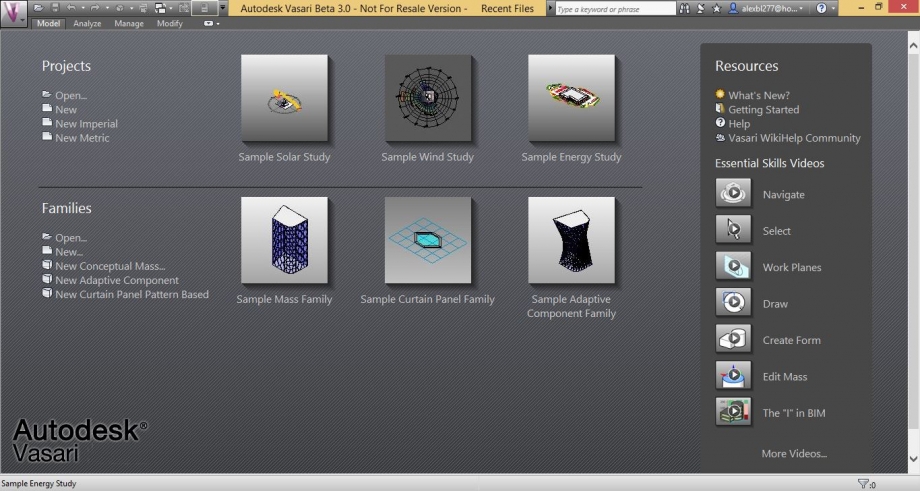
1 Per prima cosa apriamo vasari e clicchiamo su NEW.
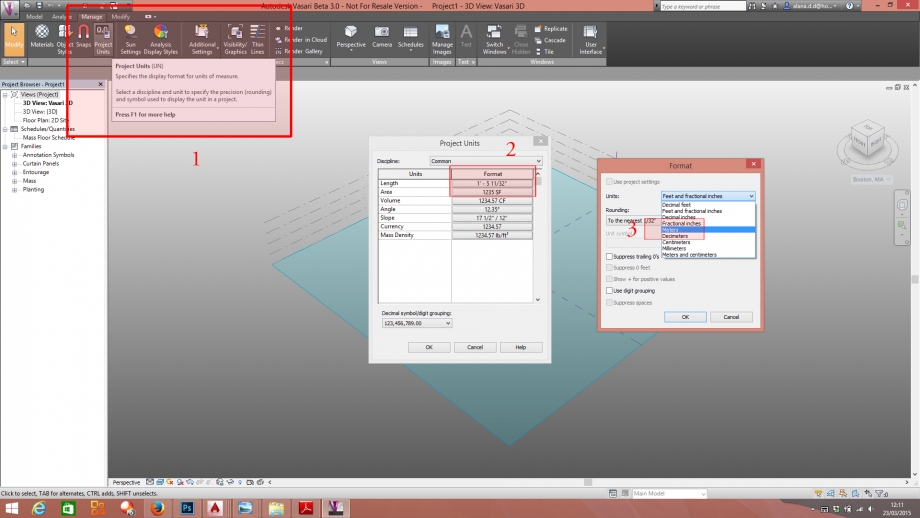
2 Modificichiamo le unità di misura attraverso il comando project units.

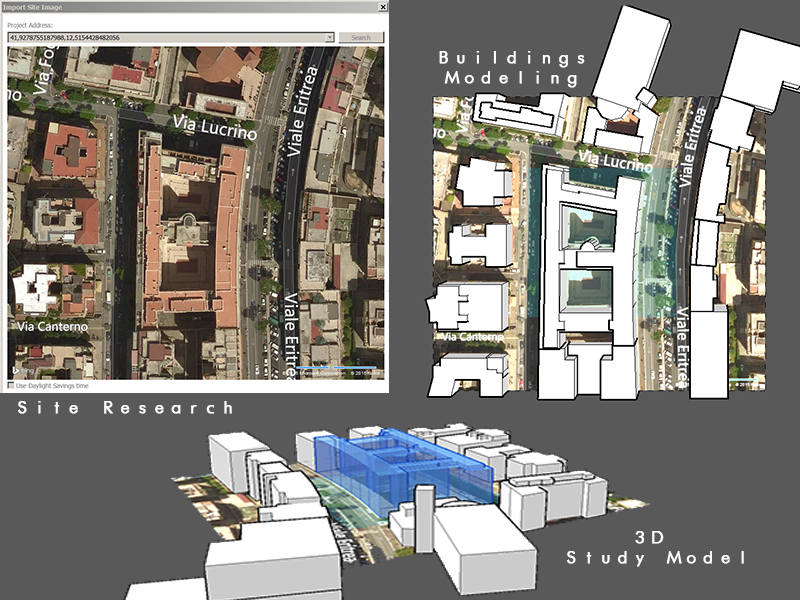
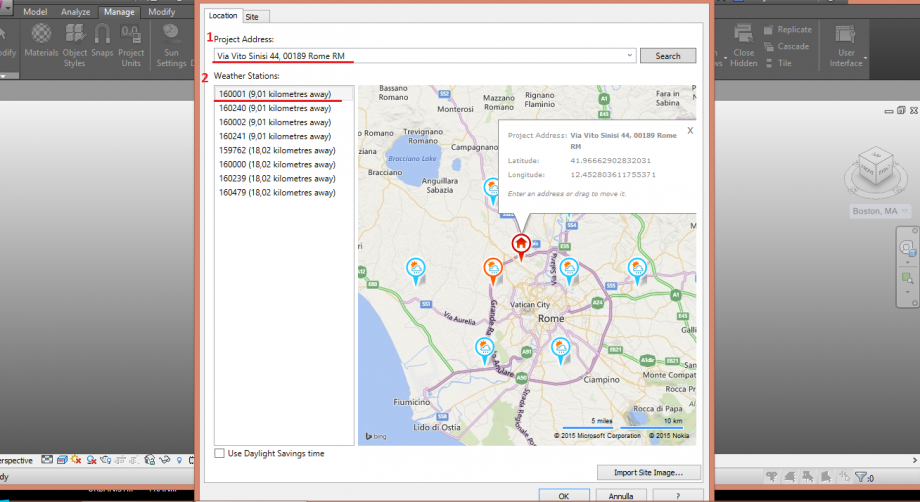
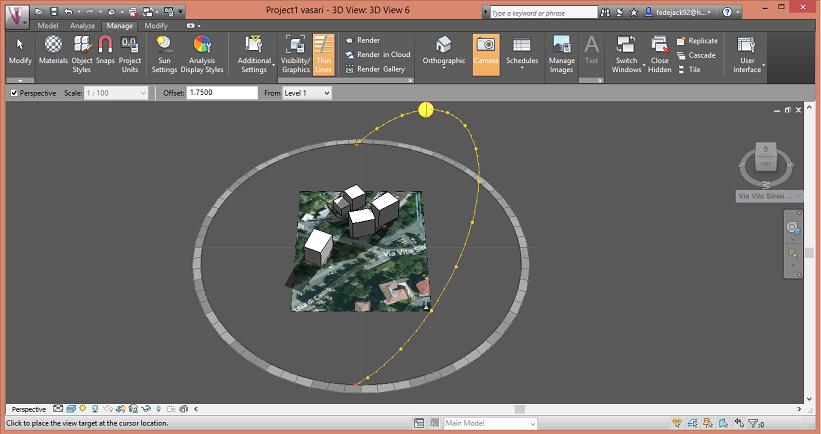
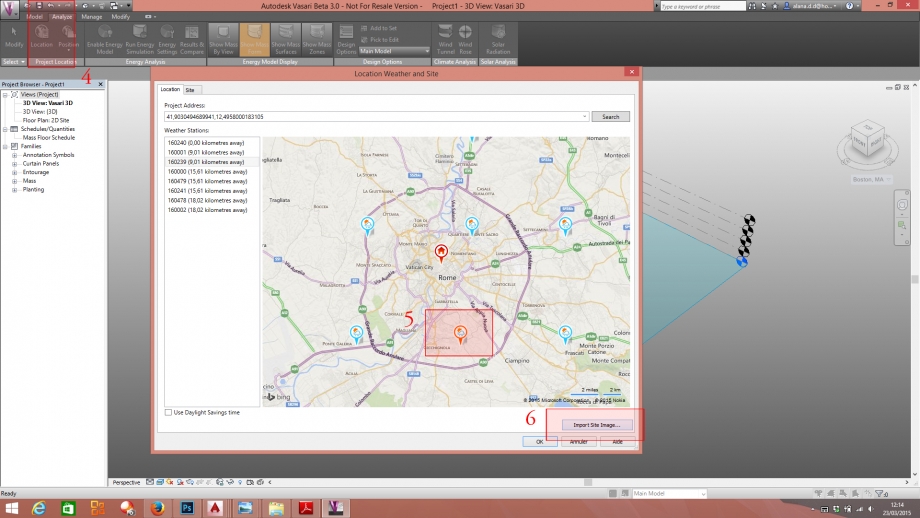
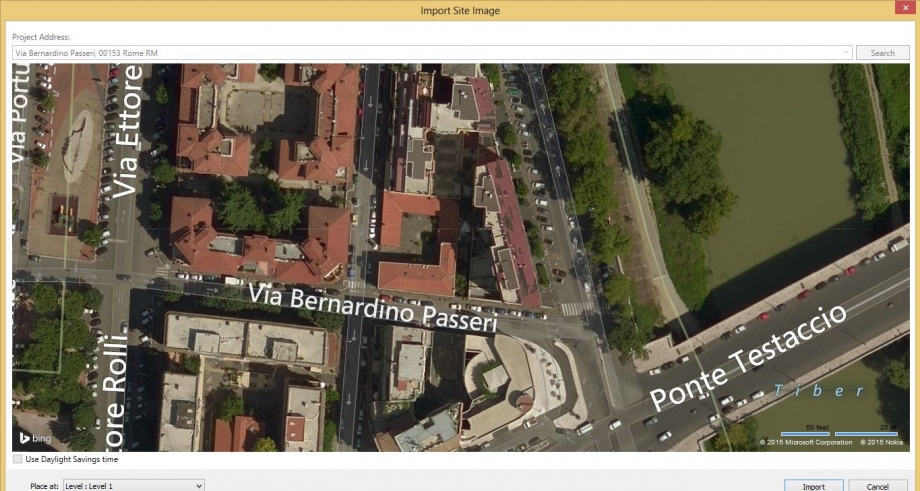
3 Abbiamo impostato l'area di lavoro con il comando location inserendo l'indirizzo dell'immobile preso in esame.
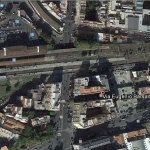
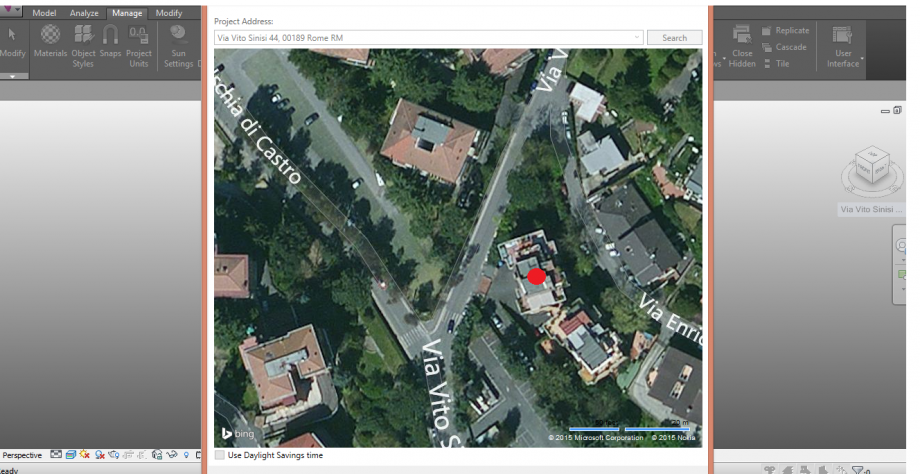
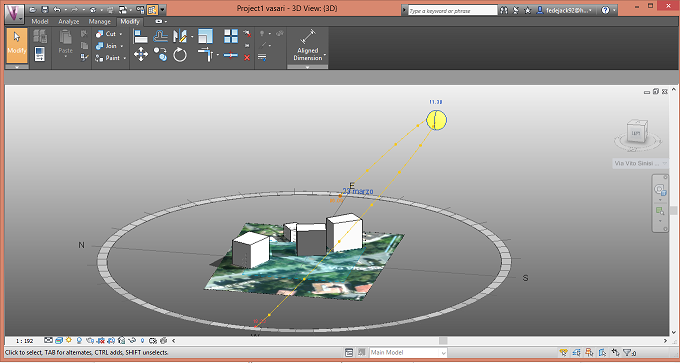
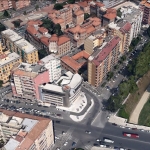
4 Importo l'immagine su Vasari dell'area di lavoro ( l'edificio preso in esame è indicato con un pallino rosso)
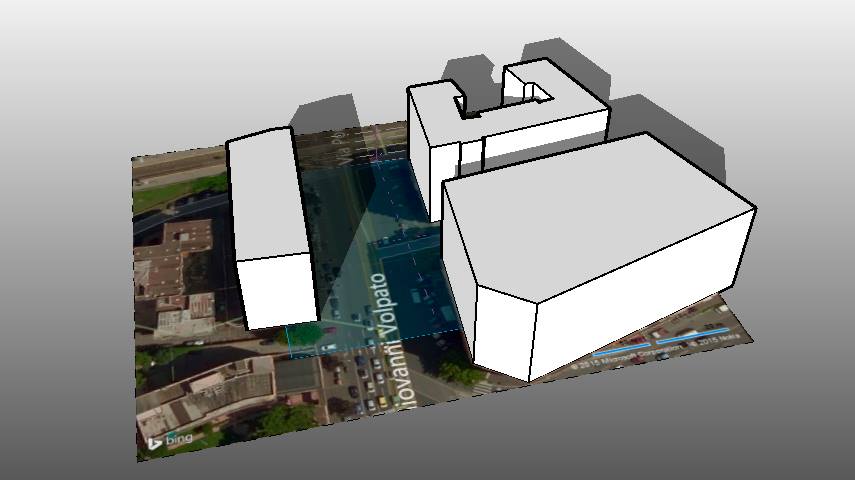
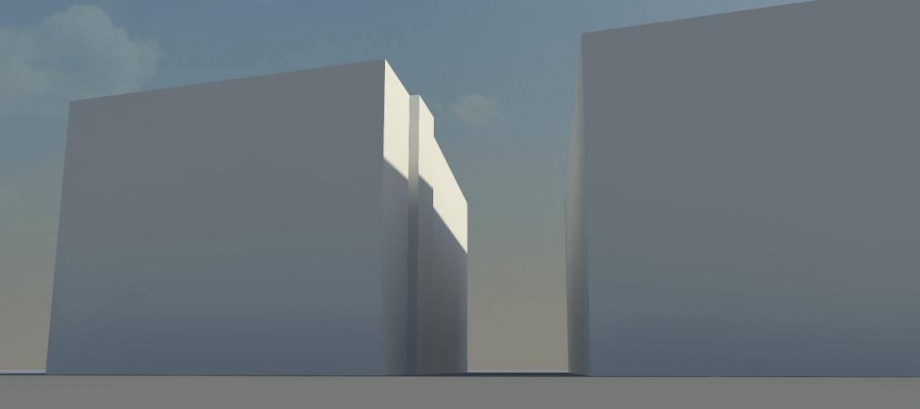
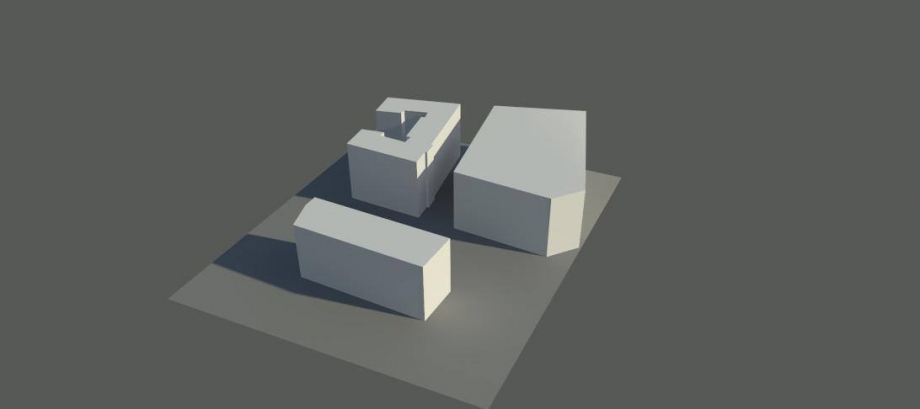
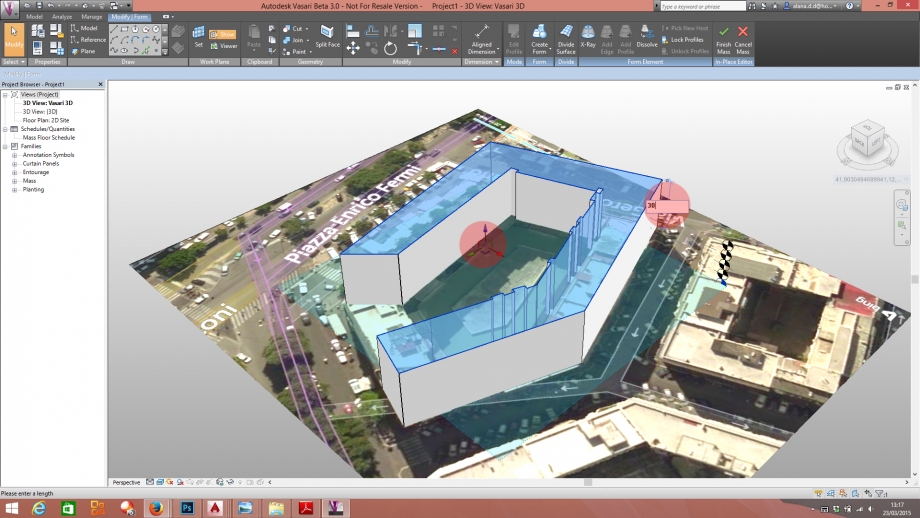
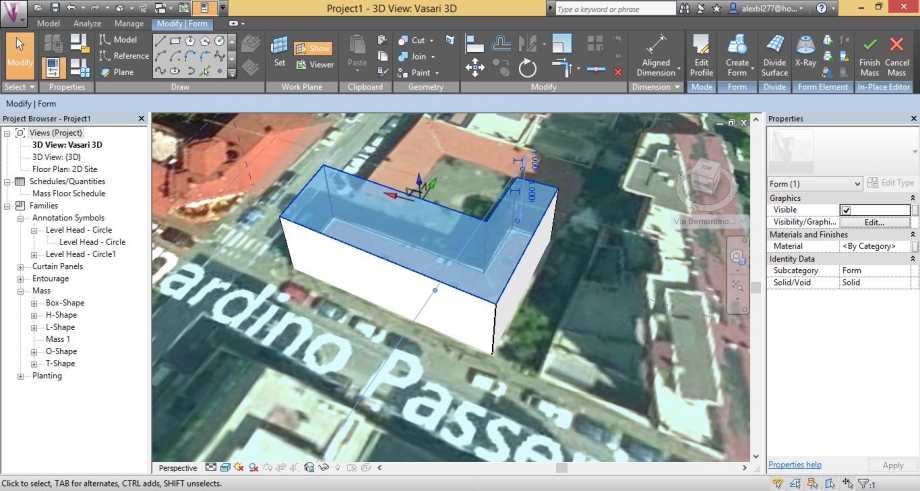
5 Siamo passati poi alla realizzazione dei corpi di fabbrica presenti nell'area attraverso l'uso dei comandi: Modify,Create Mass, Line, Finish Mass.
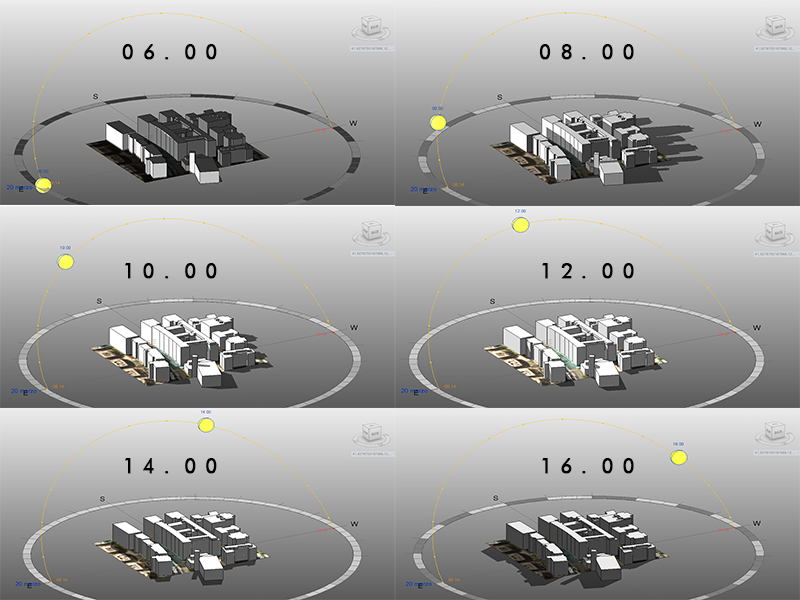
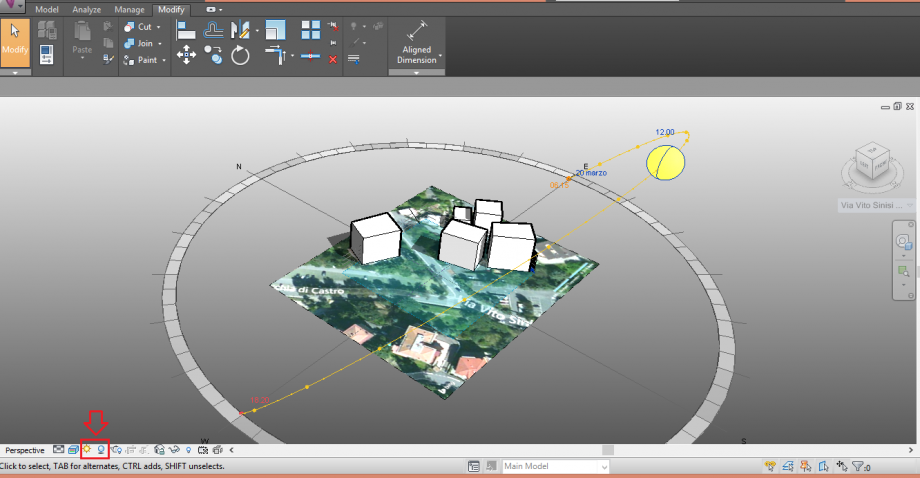
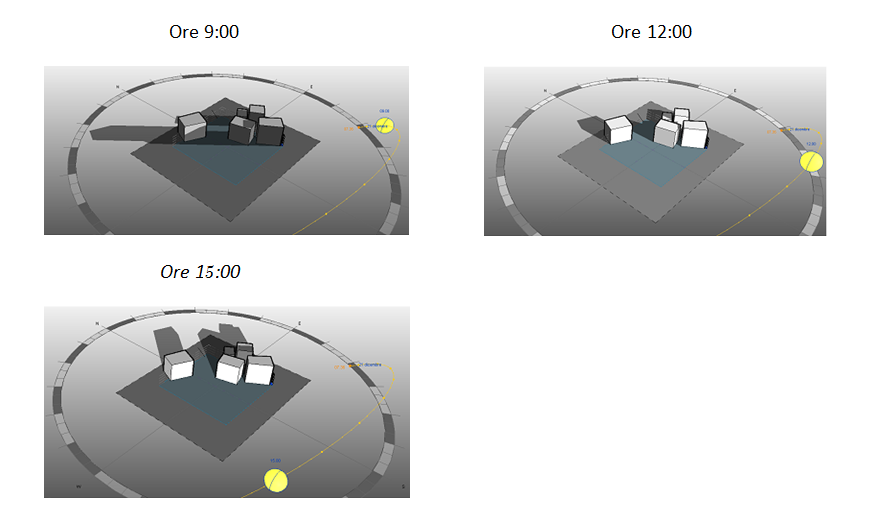
6 Attraverso il comando shadows on abbiamo inserito le ombre sugli edifici e con il comando sun settings abbiamo impostato dversi orari nei giorni dei solstizi e degli equinozi in modo da studiare il comportamento del sole nell'arco dell'anno.
SOLSTIZIO D'INVERNO
 SOLSTIZIO D'ESTATE
 EQUINOZIO D'AUTUNNO
EQUINOZIO DI PRIMAVERA
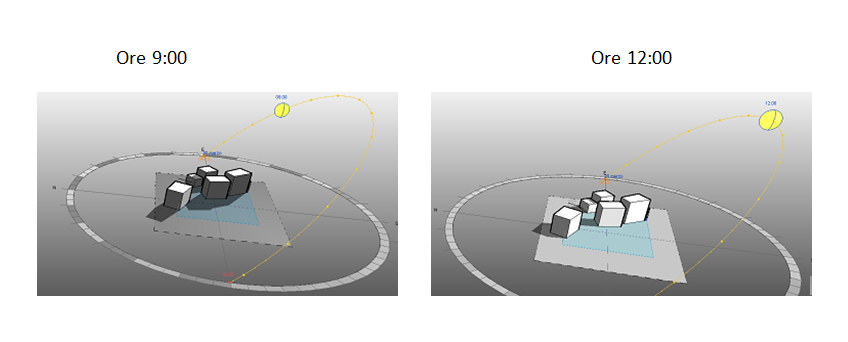
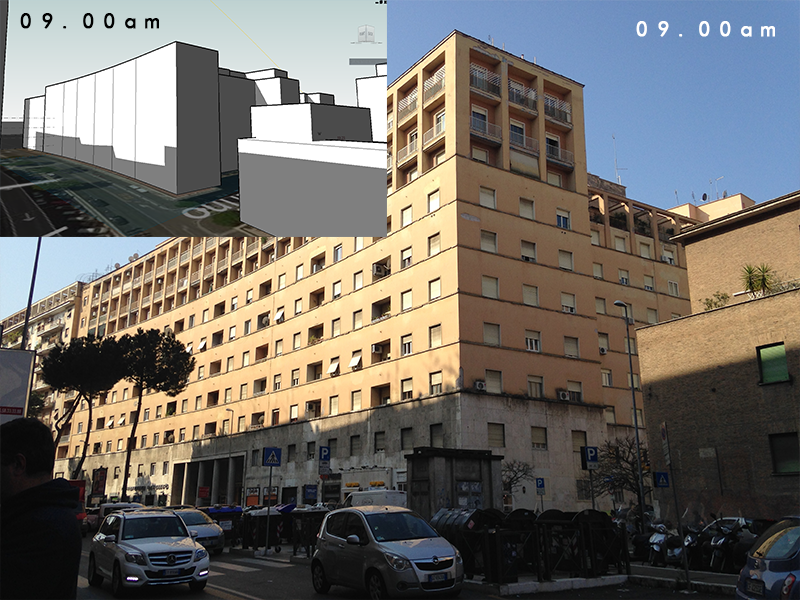
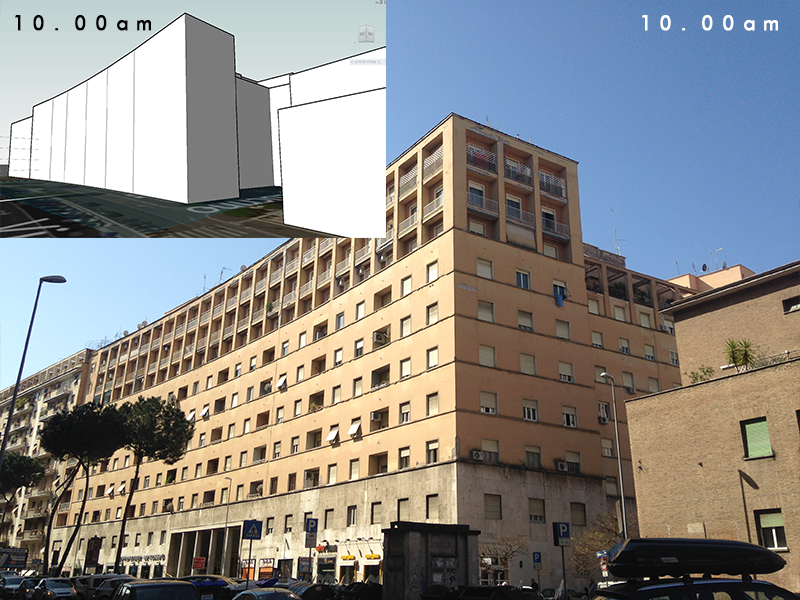
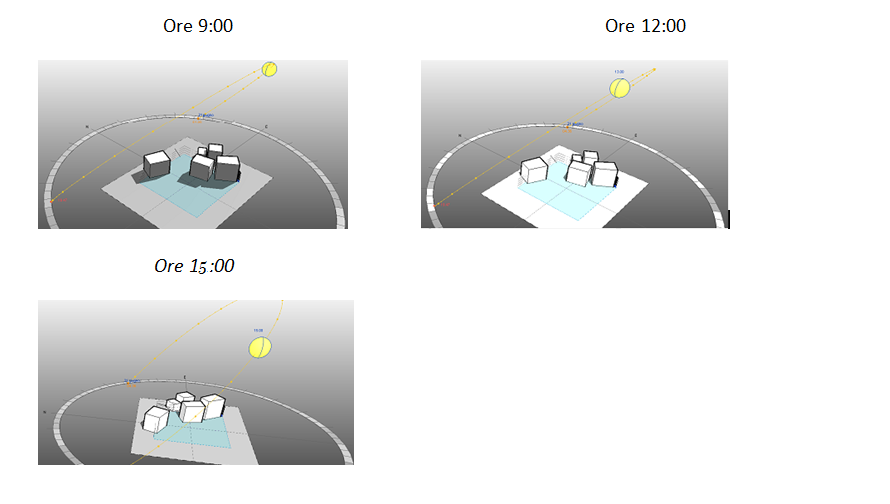
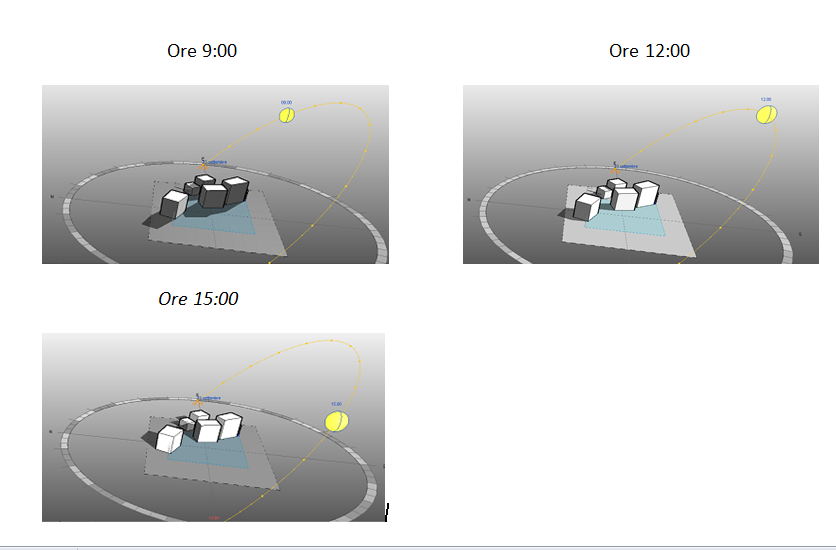
7 Confrontiamo quanto risulta dal modello con delle foto scattate nelle medesime ore in cui è stato impostato il modello.
23 marzo alle 9:00:
vista aerea
vista frontale e fotografia
23 marzo alle 11:30:
vista aerea
vista frontale e fotografia
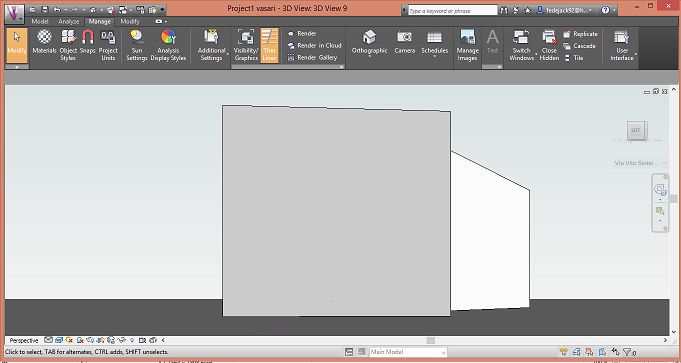
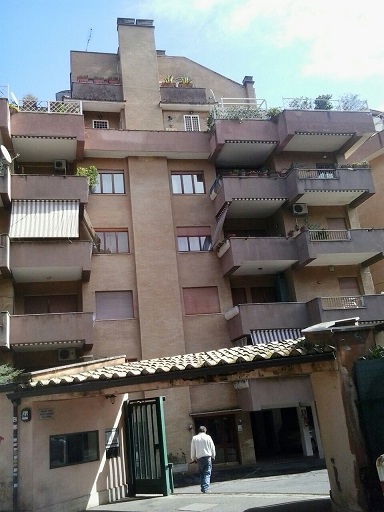
si nota che la facciata principale dell'edificio, orientata a sud-ovest, in ogni periodo dell'anno si trova completamente in ombra nelle prime ore della mattina. Dalle 10:30/11:00 comincia ad essere illuminata dal sole. Dalle ore 12:00 in poi si trova illuminata e riscaldata dal sole in ogni periodo dell'anno. L'edificio posto attaccato al fianco destro della palazzina considerata, al contrario di quanto sembrerebbe, non incide particolarmente nell'ombreggiamento di quest'ultima se non nelle prime ore della mattina. Questo grazie al suo orientamento e alla sua posizione che non ostacola l'arrivo dei raggi solari nelle ore più calde della giornata.
Lun, 23/03/2015 - 21:50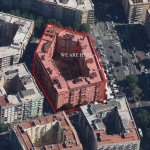 Benoit_Bostyn
Lun, 23/03/2015 - 19:42
Benoit_Bostyn
Lun, 23/03/2015 - 19:42
Lab 6 : First exercise
Team Benoit_Bostyn
TUTORIAL
Step 1 : Configure the file
To start a new project, open Vasari and in "Projects" select "New Metric".
First of all, go in "Manage" (1), then select "Project Units"(2). There you can put the measure system in meters (3).
When you've done that, click on "Analize" (4) and "Location" (5) in order to find the place of your building. Here you will select the nearest weather station and then go on "Import Site Image..." (6) so as to have the shape and the orientation of your buildings.
Step 2 : Build !
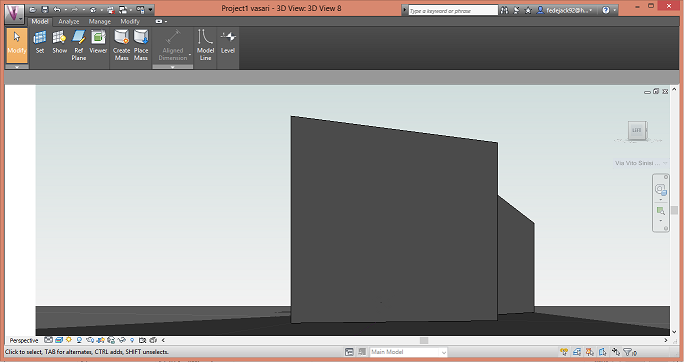
The first step is to select "Model" and then to click on "Create mass". It will open a new tab where you will click on "Model Line". Don't forget to select "Draw on Work Plane" before you start to draw.
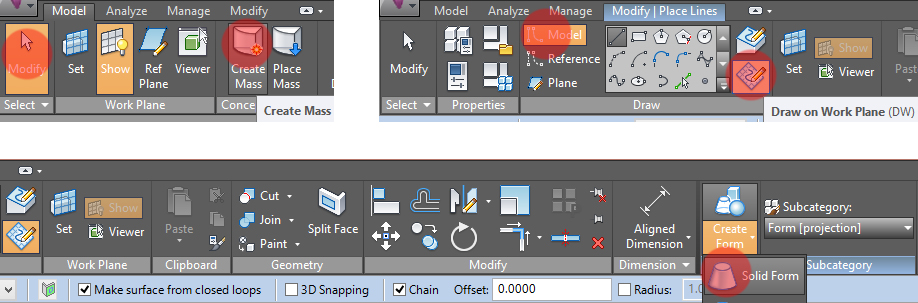
Then, when you have the profil of your building, click on "Create Form" and select "Solid Form" to start to extrude the volume (the other choice, "Void Form" could help you doing your volume by doing holes in it).
When you got your volume, you just have to drag the arrows to change the measures. You will also see digits on the edges, by clicking on it you can enter precise heights (here 30m).
Step 3 : Analyze your project
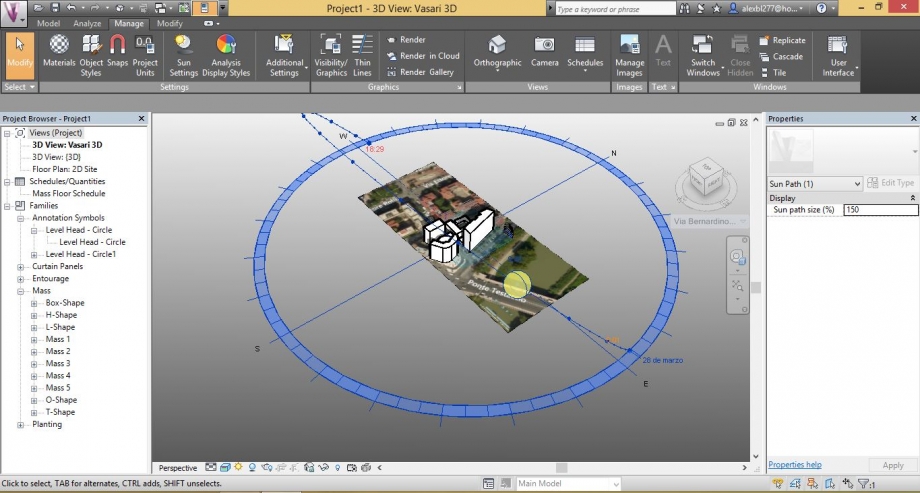
When you've done your volume, you just have to click on "Sun Path On" and Shadow On" to create the light environment of your building.
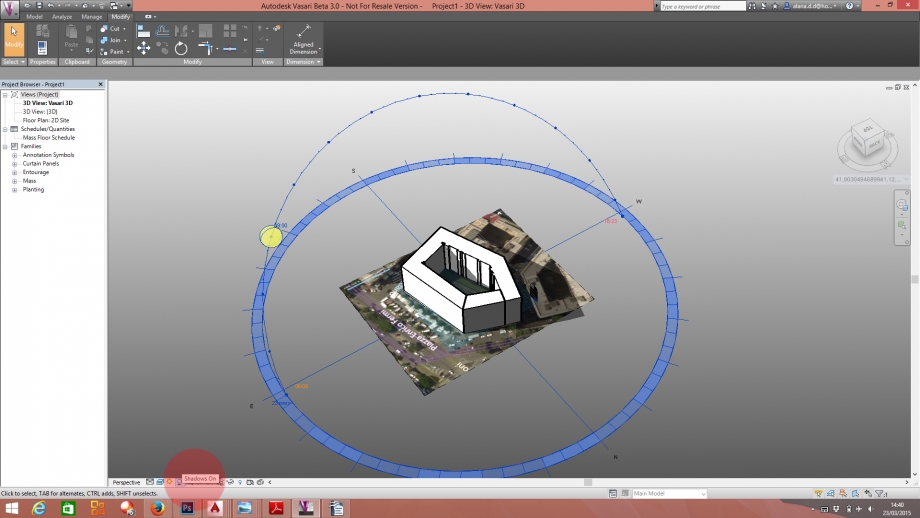
Simply by clicking on "Sun Settings..." you will find a window where you can configure the date and the hour for your sunlight and shadow.
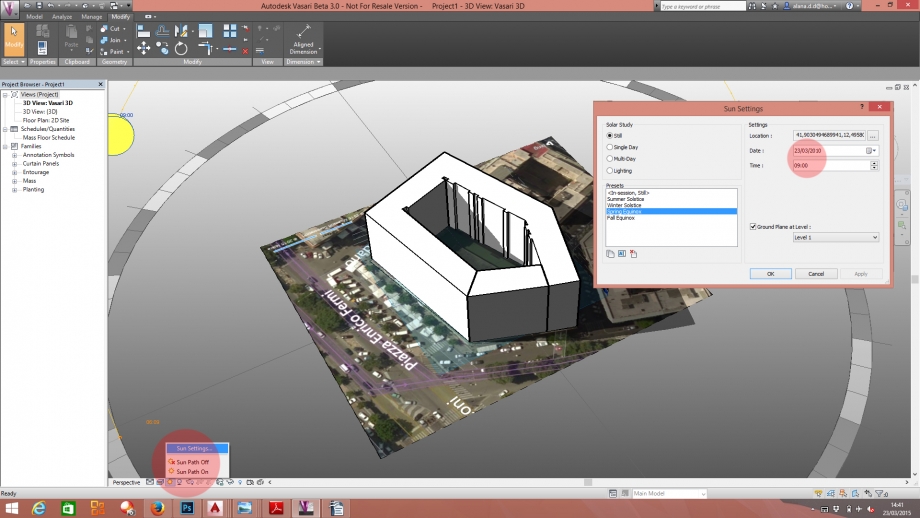
Then well done, because you've successfully manage to do your first solar analyse with Vasari !
OUR PROJECT
As an example, we've choose our block of flat, via Francesco Grimaldi. We live there at the 5th floor and we have a good sight on the inner courtyard. We were curious to see how it works in here :
So first, we "build" our home with the method seen before and put the light and shadow at 9:00am and 1:00pm the 23/03/2015.
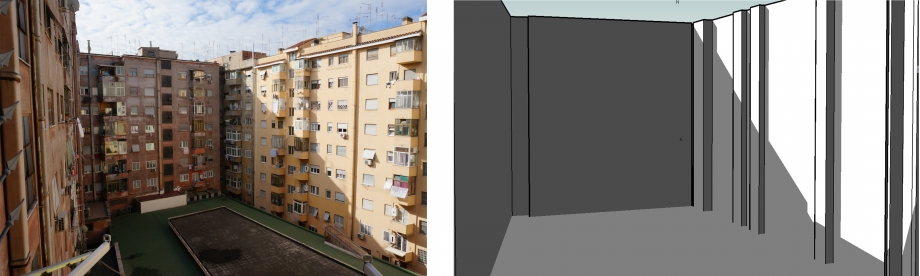
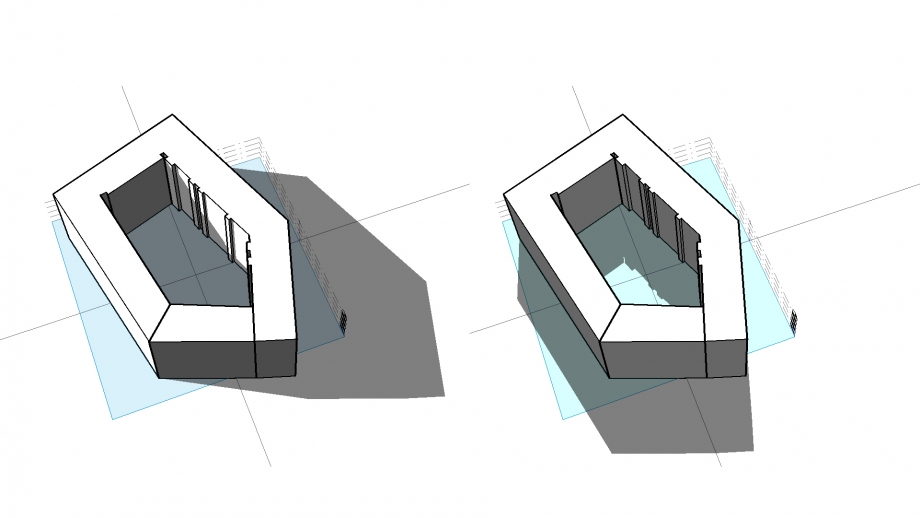 Then we have taken two photos of the courtyard at these differents hours to check everything :
AT 9:00 AM
AT 1:00 PM
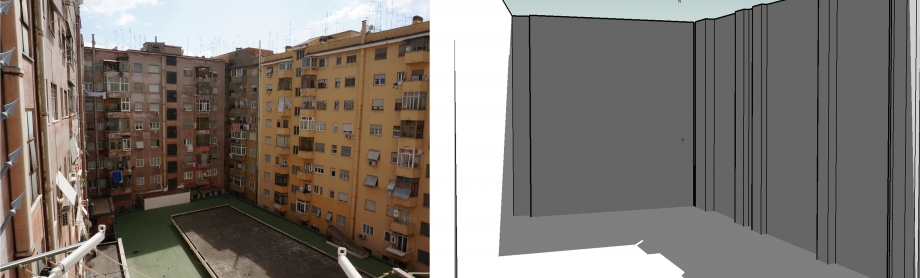
And so it works well, and as you see, we are quite lucky : our balcony is facing south and have the sunlight at the best hours of the day !
Thanks for the reading.
Lun, 23/03/2015 - 21:50
 Alex Boyano
Lun, 23/03/2015 - 21:31
Alex Boyano
Lun, 23/03/2015 - 21:31
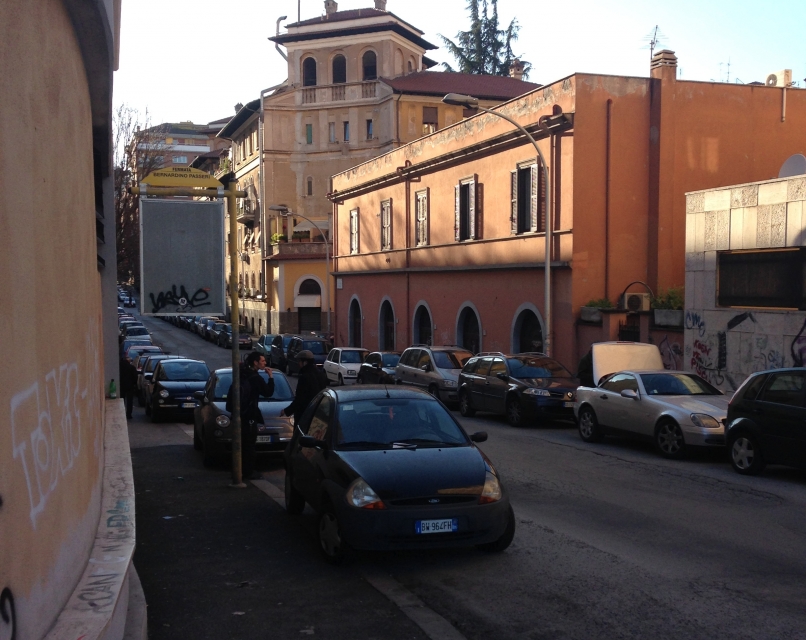
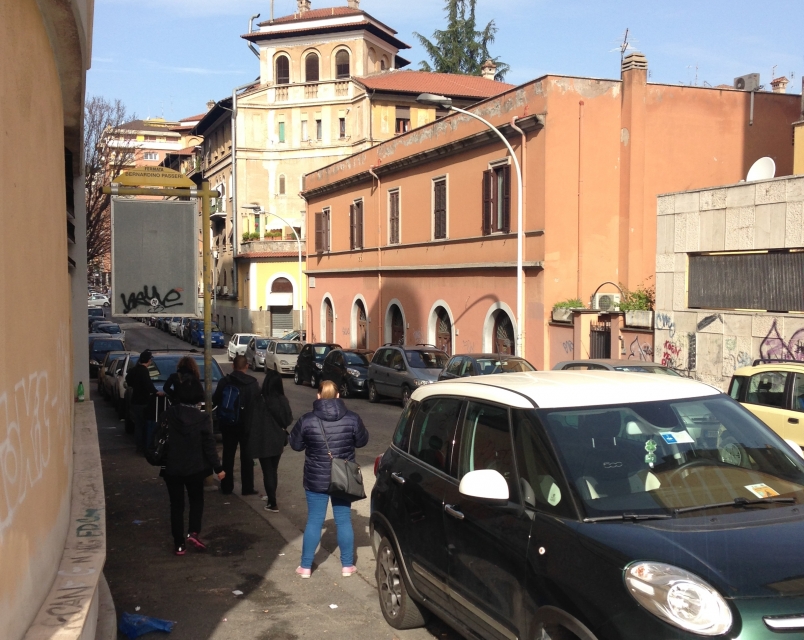
Via Bernardino Passeri 19, 00153 ROMA. Alex Boyano
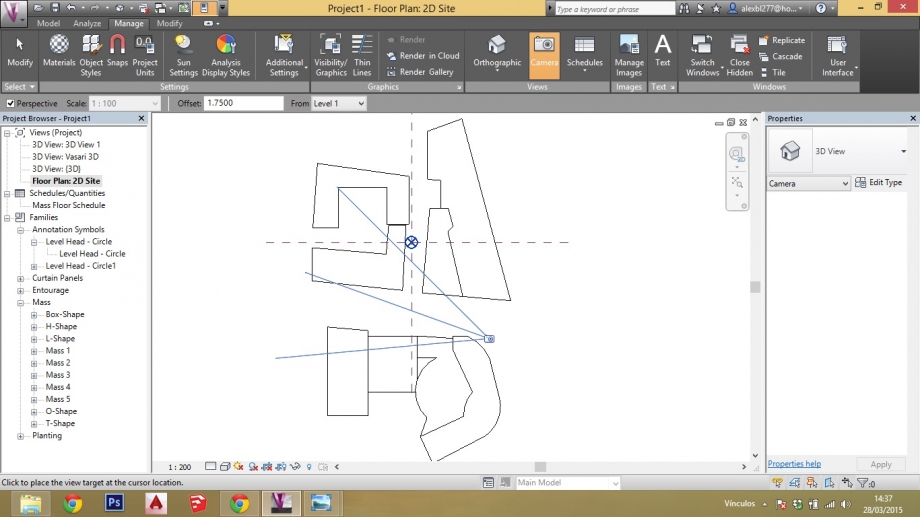
1.Start a new project with metric mesures.

2.Add Location (Via Bernardino Passeri 19, 00153 ROMA) and Import image site.

3.Create mass, draw, create form ...
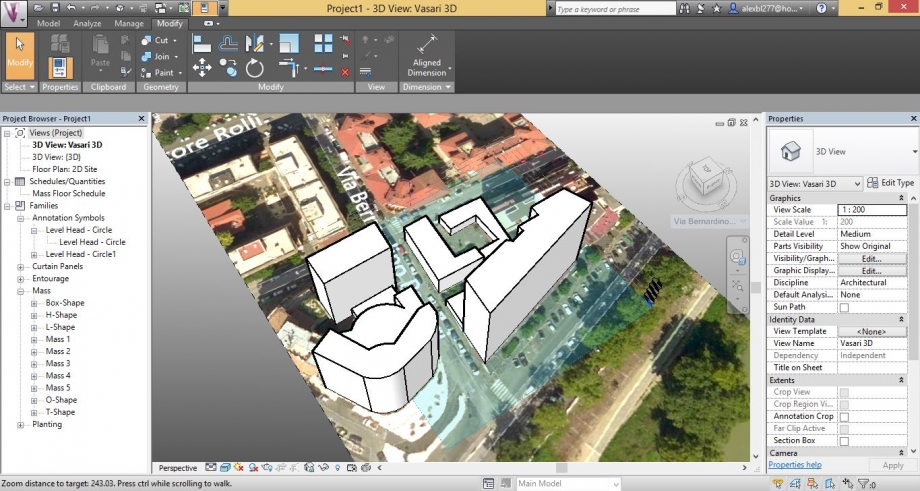
...untill the context of the plot is done.
4.Choose the sun settings according to the present time.
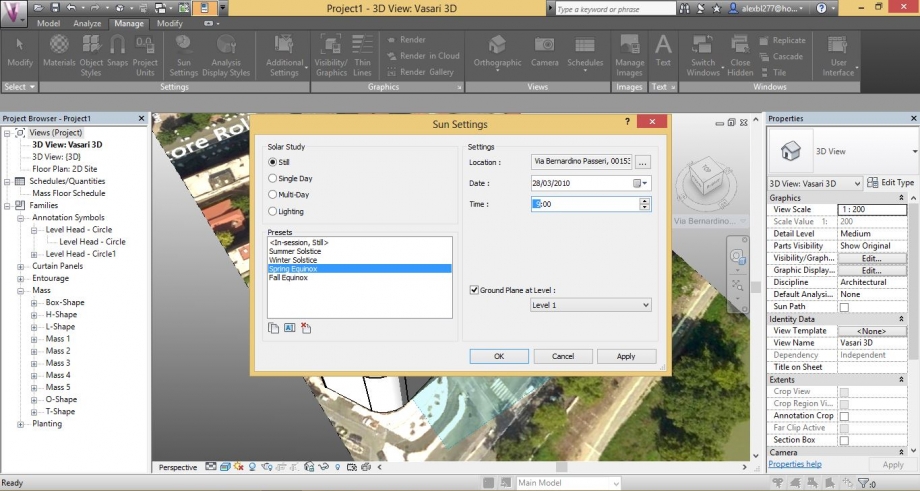
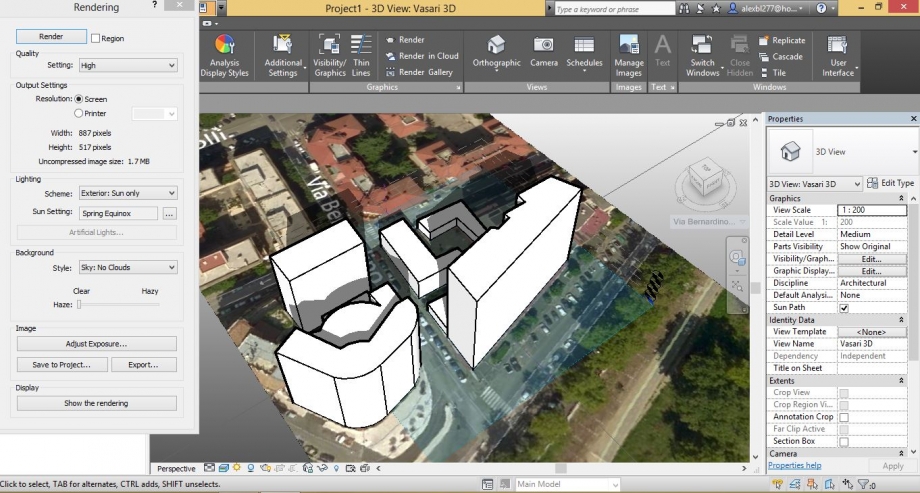
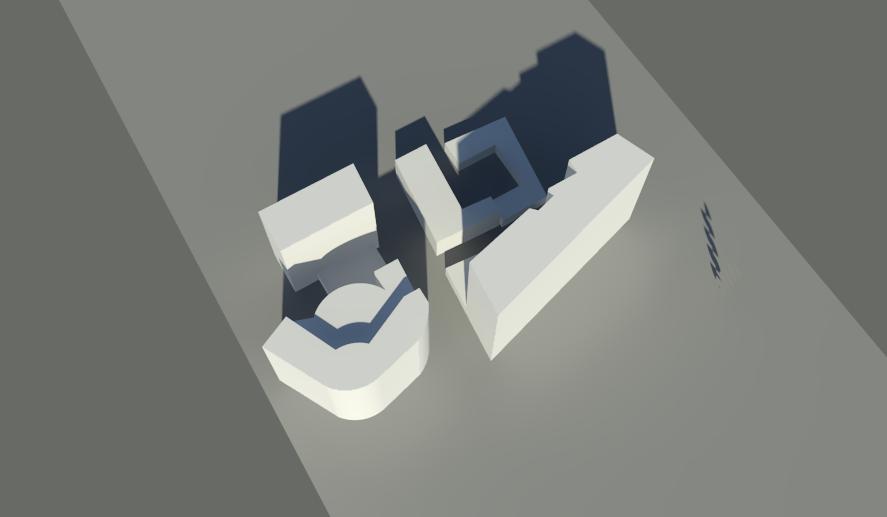
5. Render image.
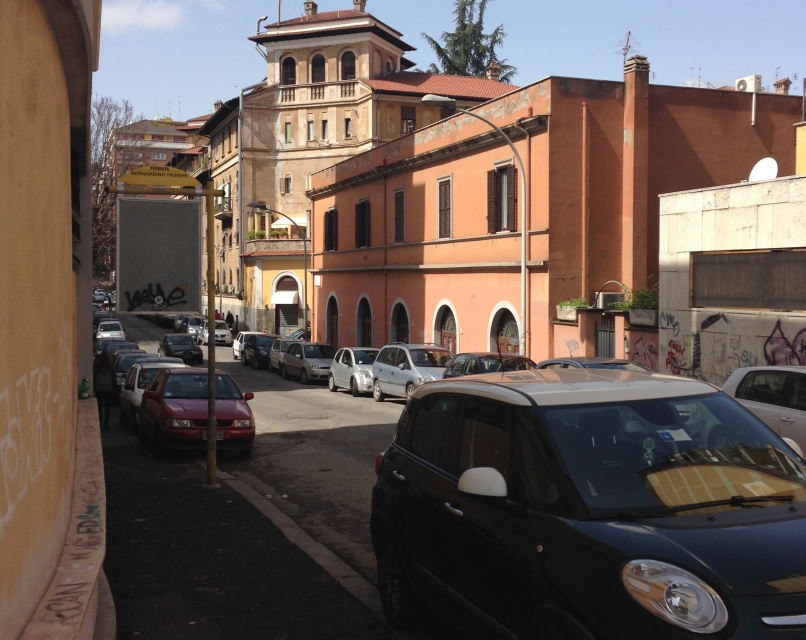
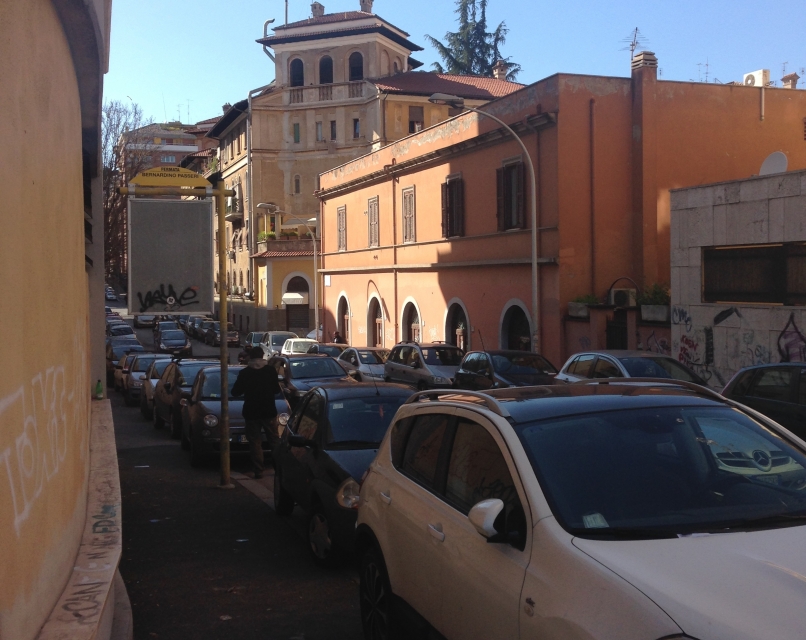
Plot at 9:00
Plot at 12:00
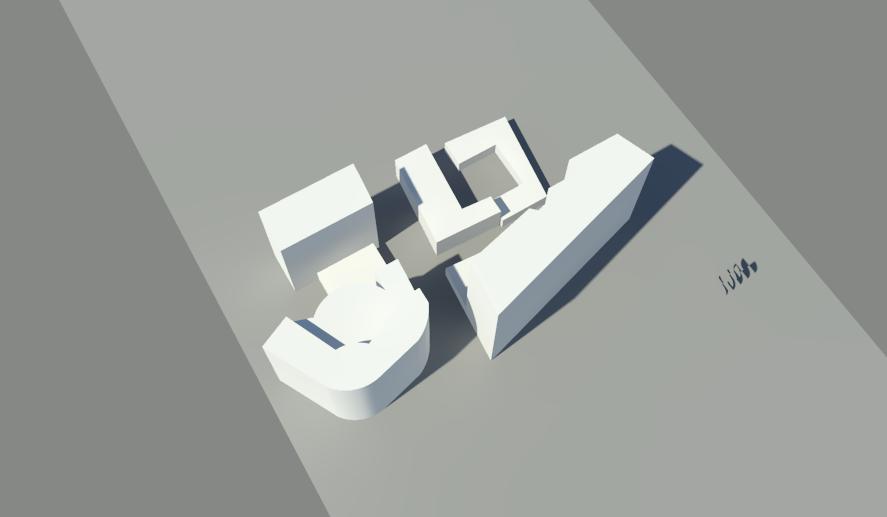
Plot at 15:00
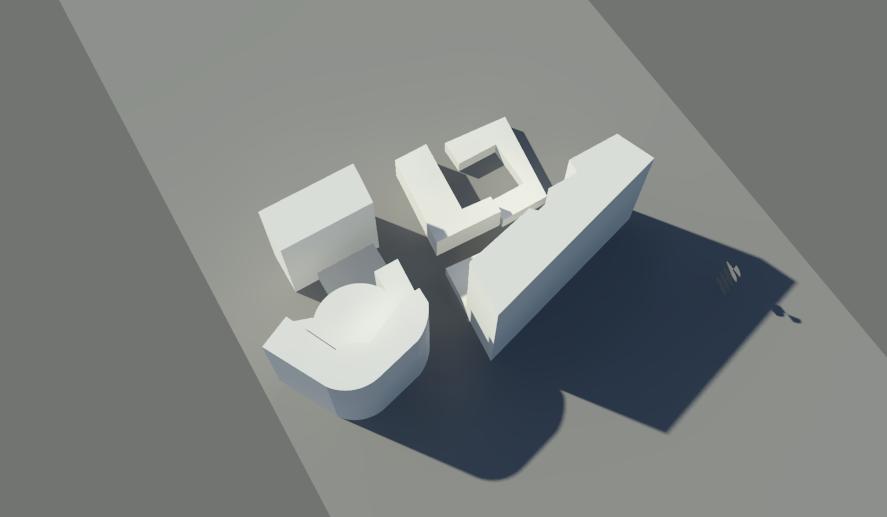
Plot at 17:00

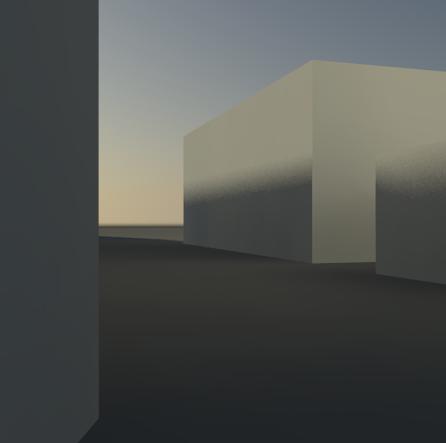
FINAL STEP: Choose the camera position accoding to the point we want to show.
Visual at 09:00

Visual at 12:00
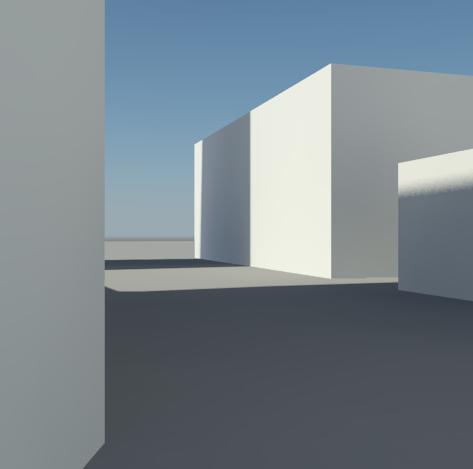
Visual at 15:00
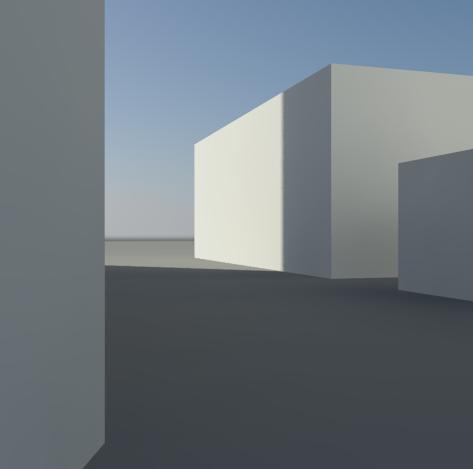
Visual at 17:00